Honey Buns
This post may contain affiliate links. As an Amazon Associate I earn from qualifying purchases. Please read my disclosure policy.
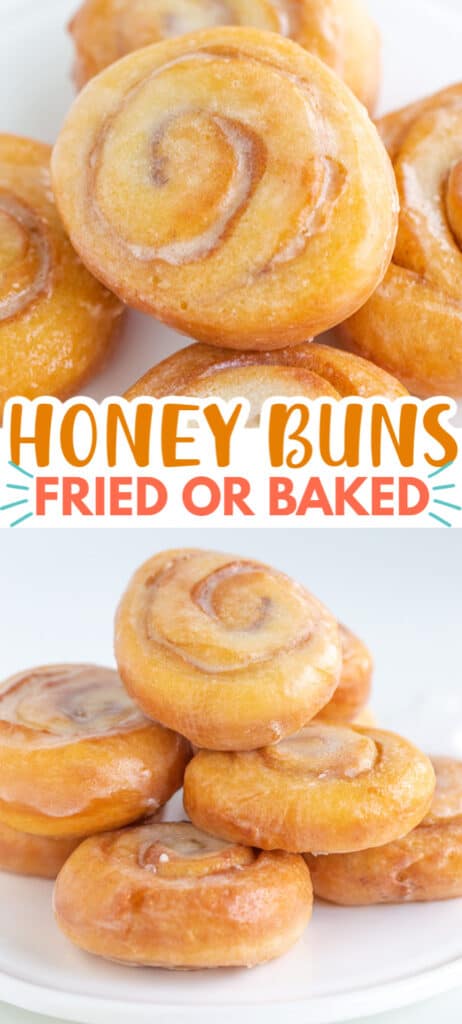
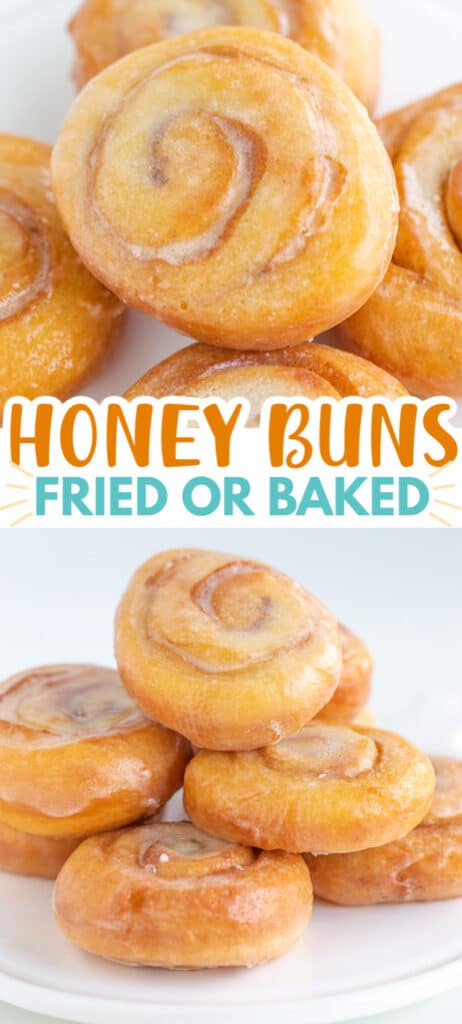
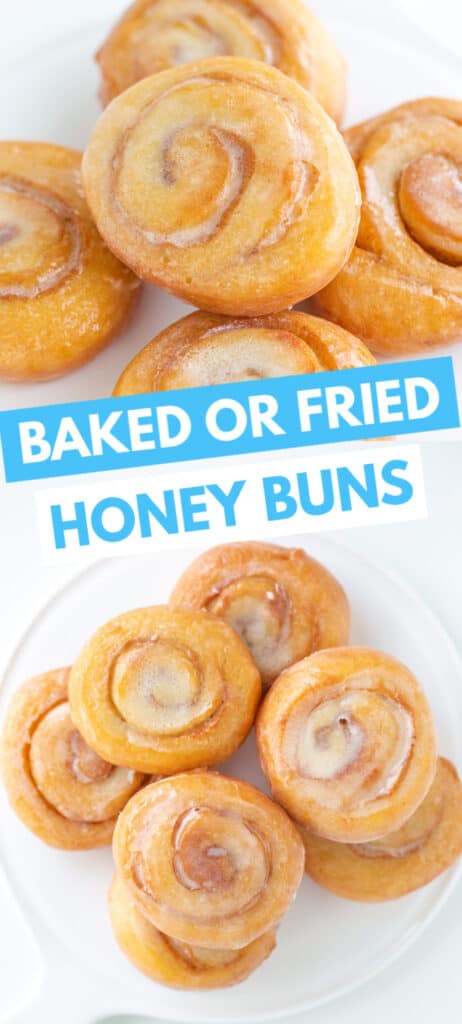
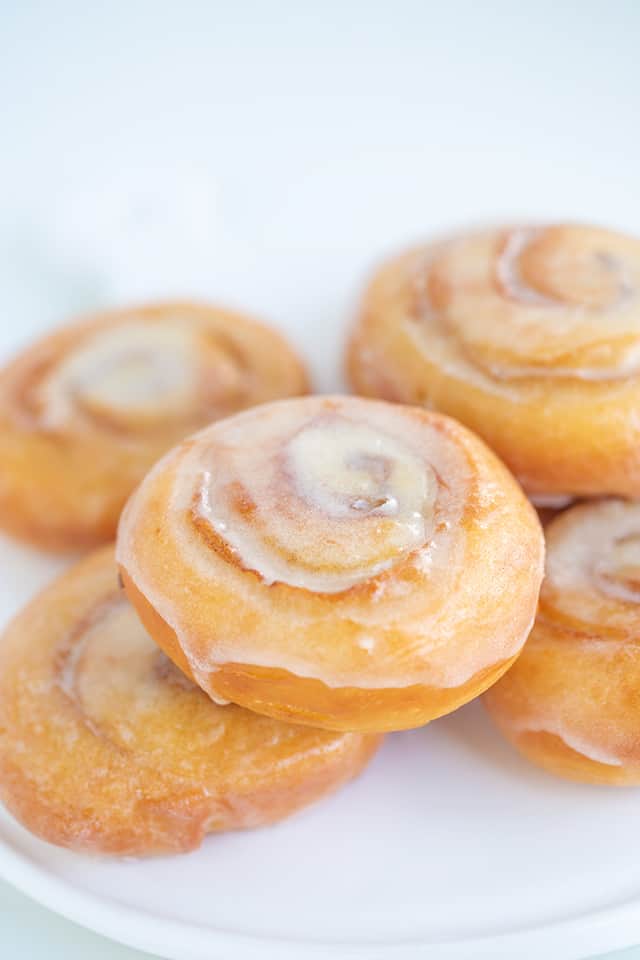
![Baked or fried [Honey Buns]](https://www.cookiedoughandovenmitt.com/wp-content/uploads/2020/04/honey-buns-700x1550-squares-462x1024.jpg)

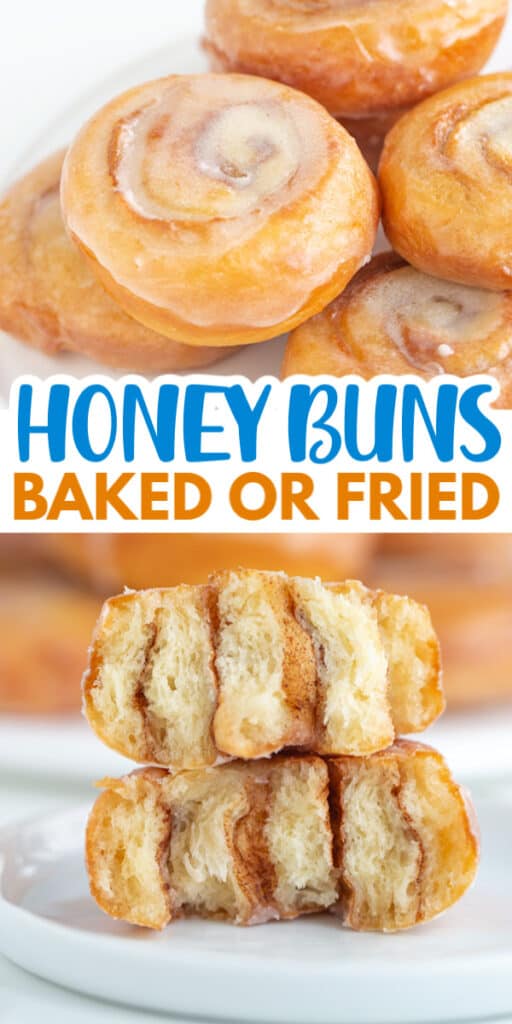
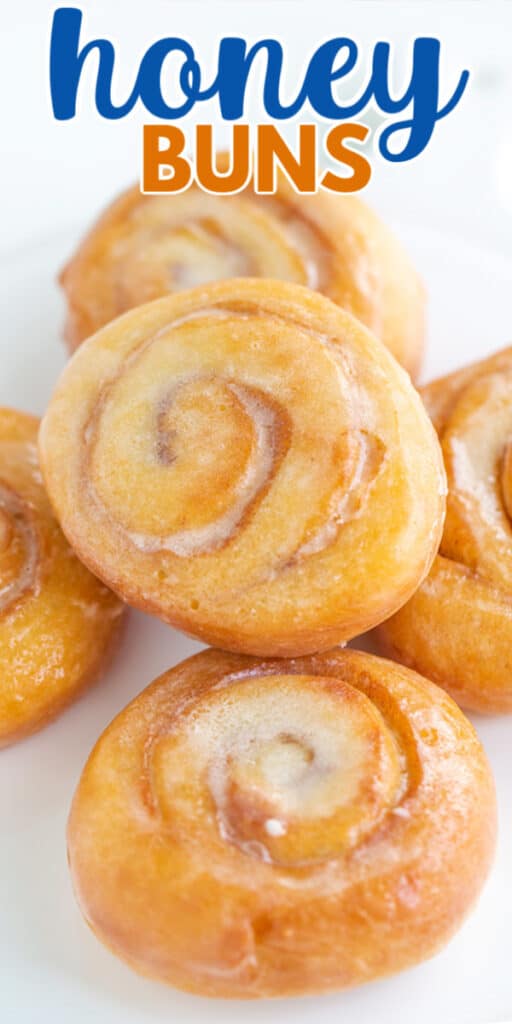
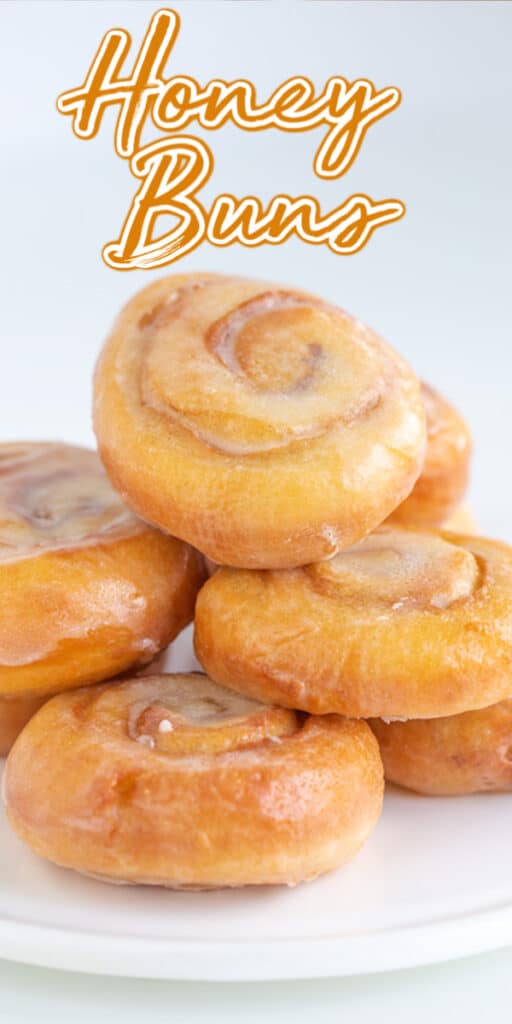
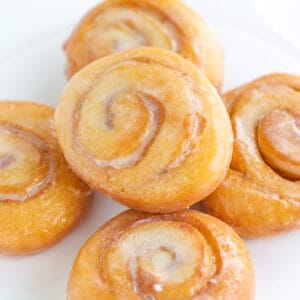
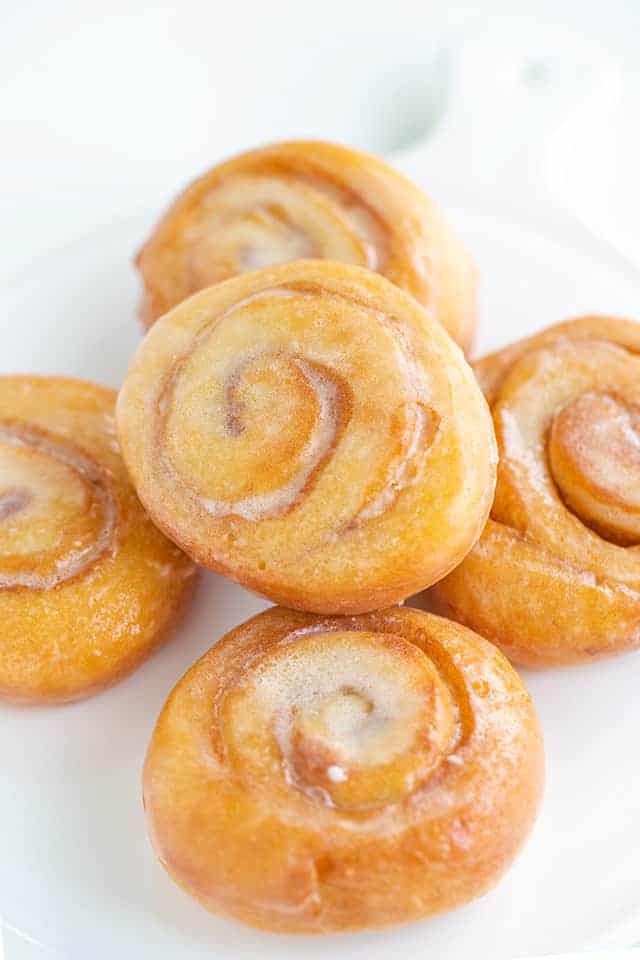
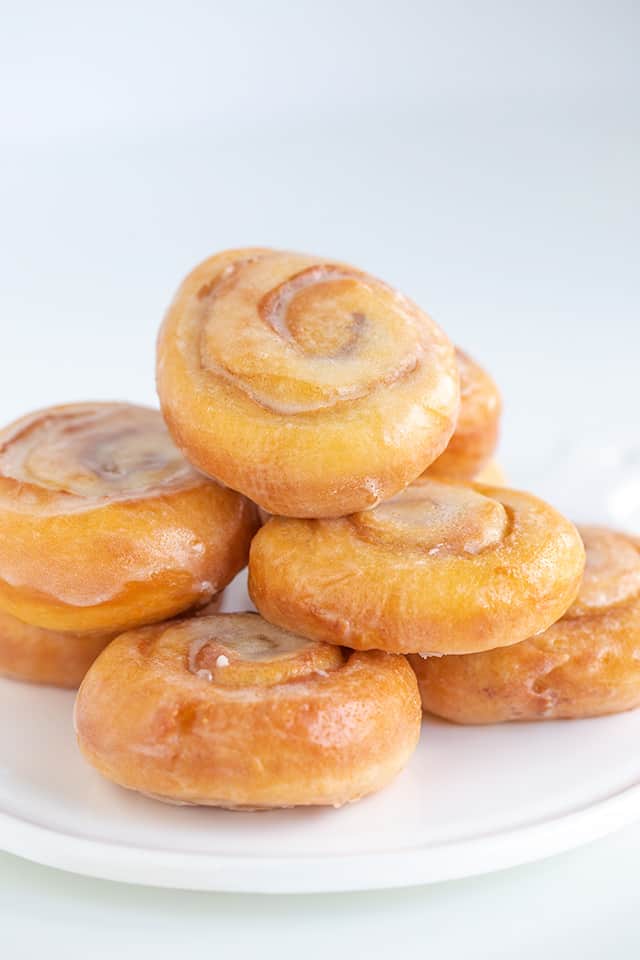
These homemade honey buns are a cross between a donut and a cinnamon roll. They have a swirl of cinnamon in them and can be both fried and baked. They make a great breakfast or just a sweet treat to have on hand. Take a peek at some donut recipes too.
My father is a honey bun fiend and has been since I was a little girl. You know, those little Debbie snack cakes that you get in a box except I think he’s now into a different brand. Those are his breakfast, lunch, and probably late-night snack pretty often.
Honey Bun Ingredients
I know with everyone currently baking bread, most people will likely have these ingredients already.
- The dry ingredients include:
- all-purpose flour
- granulated sugar
- salt
- ground cinnamon – this will be used after the dough has doubled and is rolled out.
- The wet ingredients include:
- milk – I used whole milk
- yeast – I used instant yeast, but active dry yeast will work as well.
- melted butter – I used salted butter because that’s my go-to but unsalted works great too.
- egg – Use a large egg because that’s what the recipe was tested with.
How to make Honey Buns
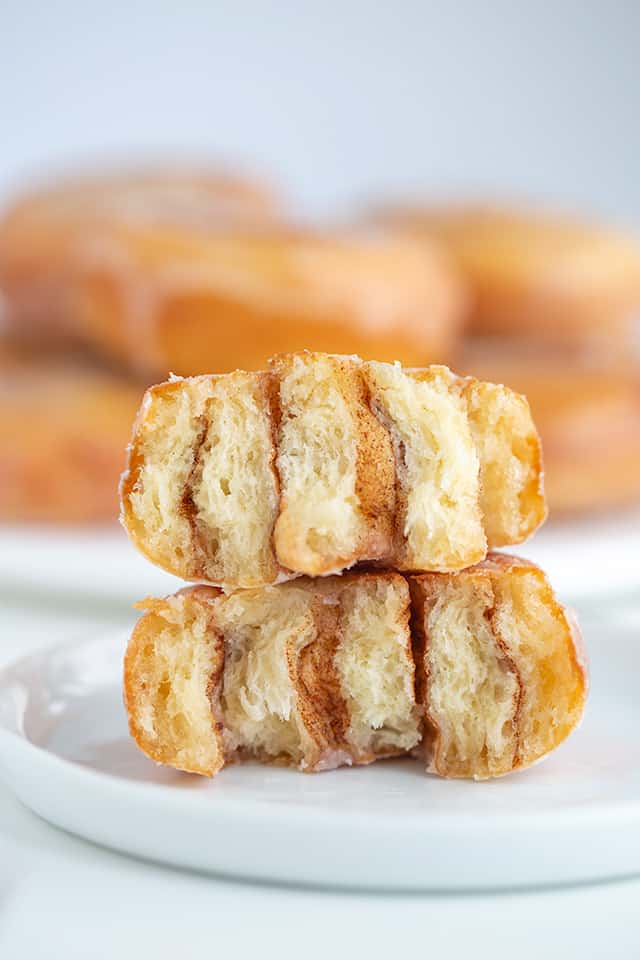
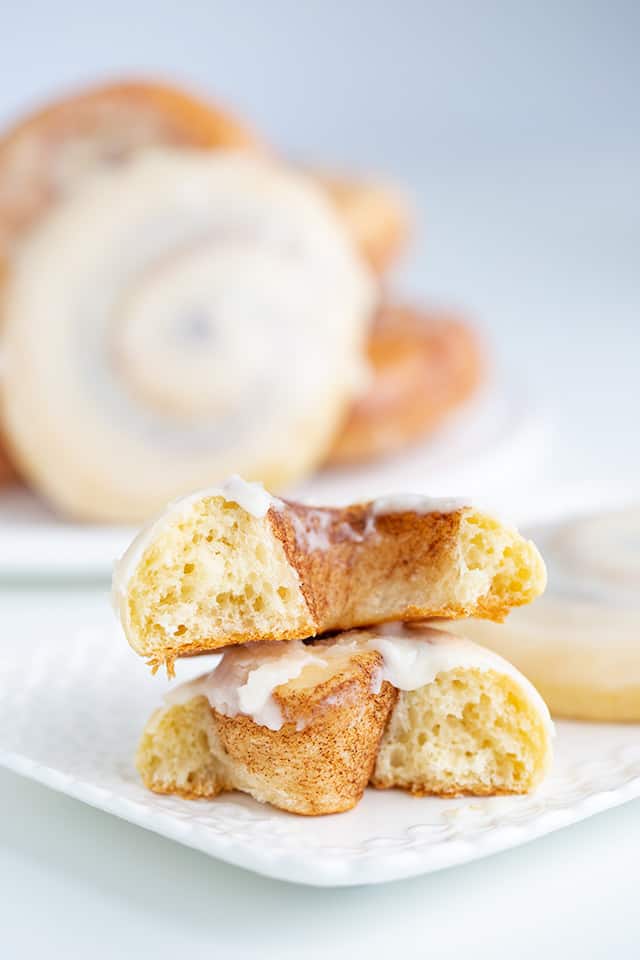
To get started, you’ll need to whip up the dough. It’s going to be sticky, but you’ll thank me when your honey buns are incredibly soft and tender.
Add the flour, sugar, and salt into a stand mixer. I used my bosch mixer with the dough hooks. Give the dry ingredients a quick mix to incorporate the sugar and salt into the flour.
In a separate bowl, add warm milk and yeast. I added my milk to a 4 cup measuring cup and microwaved it for 30 seconds until it was about 105 to 110 degrees F. If using active dry yeast, let it sit for 5 to 10 minutes until the yeast becomes foamy.
Add the cooled melted butter and egg to the milk and whisk together. I used a fork to whisk the mixture together, but a whisk will work as well. If the butter is added while it’s still hot, you can kill the yeast.
Pour the wet ingredients into the dry ingredients. Turn the mixer on medium and let it mix for 10 minutes. If you prefer to knead the dough some, mix with the mixer for 5 minutes. Oil your work surface and hands with vegetable oil and knead for about 7 to 10 minutes until your dough has a nice elastic stretch to it.
Place the dough in a bowl, coat with oil, cover with plastic wrap, and let double. This can take 1 to 2 hours to rise, depending on the temperature of where your dough is. I preheat my oven, let it come up to 350 degrees F, and then turn it off. Then I set my dough on the top of my stove so it’s warm, but not hot.
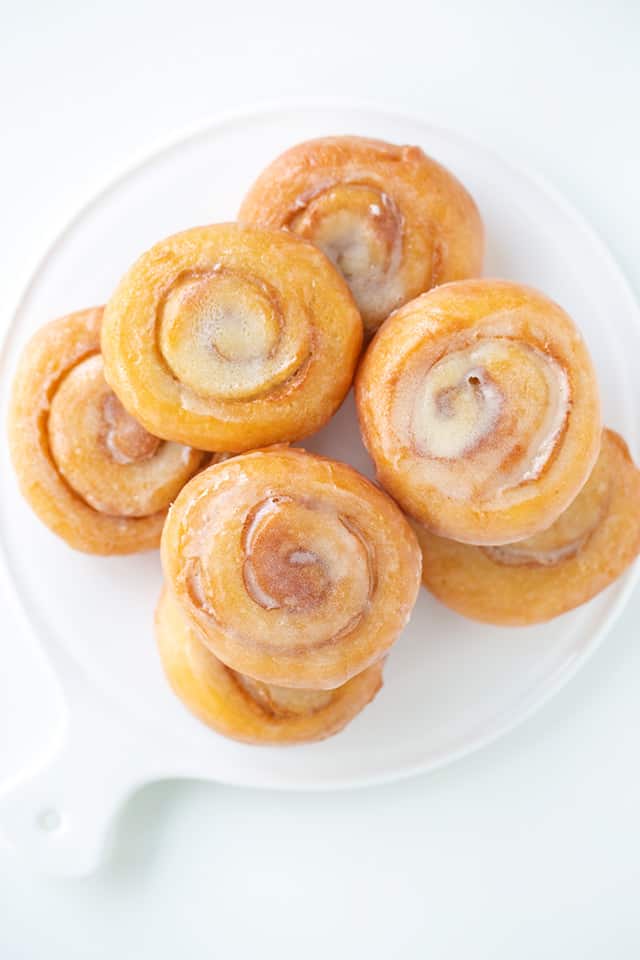
Press the dough out onto a clean floured surface. Make it a 14 inches long and 6 inches wide rectangle. If the dough was wider, you would have more cinnamon swirls and it will look like a cinnamon roll rather than a honey bun.
Coat the top with ground cinnamon. This gives the cinnamon flavor. No butter or oil is needed to make the cinnamon stick.
Roll the dough up. Start on the longest side. When you come to the edge of the dough, rub it with water to make it sticky and pinch it into the roll. If it doesn’t stick, add more water. This is really important especially if you plan on frying these.
Cut the dough. I like to use floss to make nice slices. Slide the floss under the roll of dough, cross the two sides of the floss, and pull until it’s cut the dough into a perfect slice. You can do 1/2-inch to 1-inch thick slices. I thought 3/4-inch looked like it was the perfect size.
No stand mixer? You can also make these without a mixer. Stir the dough together with a spatula until the dough comes together. Oil a clean countertop and your hands with vegetable oil. Begin kneading the dough until it has a nice elastic stretch. I haven’t done it by hand, but I would guess 10 to 15 minutes would do the trick.
Baked Honey Buns or Fried Honey Buns
You have to make a big decision here. Are you going to bake these babies or fry them? They’re really delicious either way! Frying them is more work for sure.
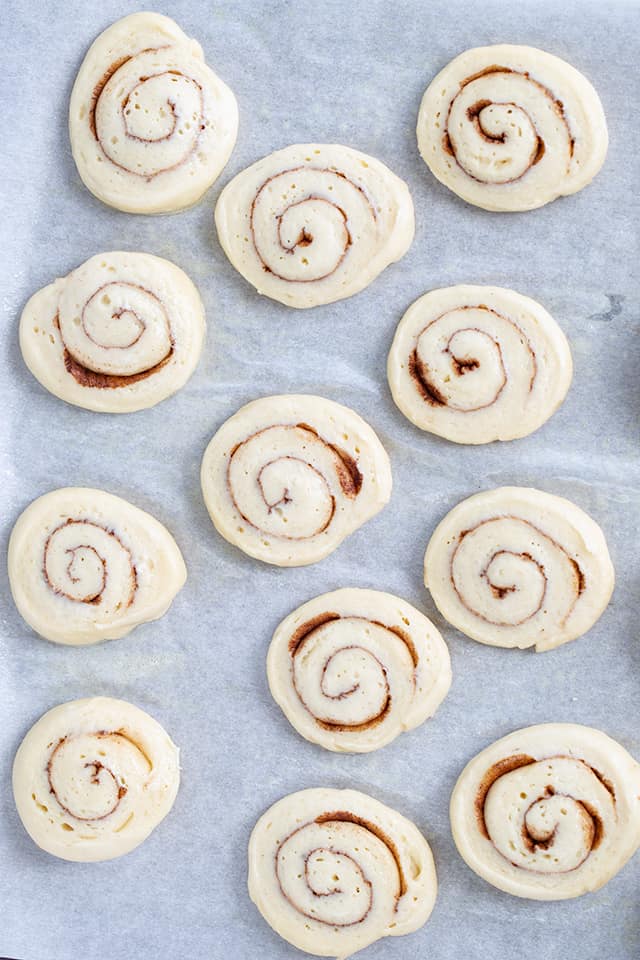
If you plan on baking these, place the sliced dough about 2 inches apart on a parchment-lined baking sheet. Cover with plastic wrap and let them rise for 30 minutes in a warm place.
While the honey buns are rising, preheat the oven to 350 degrees F. Once the buns are ready, remove the plastic wrap and place in the oven for 15 to 18 minutes until the edges are golden brown.

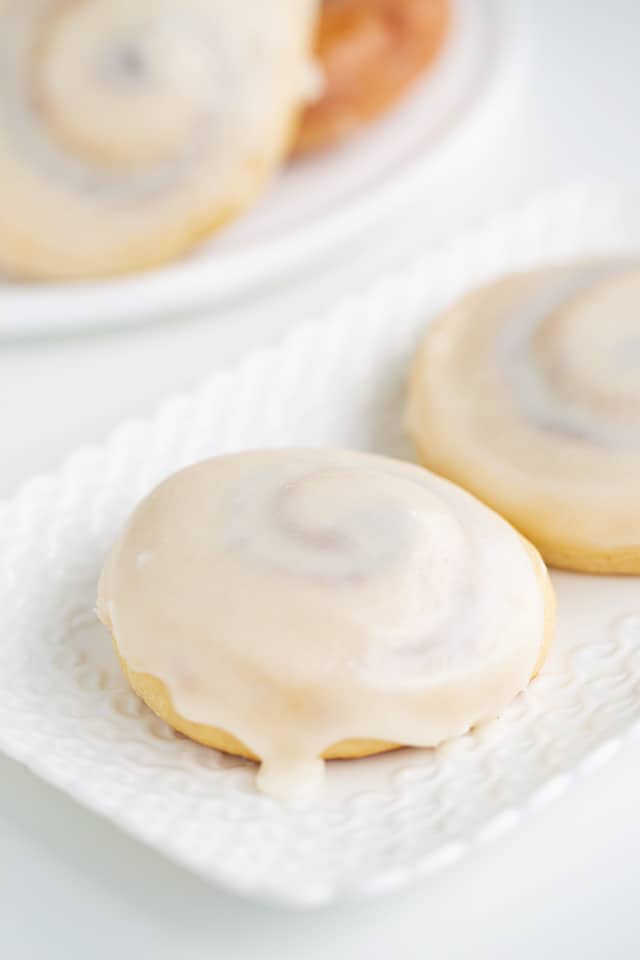
Whip up the glaze in the meantime and have it ready to dip the warm honey buns in. Let the honey buns cool until they’re firm enough to handle without falling apart. Carefully dip them in the glaze and place on a piece of wax paper to dry.
For fried honey buns, you can place the slices of dough on a greased parchment-lined baking sheet about 1/2-inch apart. Cover them with plastic wrap and let them rise for about 30 minutes in a warm place.
While the slices are rising, heat 3 cups of vegetable oil or oil of your preference in a large saucepan to 320 degrees. Use a thermometer to check the temperature. You’ll also want to mix up your glaze so it’s ready for you.
There are two ways you can add these honey buns to the oil. You can cut the parchment paper into squares around each bun and carefully drop the honey buns in that way or if you greased your parchment paper as I suggested, you can carefully pick them up and place them in the oil.
I fried them one at a time so that the temperature of the oil didn’t drop. This is very time consuming but I had golden fried honey bun every time! Once one side is a golden color, flip and let the other side fry until golden.
Place the fried buns on a paper towel lined plate. Let them cool for about 10 minutes and dip them while they’re still warm in the glaze. Let any excess glaze drip off and place on a piece of wax paper to dry.
Tips for the perfect glaze
- Make the glaze before frying or baking your honey buns so it’s ready.
- If you want a honey glaze, reduce the melted butter to 5 tablespoons and add 1 tablespoon of your favorite honey in. It will make the glaze slightly thicker.
- For more cinnamon flavor, add 1 teaspoon of ground cinnamon to the glaze.
How long do honey buns last?
If you’re frying the honey buns, they’re best the day they’re made. You can store them in an airtight container and they’ll last a second day, but they won’t be as tasty.
If you’re baking them, they will last 3 to 4 days stored in an airtight container.
More fried sweet treats
Honey Buns
SAVE THIS RECIPE
Ingredients
Honey Buns
- 2 cups all-purpose flour
- 3 tablespoons granulated sugar, or 2 tablespoons honey
- 1/2 teaspoon salt
- 1/2 cup plus 3 tablespoons milk
- 2 1/4 teaspoons instant or active dry yeast, 1 envelope
- 1/3 cup butter, melted
- 1 large egg
- 1 teaspoon vanilla extract
- 1/2 tablespoon vegetable oil
- 1 1/2 teaspoon ground cinnamon
- 3 cups vegetable oil, for frying (optional)
Glaze
- 6 tablespoons butter, melted
- 2 cups powdered sugar
- 3 – 5 tablespoons whole milk
- 1 teaspoon vanilla extract
Instructions
Honey Buns
- In a stand mixer fitted with the dough hook, add in the 2 cups all-purpose flour, 3 tablespoons granulated sugar (or 2 tablespoons of honey), and 1/2 teaspoon salt. If using honey instead of sugar, add in to the milk.
- In a microwave-safe bowl, add in the 1/2 cup plus 3 tablespoons milk. Microwave for 30 seconds. You'll want the milk to be at 105 – 110 degrees F.
- Add in the 2 1/4 teaspoons instant or active dry yeast, cooled 1/3 cup butter, 1 large egg, and 1 teaspoon vanilla extract. Using a fork, whisk the egg into the mixture.
- Pour the wet mixture into the stand mixer and mix on medium for 10 minutes. The dough will be pretty sticky.
- Grease your hands and a large bowl with 1/2 tablespoon vegetable oil.
- Remove the dough from the mixer and shape it into a ball.
- Place the dough in the bottom of the bowl and coat it in the 1/2 tablespoon vegetable oil. Cover the bowl with plastic wrap and let the dough rise until doubled. This will take about 1 to 2 hours.
- Line a cookie sheet with parchment paper. Spray the parchment paper with nonstick baking spray.
- Once the dough has doubled, press it down.
- Place the dough on a lightly floured work surface.
- Press the dough out into a 6-inch by 14-inch rectangle. You can use a rolling pin, but I prefer to use my hands.
- Sprinkle the 1 1/2 teaspoon ground cinnamon on top of the dough. Using your hand, rub the cinnamon all over the dough.
- Begin rolling the dough from the long side.
- Once the dough is rolled up, you'll need to seal the edge. Do this by rubbing the edge of the dough with water. Pinch the wet edge into the roll of dough to form the seam. If the dough isn't staying pinched together, rub a little more water on the edge and pinch again. Leave the dough seam side up since it will be sticky from the water and will likely stick to the counter if it touches it.
- Measure out 1/2-inch thick slices if you want thinner honey buns or 1-inch slice for thicker slices.
- Slide a piece of floss under the dough and cross both sides of the floss at the 1/2-inch or 1-inch line. Pull until the floss has cut completely through the dough.
- Place the slice of dough on the prepared cookie sheet. Repeat with the remain ingslices of dough. If you plan on baking these, you'll want to space them 2 inches apart. If you plan on frying them, they can be 1/2 inch apart.
- Spray the slices with nonstick baking spray so they don't dry out and cover with plastic wrap. Let rise for 30 minutes in a warm place.
Baked Honey Buns
- Preheat the oven to 350 degrees F.
- Place the cookie sheet in the oven and bake for 15 to 18 minutes until the edges begin to turn golden brown.
- Prepare the glaze while the honey buns are baking.
- Remove the honey buns from the oven and let cool for 10 to 20 minutes. While they’re still warm, dip the tops in the glaze. Tap the wrist that’s holding the honey bun to remove the excess glaze.
- Place on a piece of wax paper and let the glaze set up.
Fried Honey Buns
- Heat 3 cups vegetable oil until it reaches 320 degrees F.
- Prepare the glaze while you wait for the oil to come up to temperature.
- Place the honey buns in one or two at a time into the oil. I did one at a time to keep my oil temperature from dropping.
- Flip once the donuts become golden brown.
- Once the other side becomes golden brown, place on a plate lined with paper towels. Let cool for 5 to 10 minutes.
- Dip the warm honey bun in the glaze. Give your wrist a tap to help any excess glaze to drip off.
- Place on a piece of wax paper and let the glaze set up.
Glaze
- In a medium mixing bowl, add in the 6 tablespoons butter, 2 cups powdered sugar, 3 tablespoons milk, and 1 teaspoon vanilla extract. Whisk together until the glaze is smooth. For a thinner consistency, add the remaining milk 1 tablespoon at a time until it reaches your desired consistency.
Notes
Nutrition
(Nutrition facts are an estimate and not guaranteed to be accurate. Please see a registered dietitian for special diet advice.)
Would a bread machine work for the dough part? On the dough setting?
Yes! You could use a bread machine to mix and proof the dough.
I don’t know if I measured incorrectly but the dough was not just sticky, but sloppy wet. It never really formed a ball, but I allowed to rise and could barely pat out flat, add cinnamon and pinch pieces from the very loose rolled log. Once they sat for second rise, I fried them. They were thick and browned quickly, so I air fried them on 360 afterwards for about 4 minutes and then added glaze. The taste was absolutely fabulous and they were very light and fluffy. I’ll make again, but weigh the ingredients. Thanks for the recipe.
I’d recommend weighing your flour. Having said that, I think each time I’ve made this I had to add a couple tablespoons more flour, but I did it over like 2 or 3 minutes one small teaspoon at a time. Just until the dough came together. Also, it sounds crazy, but humidity in the air will make a difference. But if you weigh your flour in grams (120 g per cup) you may find it comes out better.
These Honey Buns are so easy to make and so delicious! Definitely be making this recipe often. 🙂
Literally the best most straight forward honey bun r
Do you have to use floss to cut and if you dont have floss what else can you use?
You can use a sharp serrated knife to gently saw back and forth. Just try not to press the dough too hard as you cut. It can squish easily and you want those perfect round rolls!
I used fishing line. LOL I’d say a stout quilting thread would work too. I liked the fishing line because it’s “plastic” and didn’t cling to the dough.
I made these today and they turned out just like your photo. I am very impressed with this recipe. So easy and light as a feather. I fried mine and the glaze is amazing. Definitely a keeper.
Can I make the dough in a bread maker?
Yes! If your bread machine has a dough setting, you can use it to mix and rise the dough.
My teenage son really loves honeybuns . We wanted to see if we could make them ourselves and started looking a different recipes online. He chose this one to make. I have never made honeybuns before and I’m pleasantly surprised at how easy and delicious this recipe was. We will definitely be using this recipe and cooking more batches of these awesome honey buns.
That’s great to hear! Glad they worked out well ?
Awesome! This recipe was really amazing. The buns were delicious. We baked them and they were soft on the inside with the perfect swirl of cinnamon. The glaze was incredible too.
Hello,
I’m from Germany and I like the recipe. They look fantastic ?
But I don’t understand why these buns are called Honey Buns without any honey in the recipe?
Best regards
Barbara
Hi Barbara! Great question! Honey buns were first created in Jamaica in 1982 and the buns were iced in honey. My version uses a powdered sugar glaze rather than honey as I find them less sticky (the glaze hardens as it sets). Feel free to make the buns as directed and then dip them in honey for a more classic version! Enjoy.
Some folks actually attribute the honey bun to a bakery in Greensboro, NC run by a fellow by the name of Howard Griffin who baked them up in 1954. Granted no one truly knows for sure where the first one came from, but it definitely predates the Jamaican origin.
oh, interesting! Thank you so much for sharing.
I agree. My mom worked at a bakery in San Antonio, TX that made honey buns in about 1978. They were oval shaped and about 6” long maybe. She would bring a few home at night that were still warm and they were amazing. These look like they might be similar as long as the glaze is made with half honey.