
Honey Buns
This post may contain affiliate links. As an Amazon Associate I earn from qualifying purchases. Please read my disclosure policy.
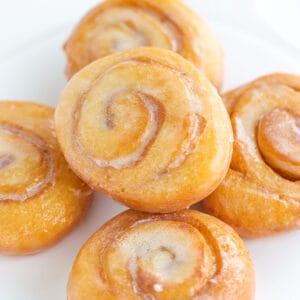
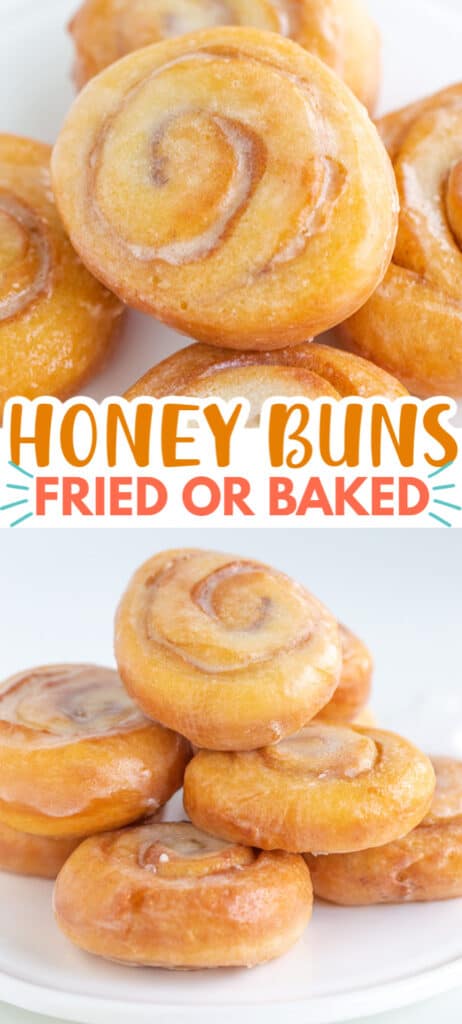
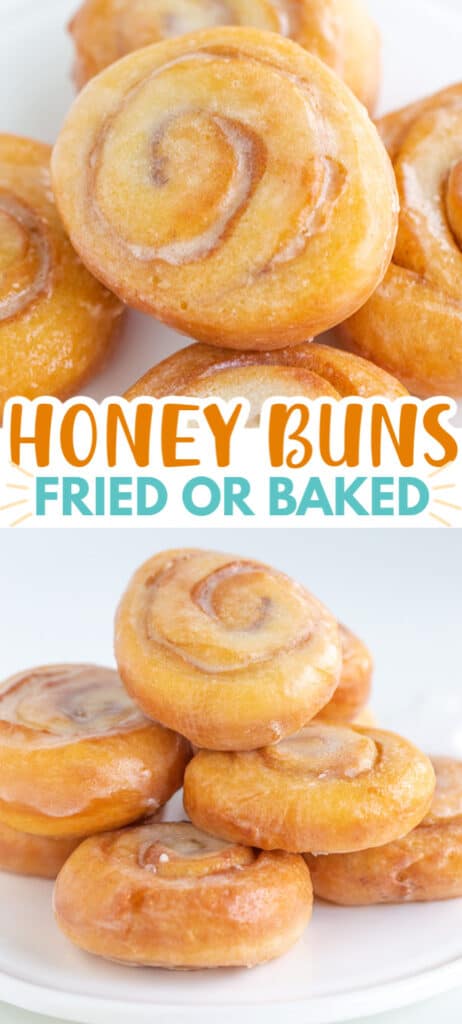
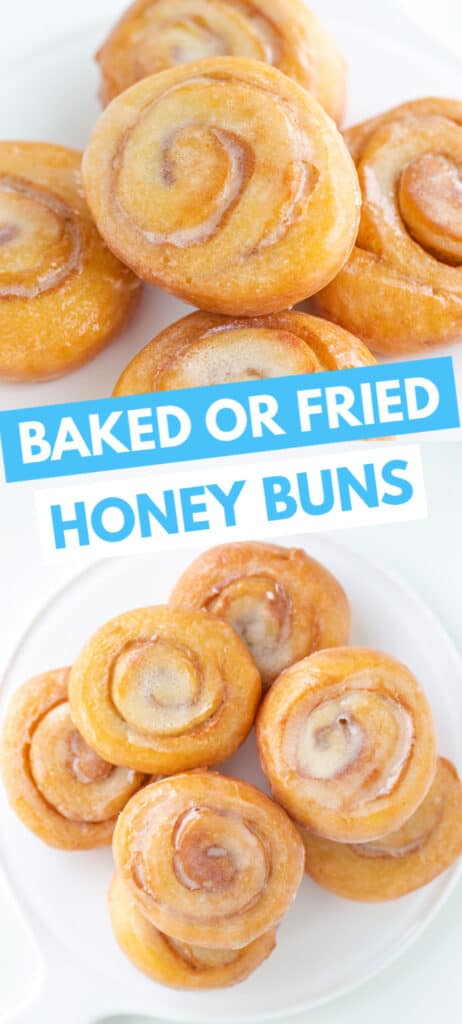

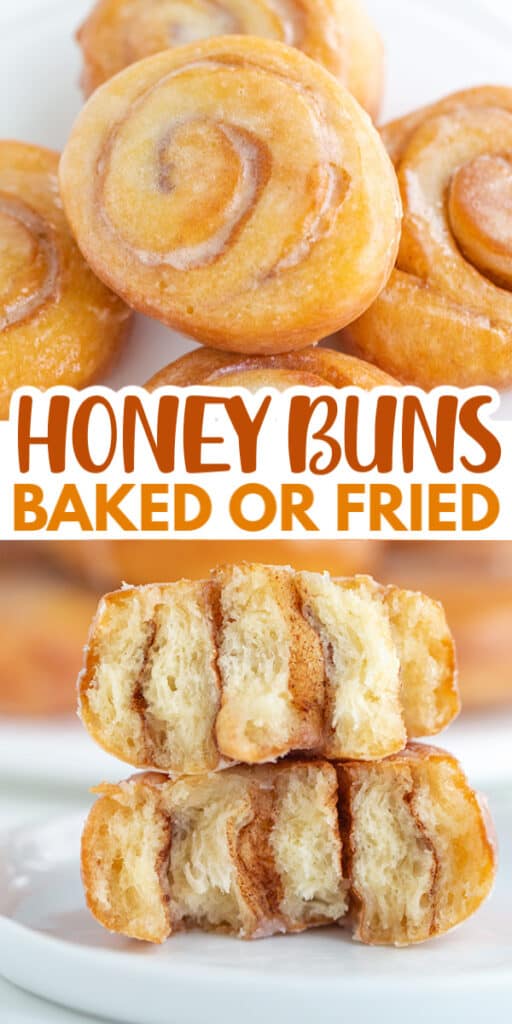
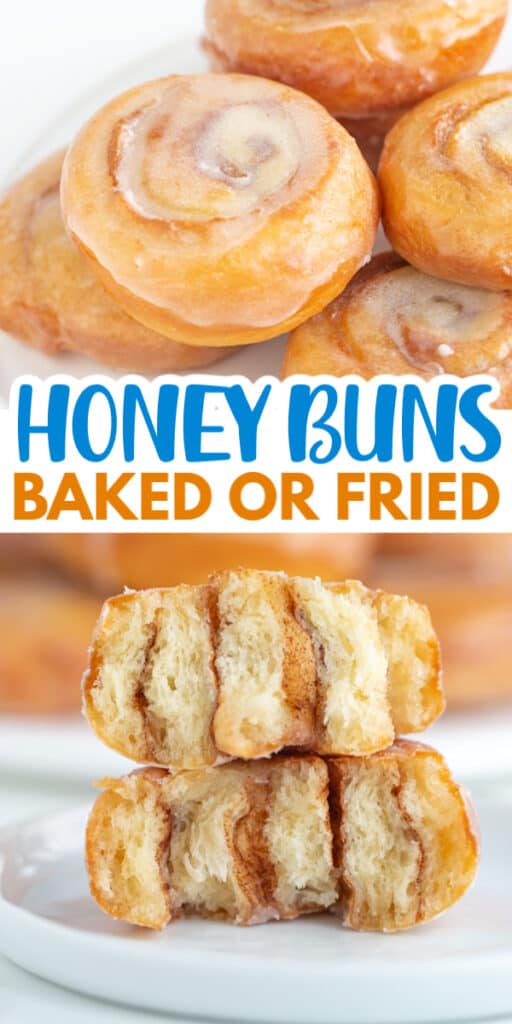
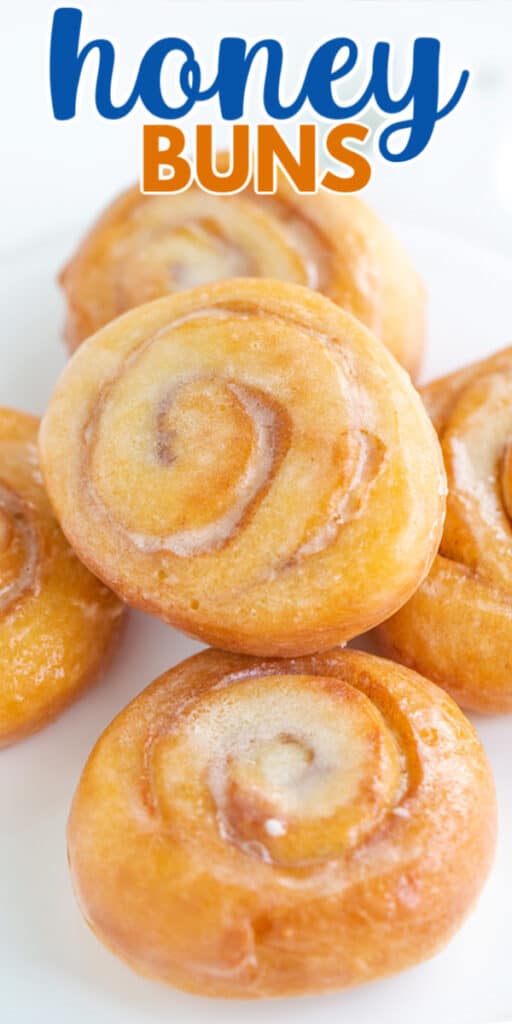
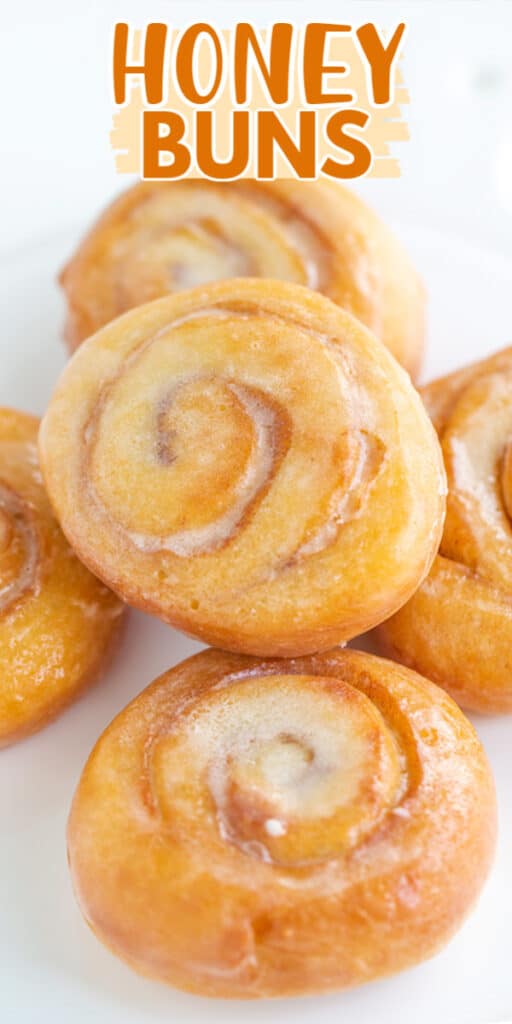
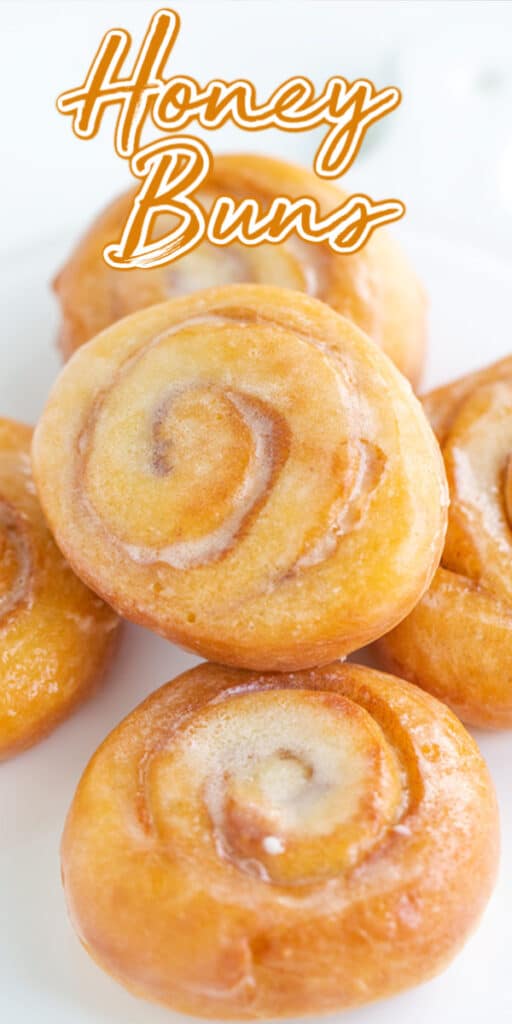
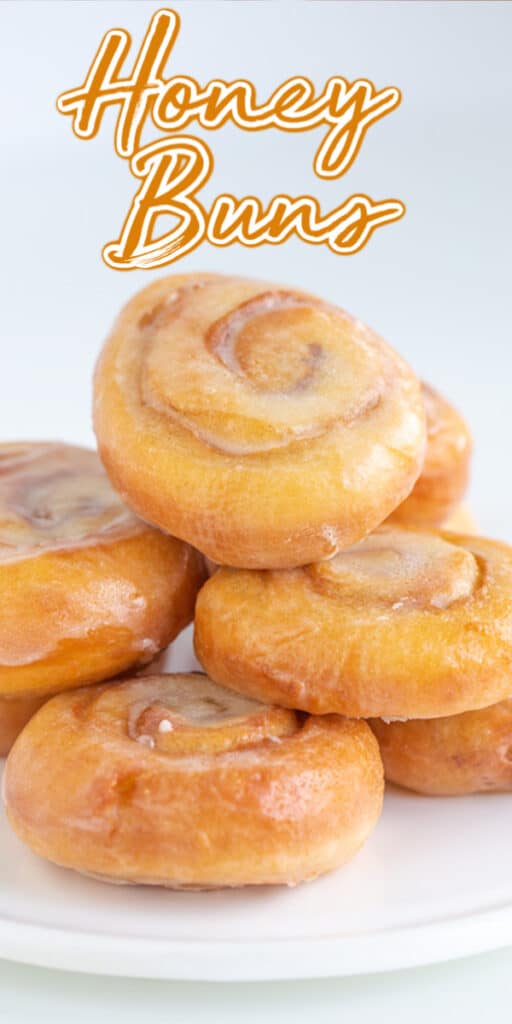
These Homemade Honey Buns are soft, fluffy, and filled with a swirl of cinnamon before being fried until golden and dipped in a sweet vanilla glaze. They’re somewhere between a glazed donut and a cinnamon roll, with that soft, slightly chewy texture you expect from a classic honey bun.
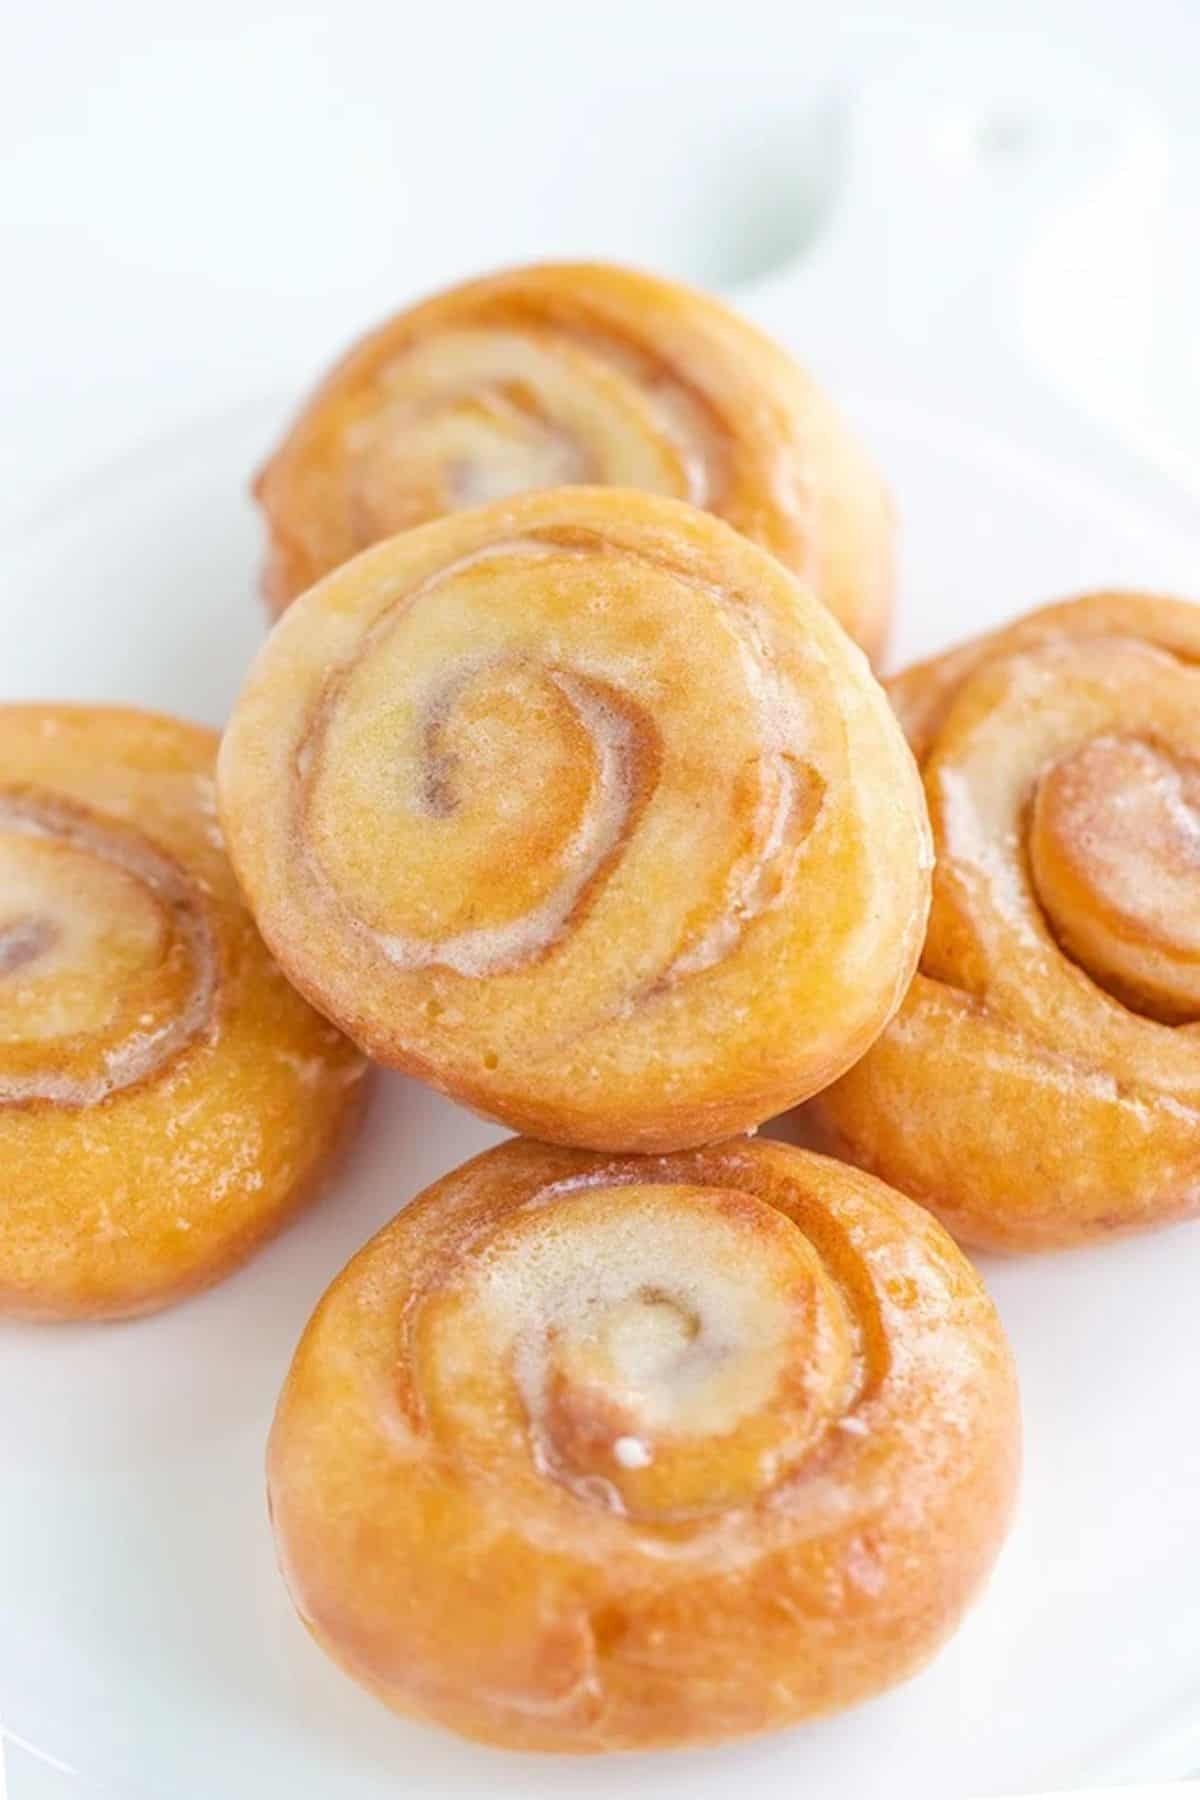
My father is a honey bun fiend and has been since I was a little girl. You know, those Little Debbie snack cakes that you get in a box, except I think he’s now into a different brand. Those are his breakfast, lunch, and probably late-night snack pretty often. Maybe that’s where my obsession with Little Debbie treats like these Star Crunch cookies and this Christmas Tree Cheesecake came from.
You can bake or fry these honey buns, but if I’m picking favorites, fried wins! Frying gives them a softer, fluffier texture and that signature fried honey bun flavor that you just don’t get quite the same way in the oven.
One thing you’ll notice when making the dough is that it’s sticky. That’s intentional. Resist the temptation to keep throwing flour at it. A softer dough gives you softer honey buns, while too much flour can leave them stiff and tough.
Why You’ll Love This Honey Bun Recipe
- Can be fried or baked
- Includes instructions for instant or active dry yeast
- Tastes like a cross between a glazed donut and cinnamon roll
- Perfect with a cup of coffee
Ingredient Notes
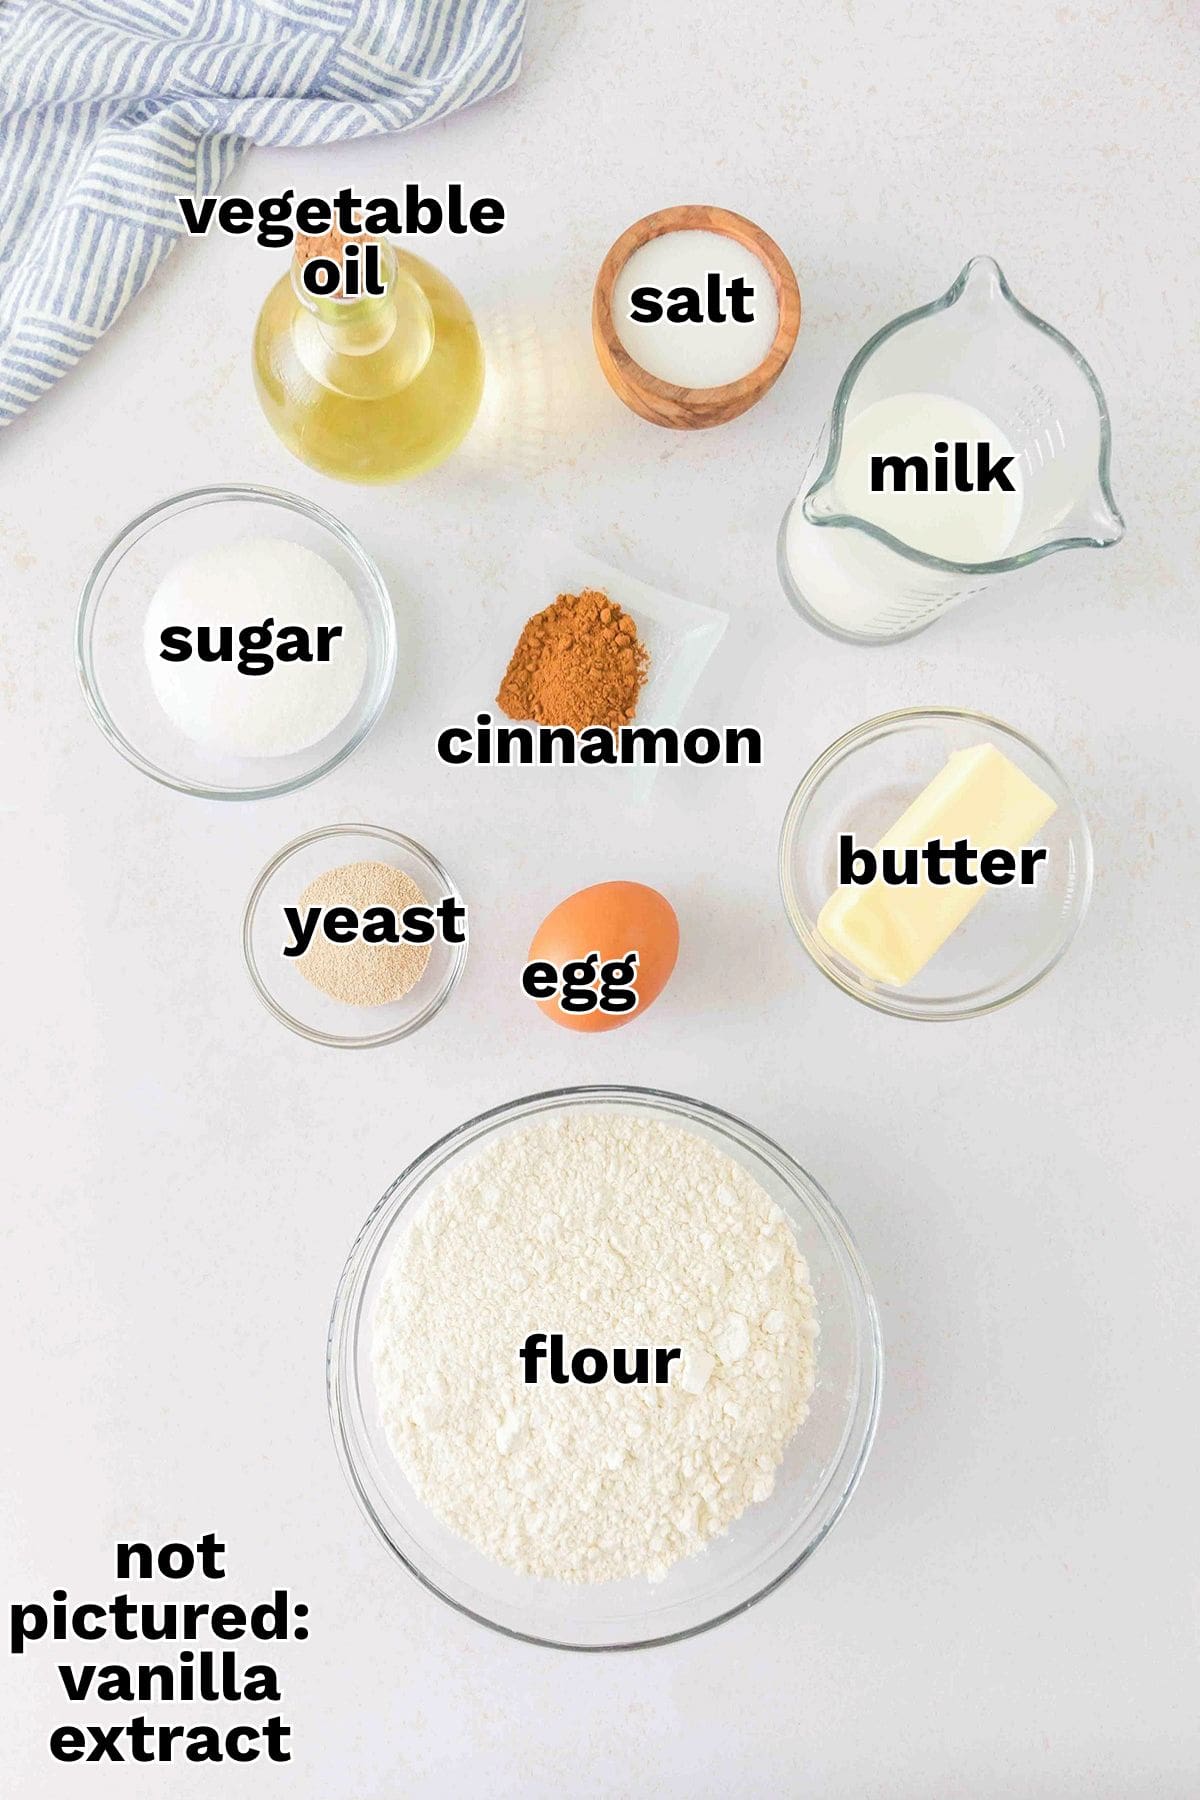
See the recipe card at the bottom of the post for all ingredients and quantities.
All-purpose flour – The dough only uses 2 cups of all-purpose flour, which helps keep it very soft. We are going for sticky dough. Use a little flour on your work surface when shaping and vegetable oil on your hands when needed to keep the dough manageable.
Sugar or honey – You can make the dough with 3 tablespoons of sugar or 2 tablespoons of honey. If you’re using honey, add it to the milk mixture rather than the dry ingredients.
Whole milk – Whole milk adds moisture and richness. Warm it to about 105 to 110 degrees F before adding the yeast.
Yeast – I used instant yeast, but active dry yeast will work too. If you’re using active dry yeast, give it 5 to 10 minutes in the warm milk to become foamy before continuing.
Butter – The butter is going to be melted. Let it cool before adding it to the yeast mixture. Butter that’s still piping hot can damage or kill the yeast.
Egg – Use a large egg because that’s what the recipe was tested with.
Vegetable oil – You’ll need a small amount for handling the sticky dough and about 3 cups if you’re frying the honey buns.
Substitutions and Variations
- Use honey instead of sugar in the dough recipe. Replace the 3 tablespoons of granulated sugar in the dough with 2 tablespoons of honey. Be sure to add the honey to the milk mixture rather than the flour.
- For a honey glaze, add 1 tablespooh of honey to the glaze and reduce the butter by 1 tablespoon.
- Make a cinnamon glaze for more warm spice. Do this by whisking in 1 teaspoon of cinnamon into the vanilla glaze.
NOTE: This recipe has not been tested with other substitutions or variations
How to Make Homemade Honey Buns
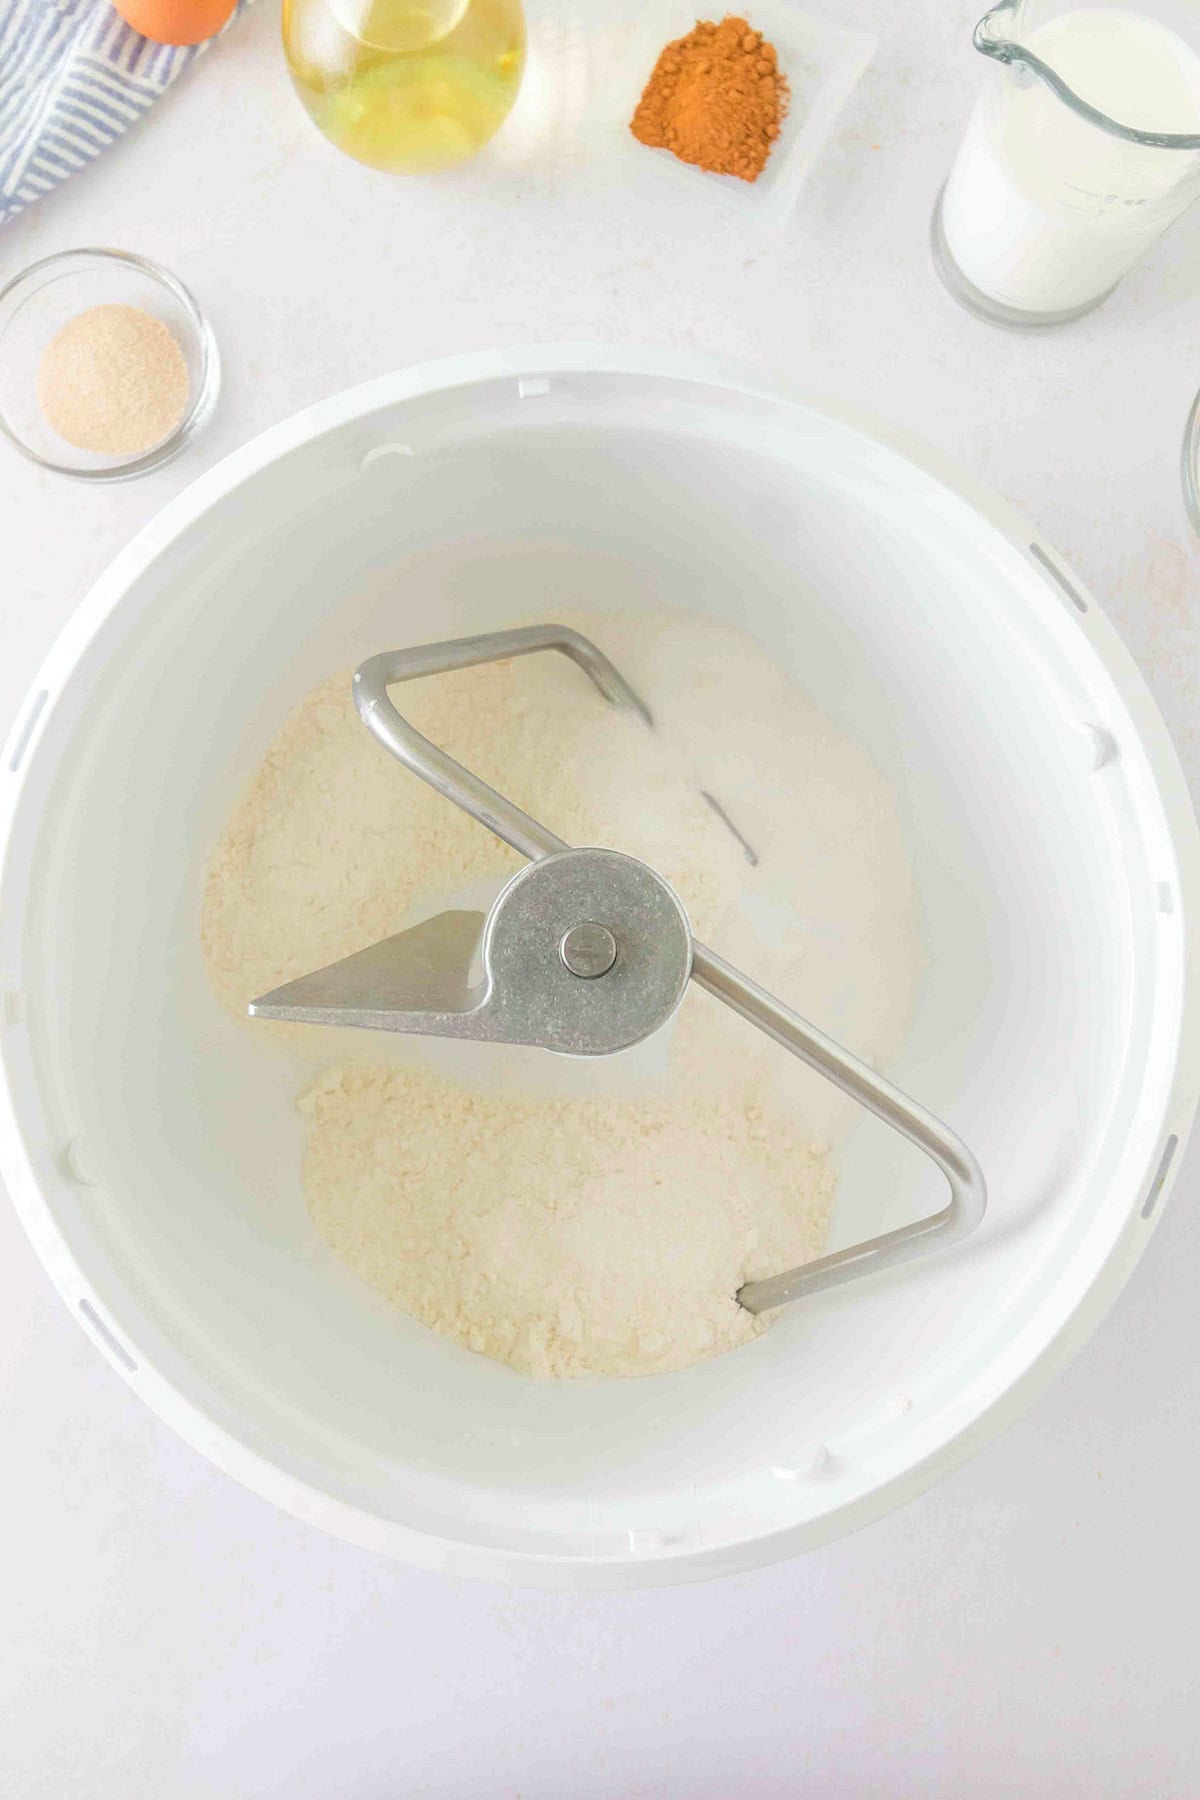
Step 1: Add the flour, sugar, and salt into a stand mixer. I used my bosch mixer with the dough hooks. Give the dry ingredients a quick mix to incorporate the sugar and salt into the flour.
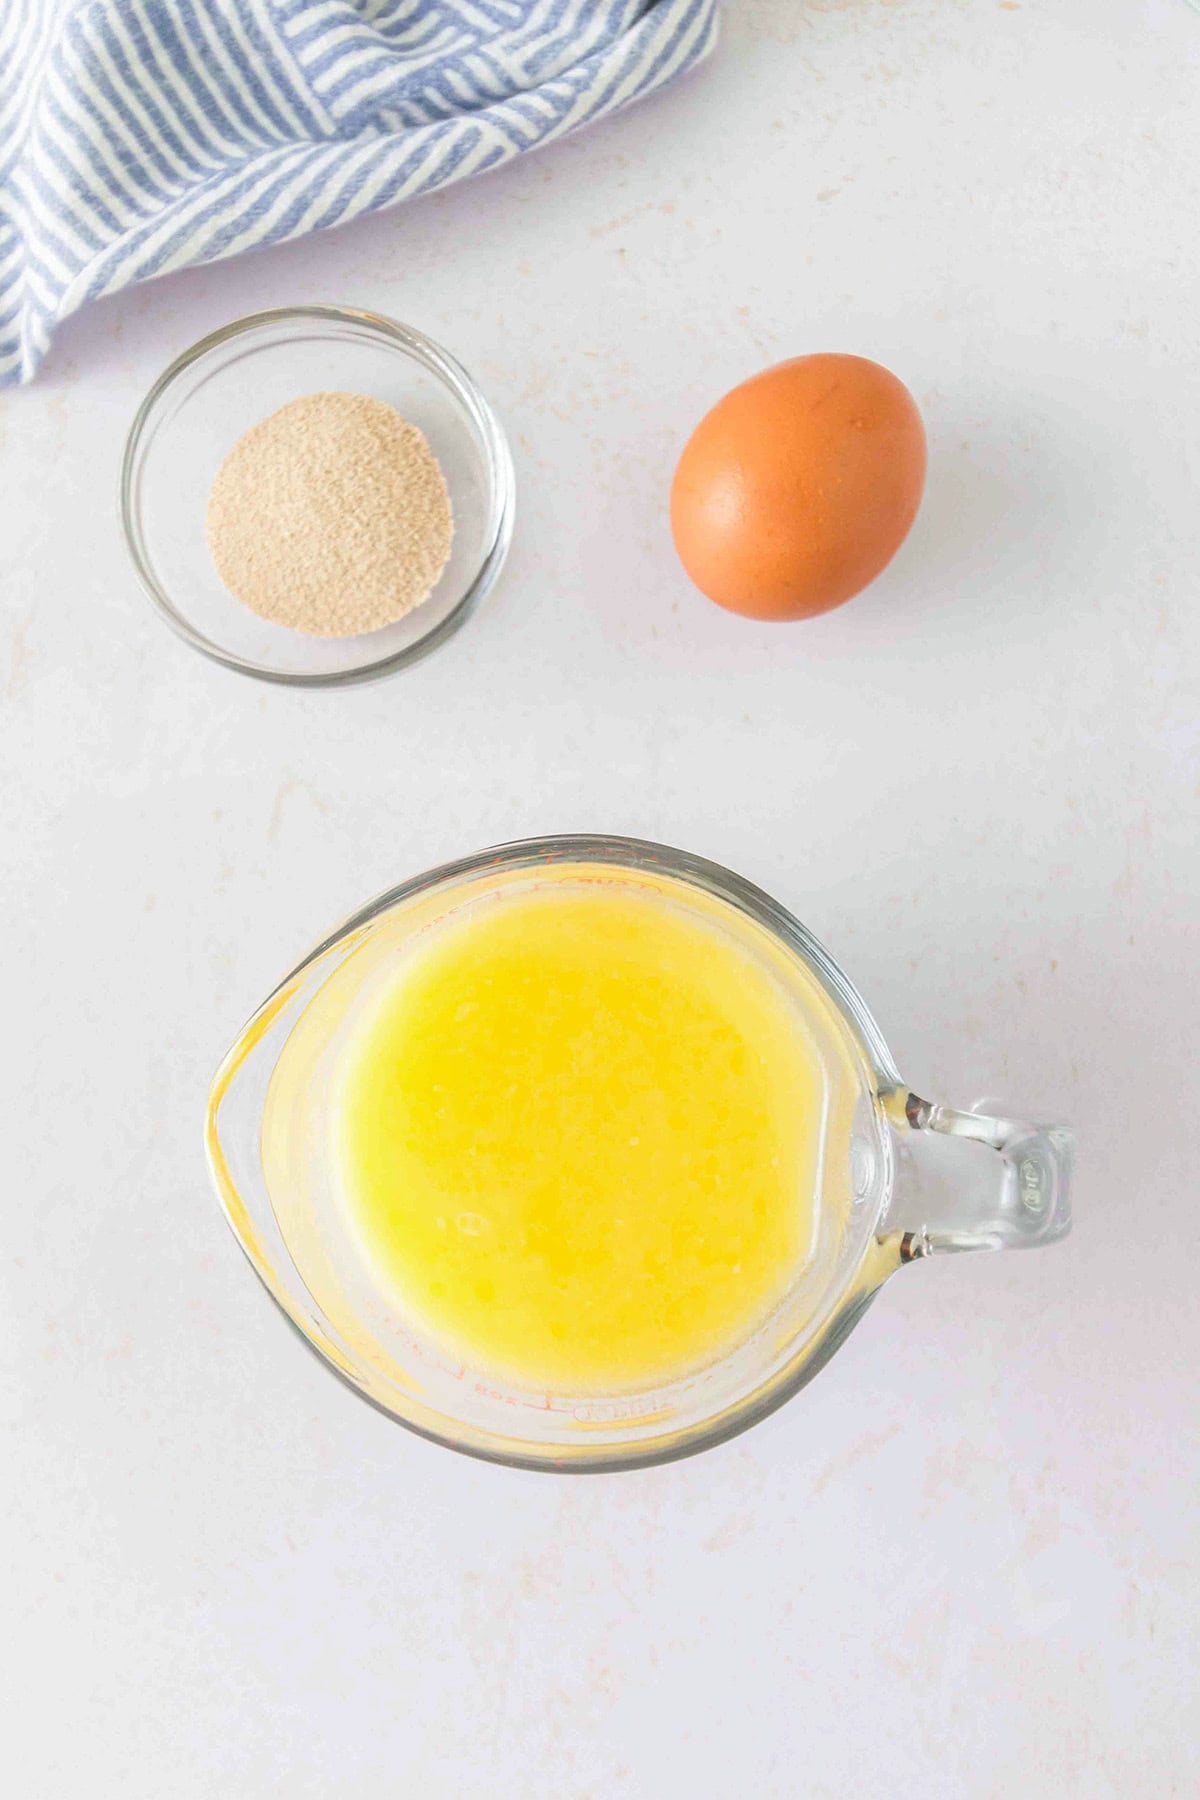
Step 2: In a separate bowl, add warm milk, cooled melted butter, egg, and yeast. I added my milk to a 4 cup measuring cup and microwaved it for 30 seconds until it was about 105 to 110 degrees F. If using active dry yeast, let it sit for 5 to 10 minutes until the yeast becomes foamy. Use a fork or small whisk to combine the mixture together. If the butter is added while it’s still hot, you can kill the yeast.
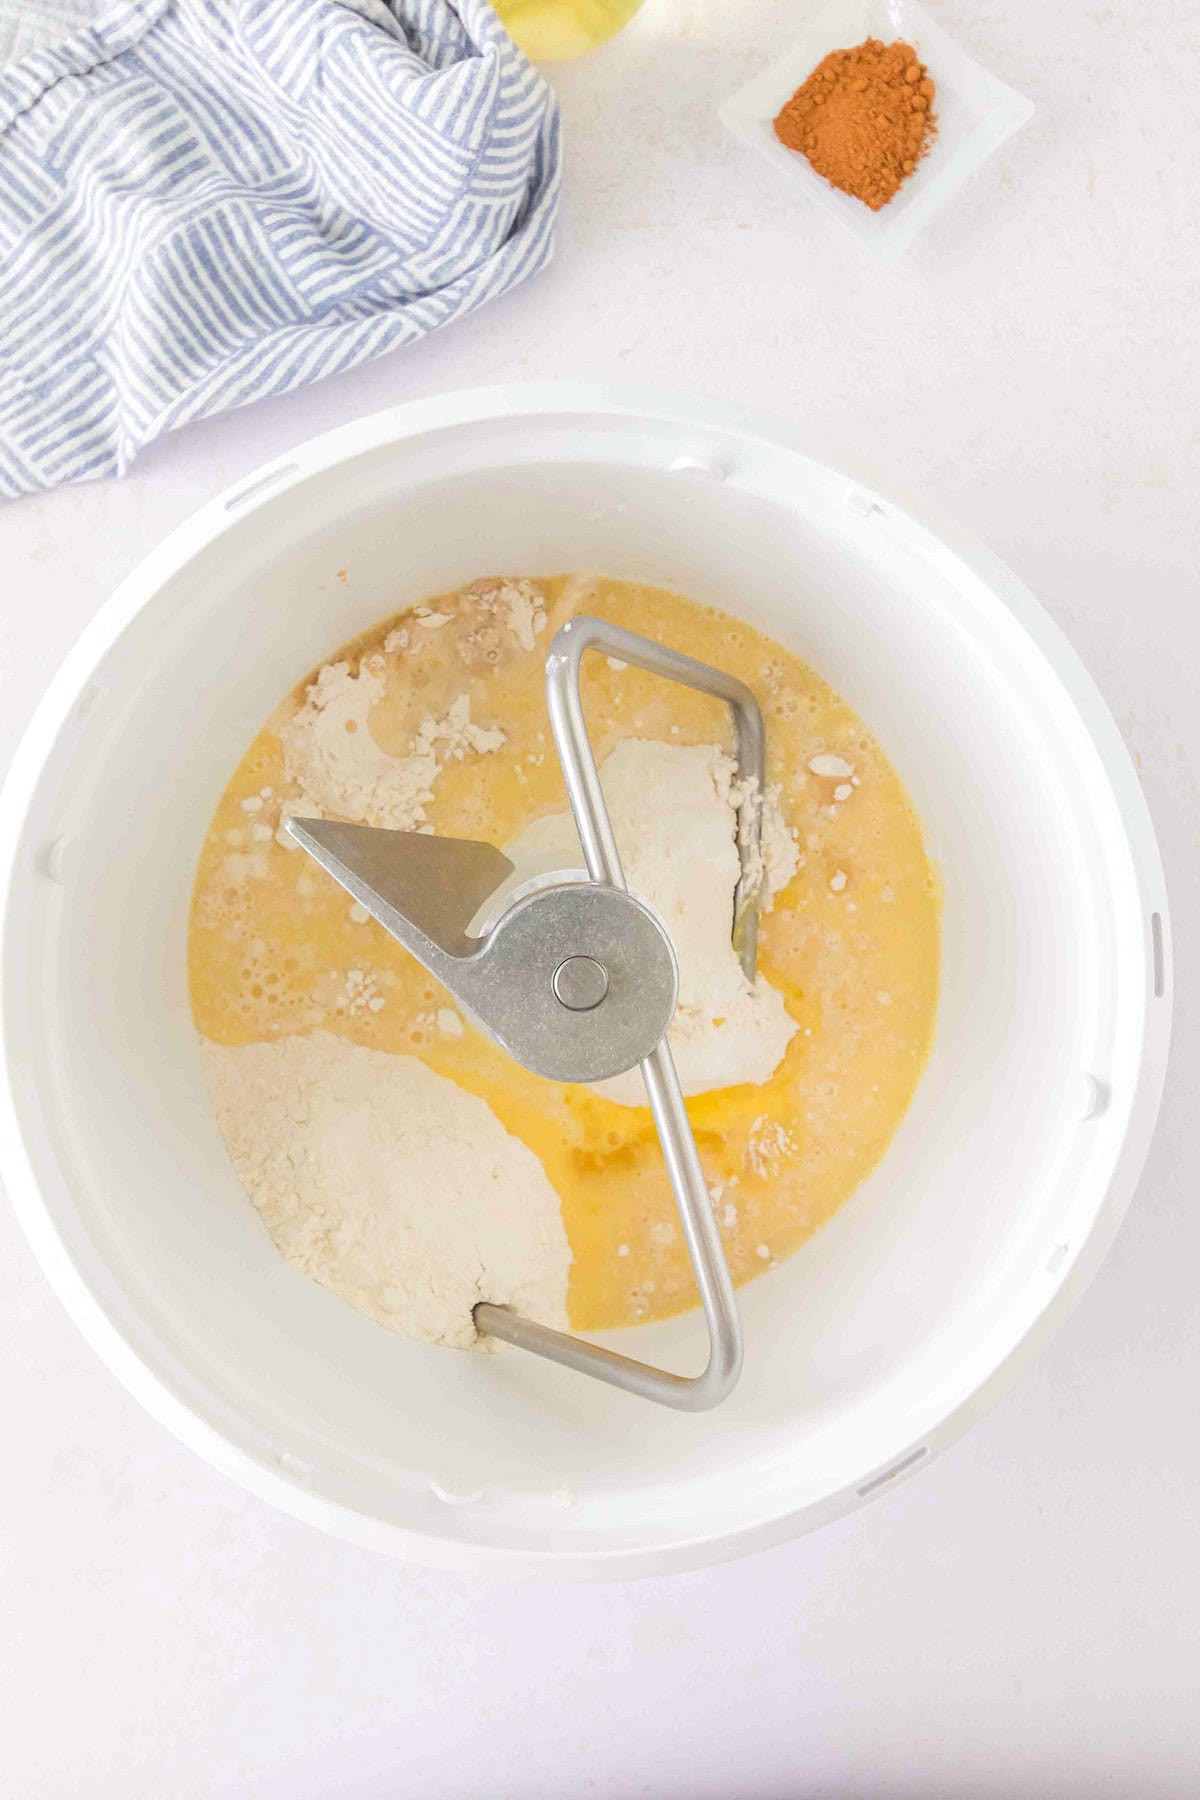
Step 3: Pour the wet ingredients into the dry ingredients. Turn the mixer on medium and let it mix for 10 minutes. If you prefer to knead the dough some, mix with the mixer for 5 minutes. Oil your work surface and hands with vegetable oil and knead for about 7 to 10 minutes until your dough has a nice elastic stretch to it.
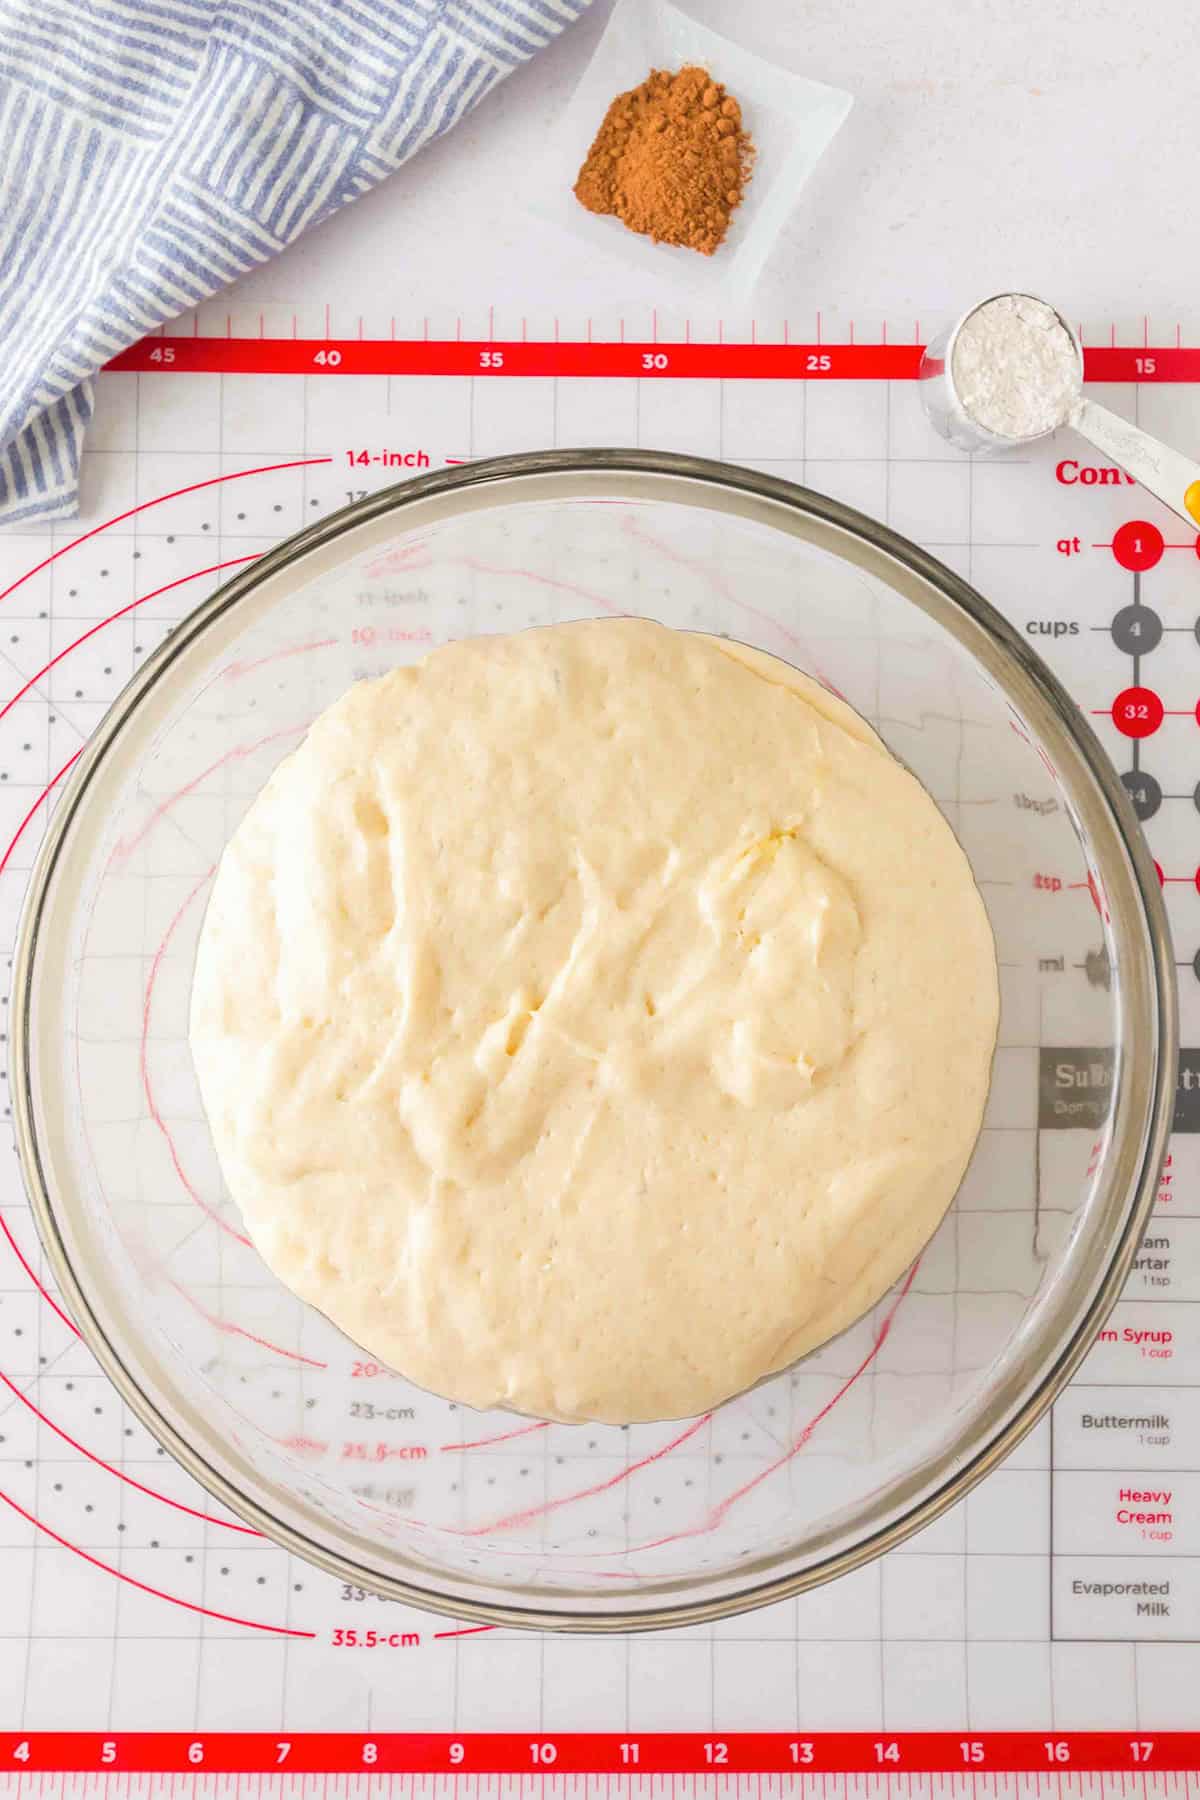
Step 4: Place the dough in a bowl, coat with oil, cover with plastic wrap, and let it double. This can take 1 to 2 hours to rise, depending on the temperature where your dough is. I preheat my oven, let it come up to 350 degrees F, and then turn it off. Then I set my dough on the top of my stove so it’s warm, but not hot.
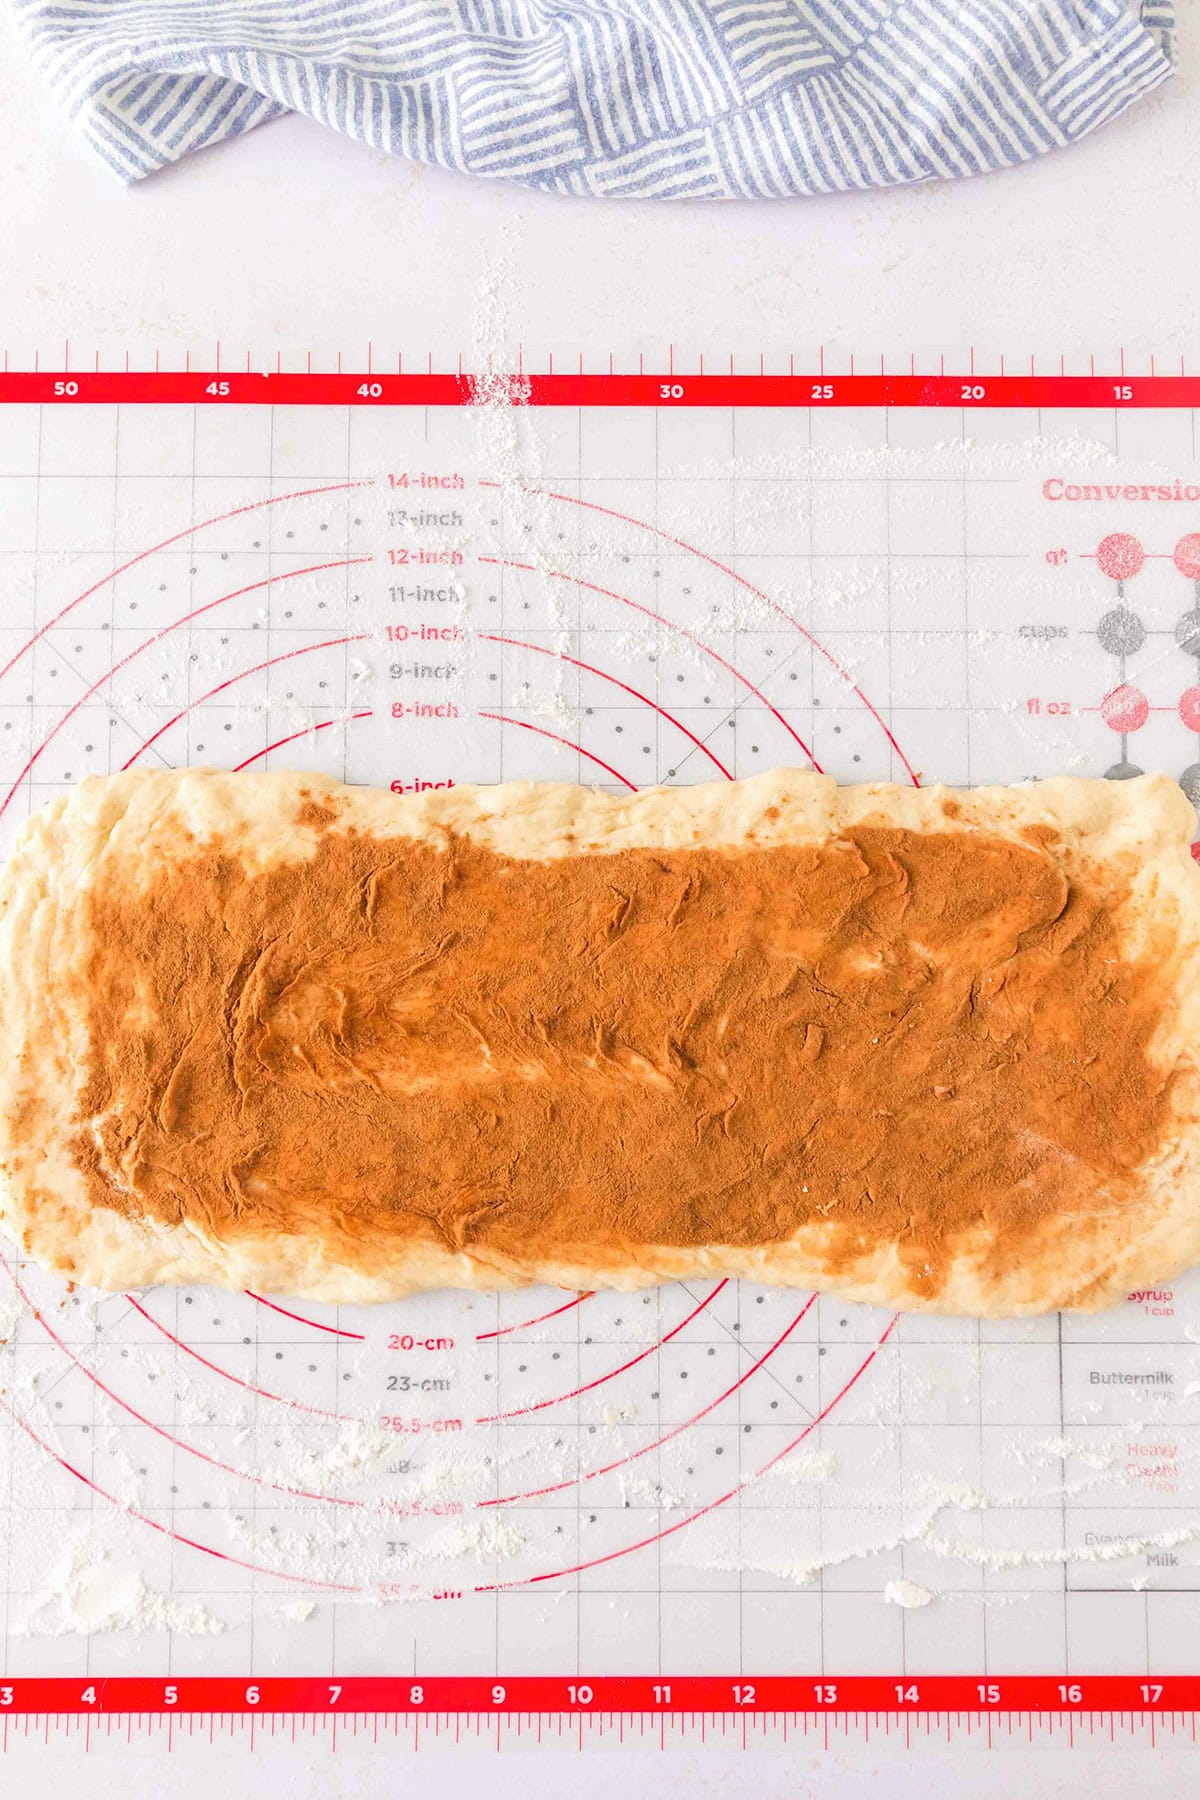
Step 5: Press the dough out onto a clean floured surface. It’s best to use your hands, a rolling pin will stick. Make it a 14 inches long and 6 inches wide rectangle. If the dough was wider, you would have more cinnamon swirls and it will look like a cinnamon roll rather than a honey bun. Coat the top with ground cinnamon. No butter or oil is needed to make the cinnamon stick.
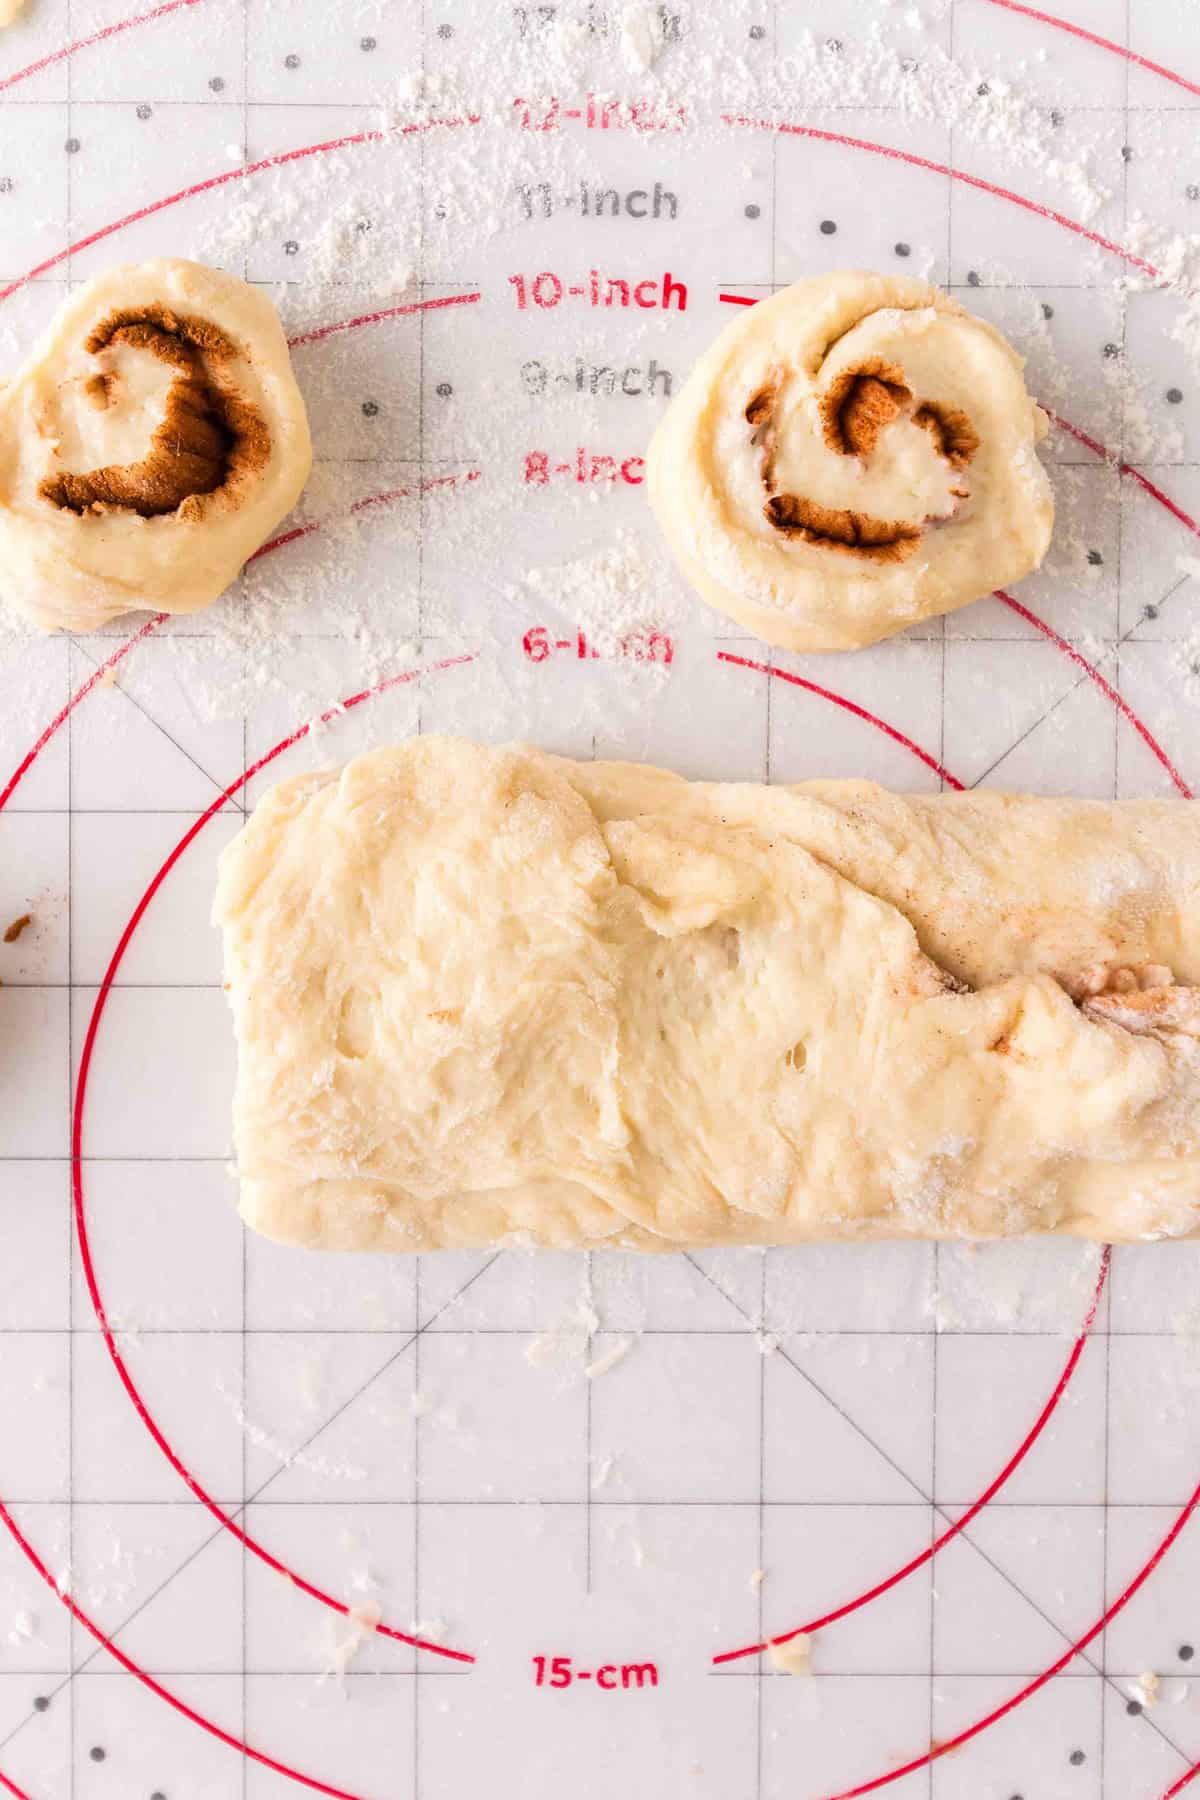
Step 6: Roll the dough up as tight as you can. Start on the longest side. I like to pull it towards me slightly as I’m rolling to keep it tight. The dough has a nice stretch so it shouldn’t break. When you come to the edge of the dough, rub it with water to make it sticky and pinch it into the roll. If it doesn’t stick, add more water. This is really important especially if you plan on frying these.
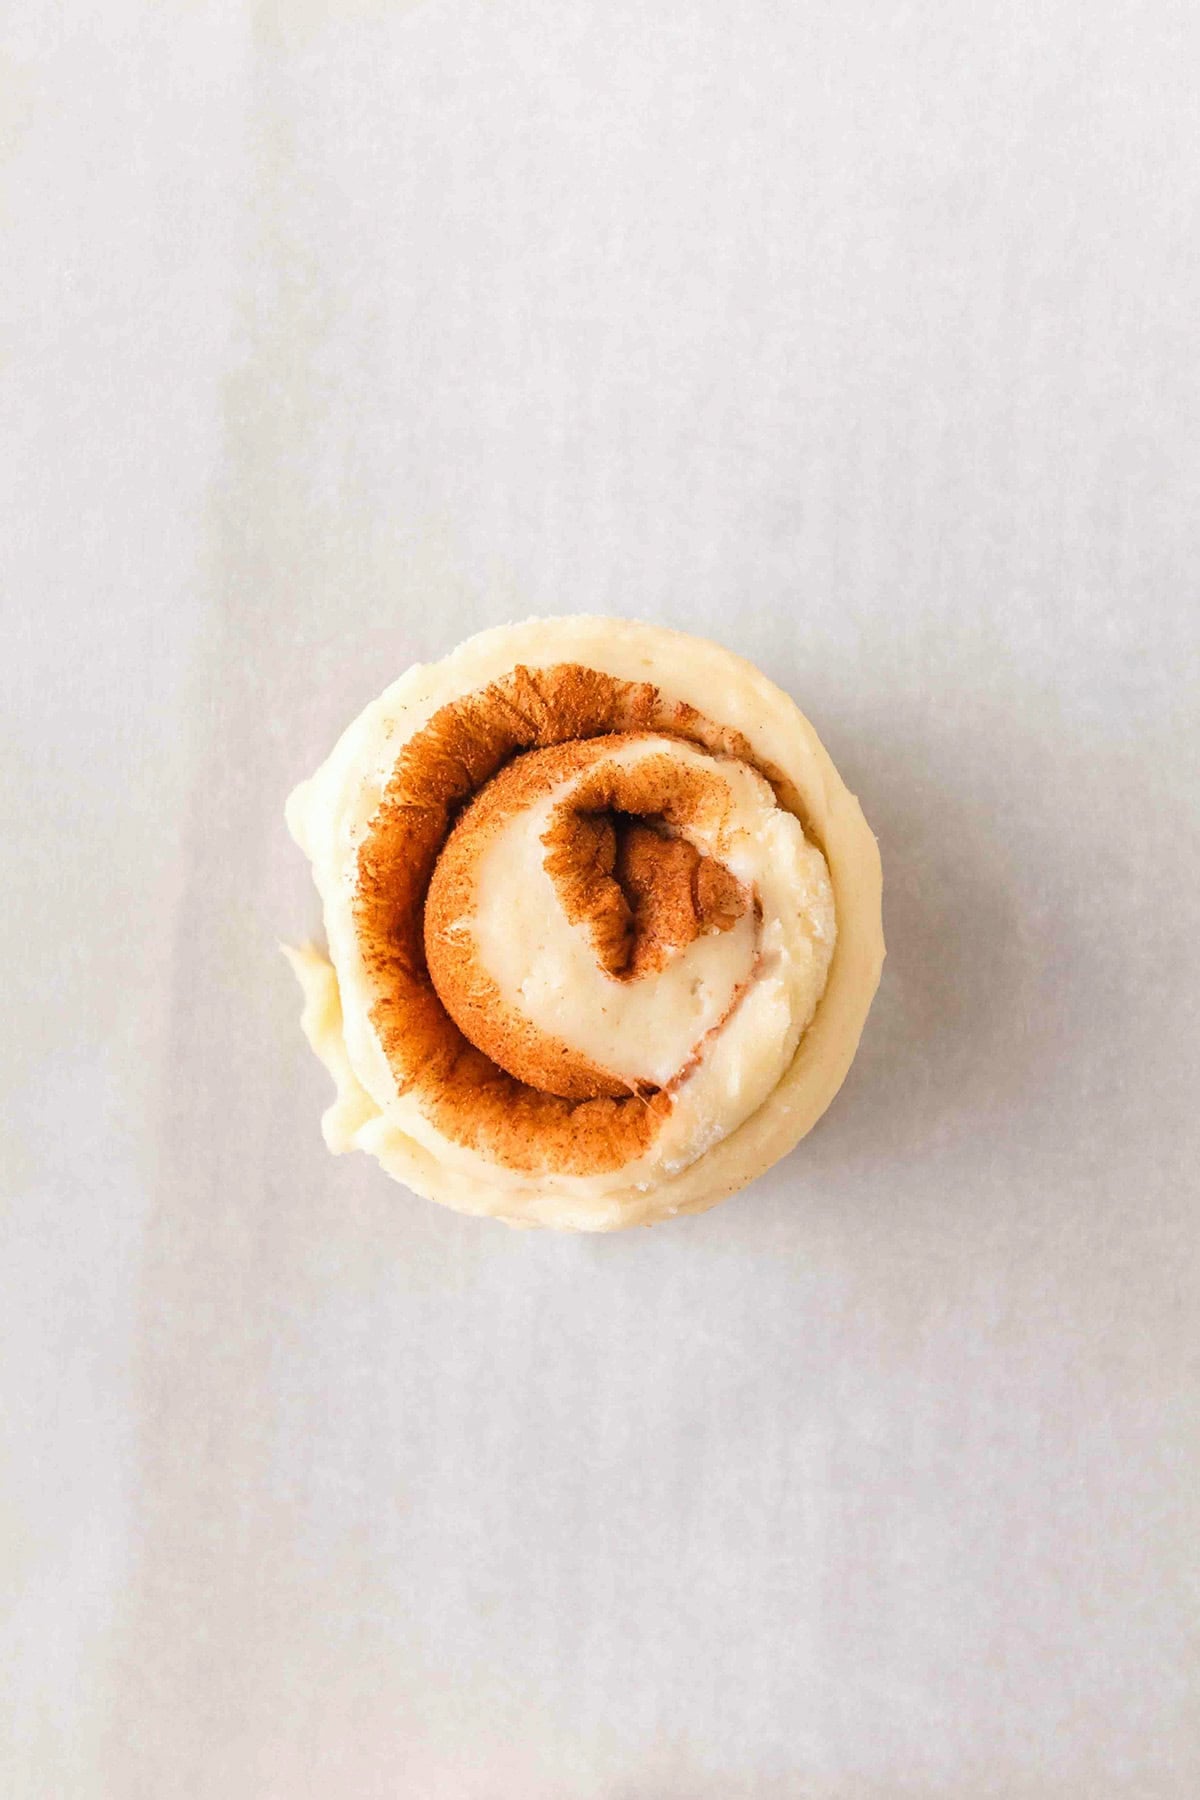
Step 7: Cut the dough. Use dental floss to make nice slices. Slide the floss under the roll of dough, cross the two sides of the floss, and pull until it’s cut the dough into a perfect slice. You can do 1/2-inch to 1-inch thick slices. I thought 3/4-inch looked like it was the perfect size. The dough is too sticky to use a knife. Let the honey buns rise for about 30 minutes in a warm place. Be sure they’re on a greased piece of parchment paper with a piece of plastic wrap loosely covering them.
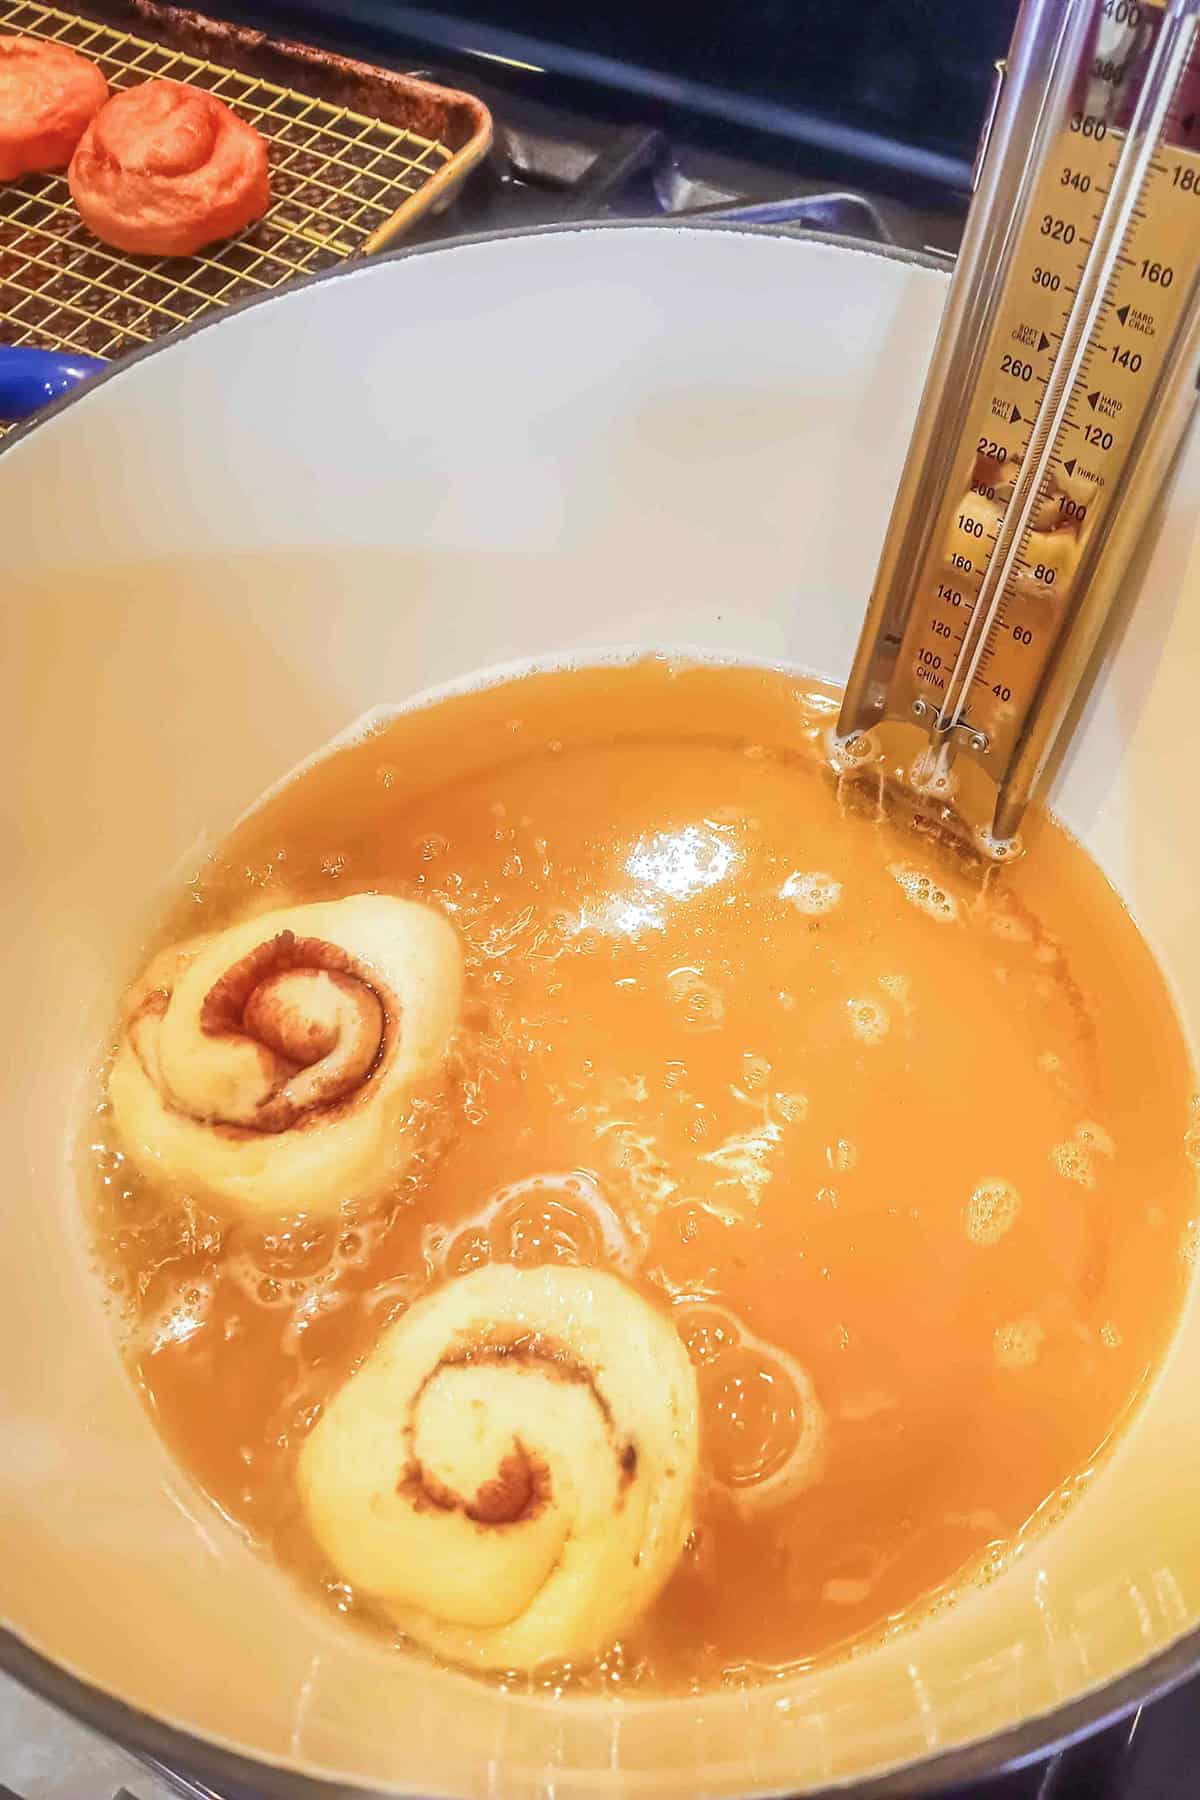
Step 8: While the slices are rising, heat 3 cups of vegetable oil or oil of your preference in a large saucepan to 320 degrees. Use a thermometer to check the temperature. You’ll also want to mix up your glaze so it’s ready for you. Fry 1 to 2 honey buns at a time. Flip once the bottom is golden and let the top fry until golden. Remove from the oil and place on a wire rack to drain. If you’re baking these, bake at 350 degrees F for 15 to 18 minutes.
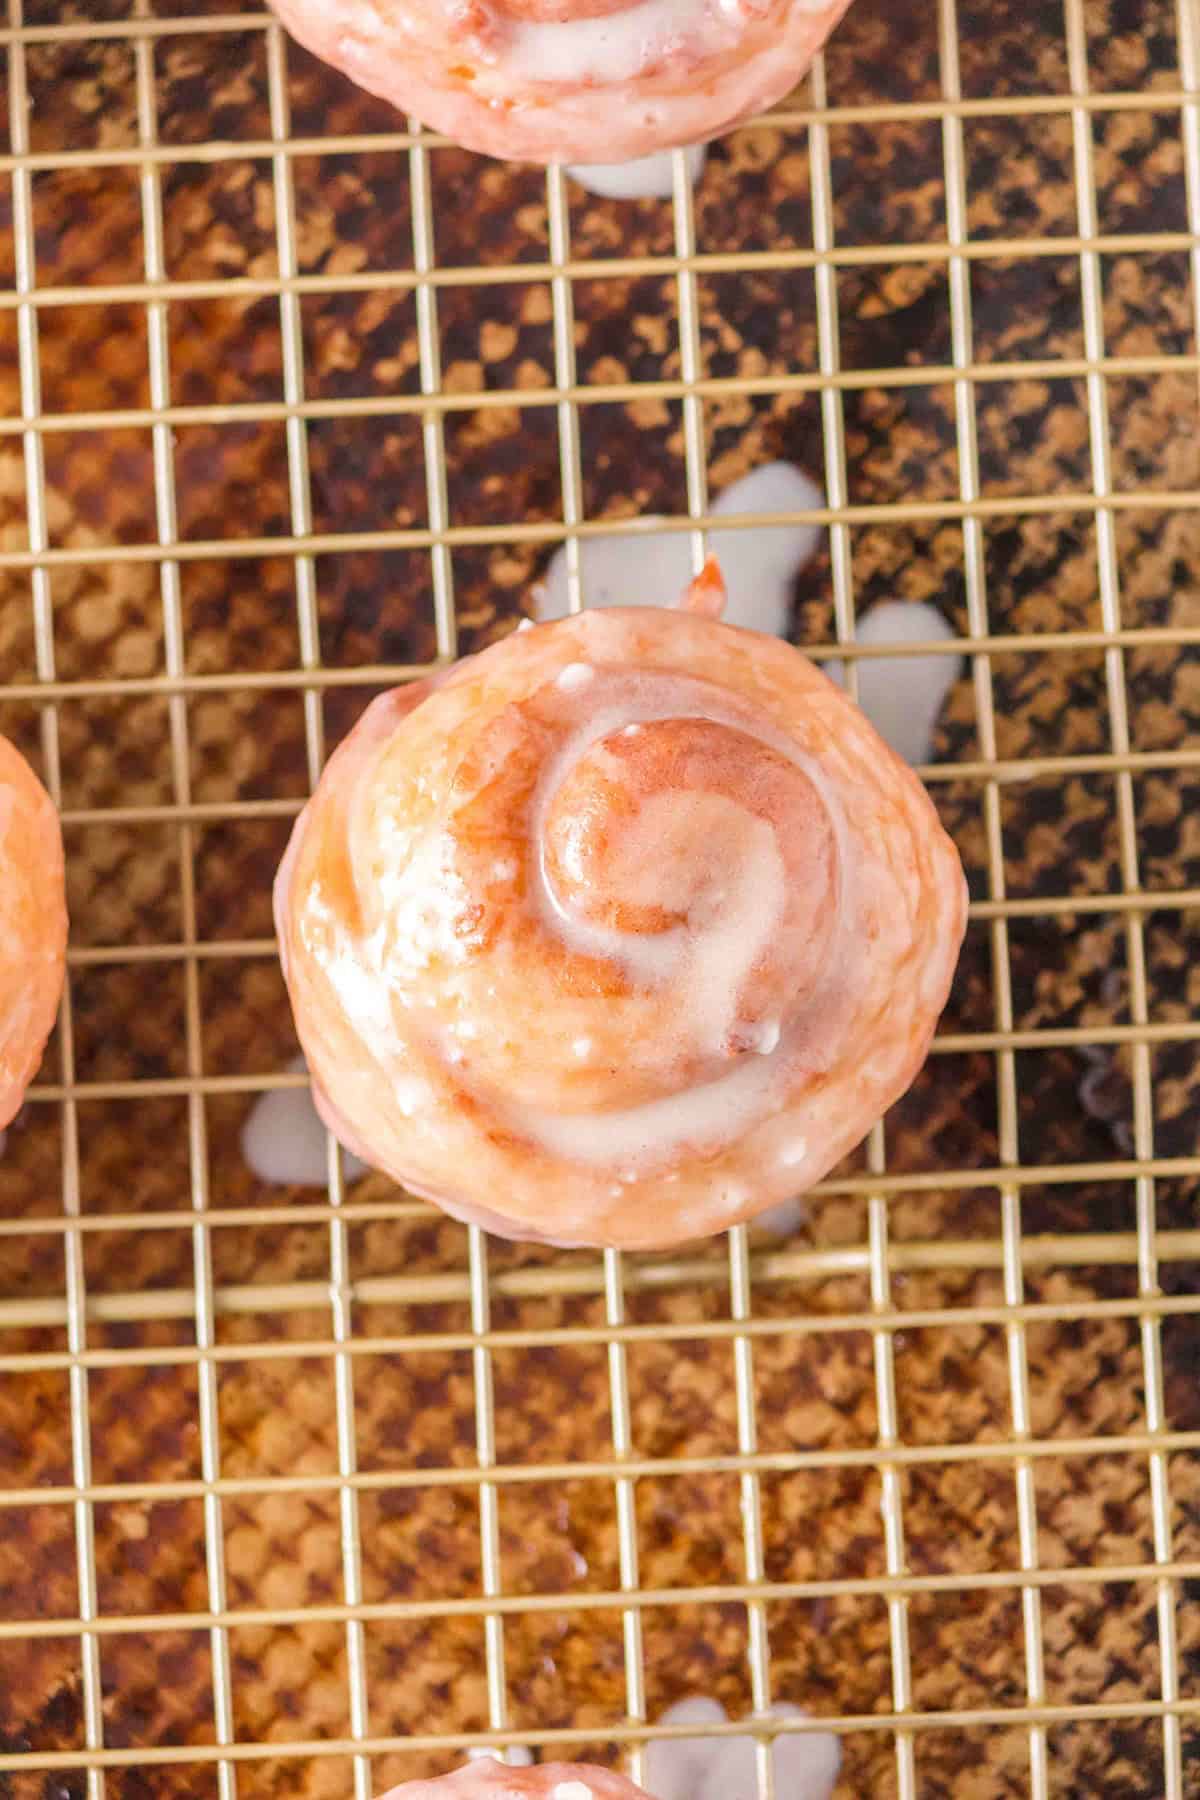
Step 9: Let the fried or baked honey buns cool slightly and then glaze with the vanilla glaze.
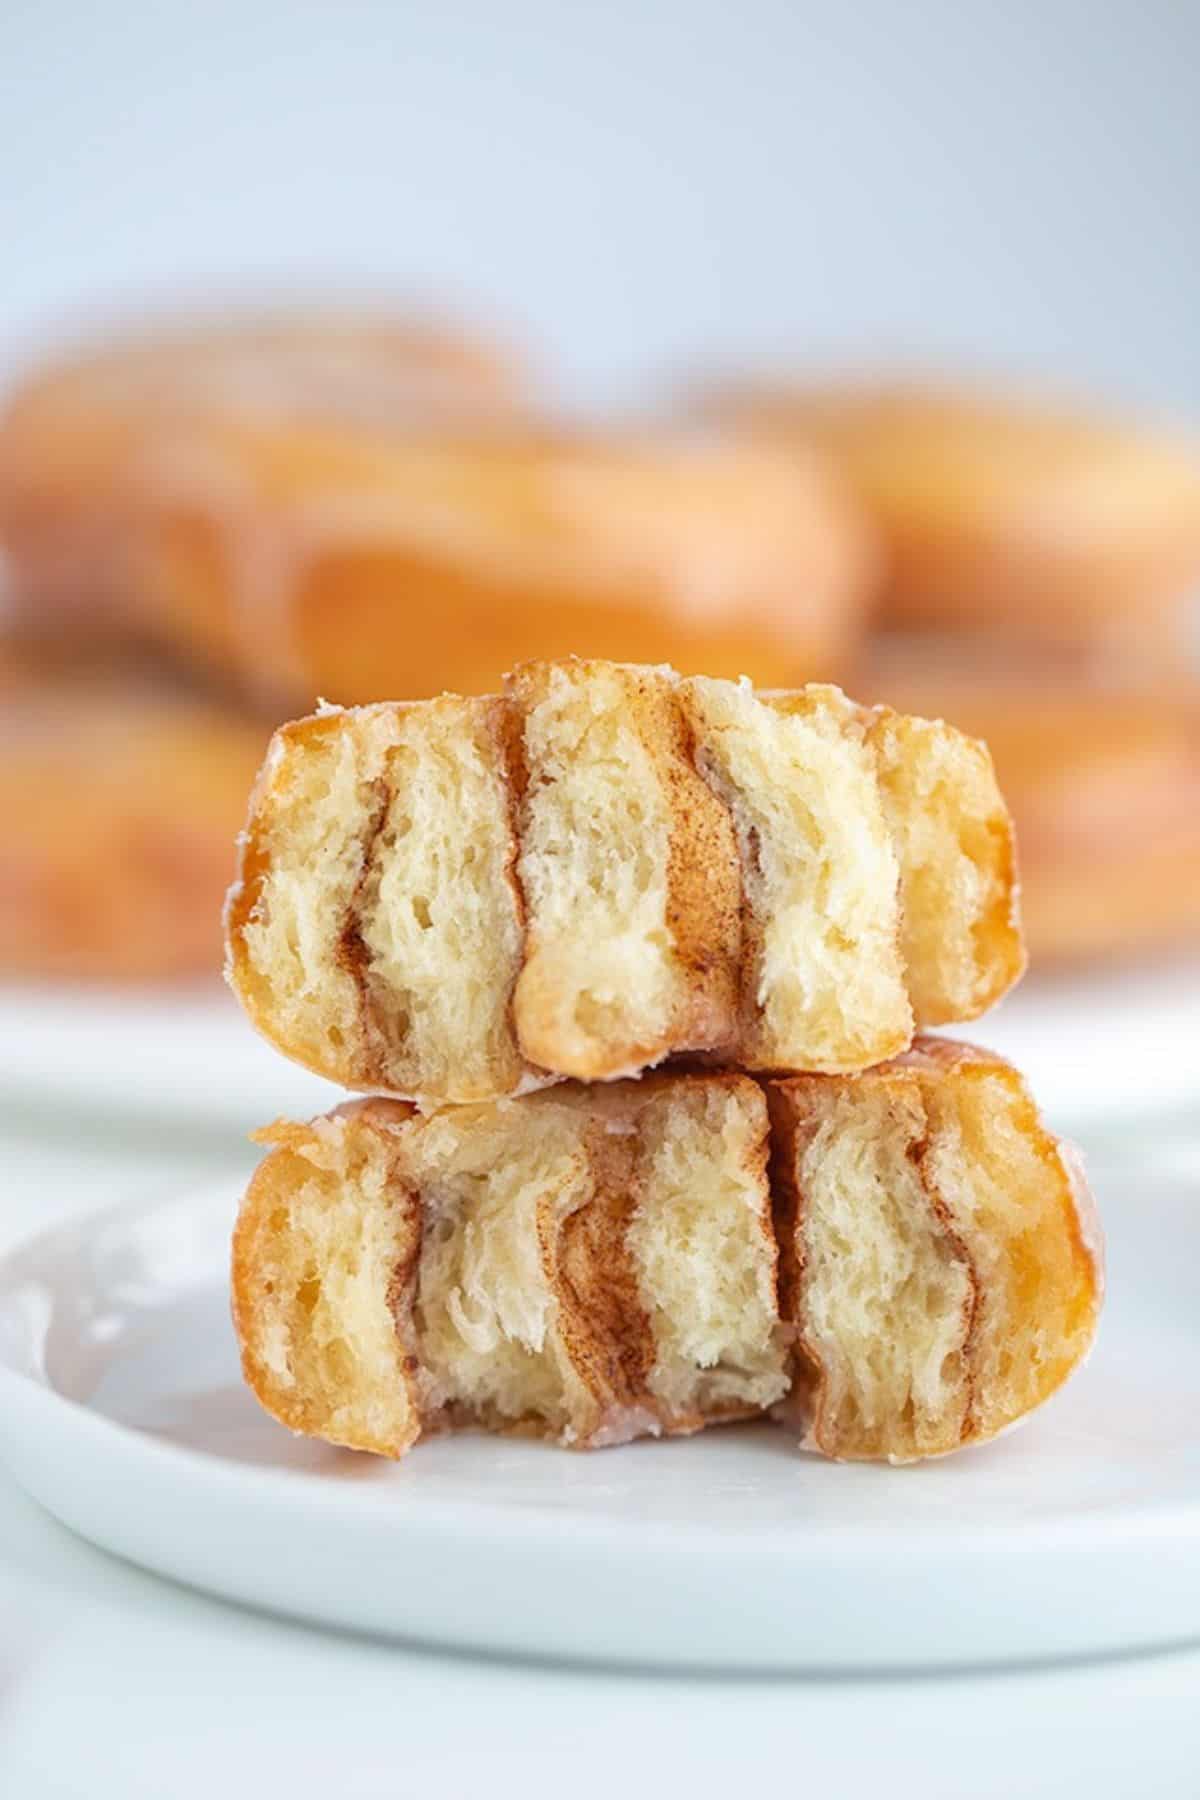
Fried Vs. Baked Honey Buns
You have to make a big decision here. Are you going to bake these babies or fry them? They’re really delicious either way, but there is a difference!
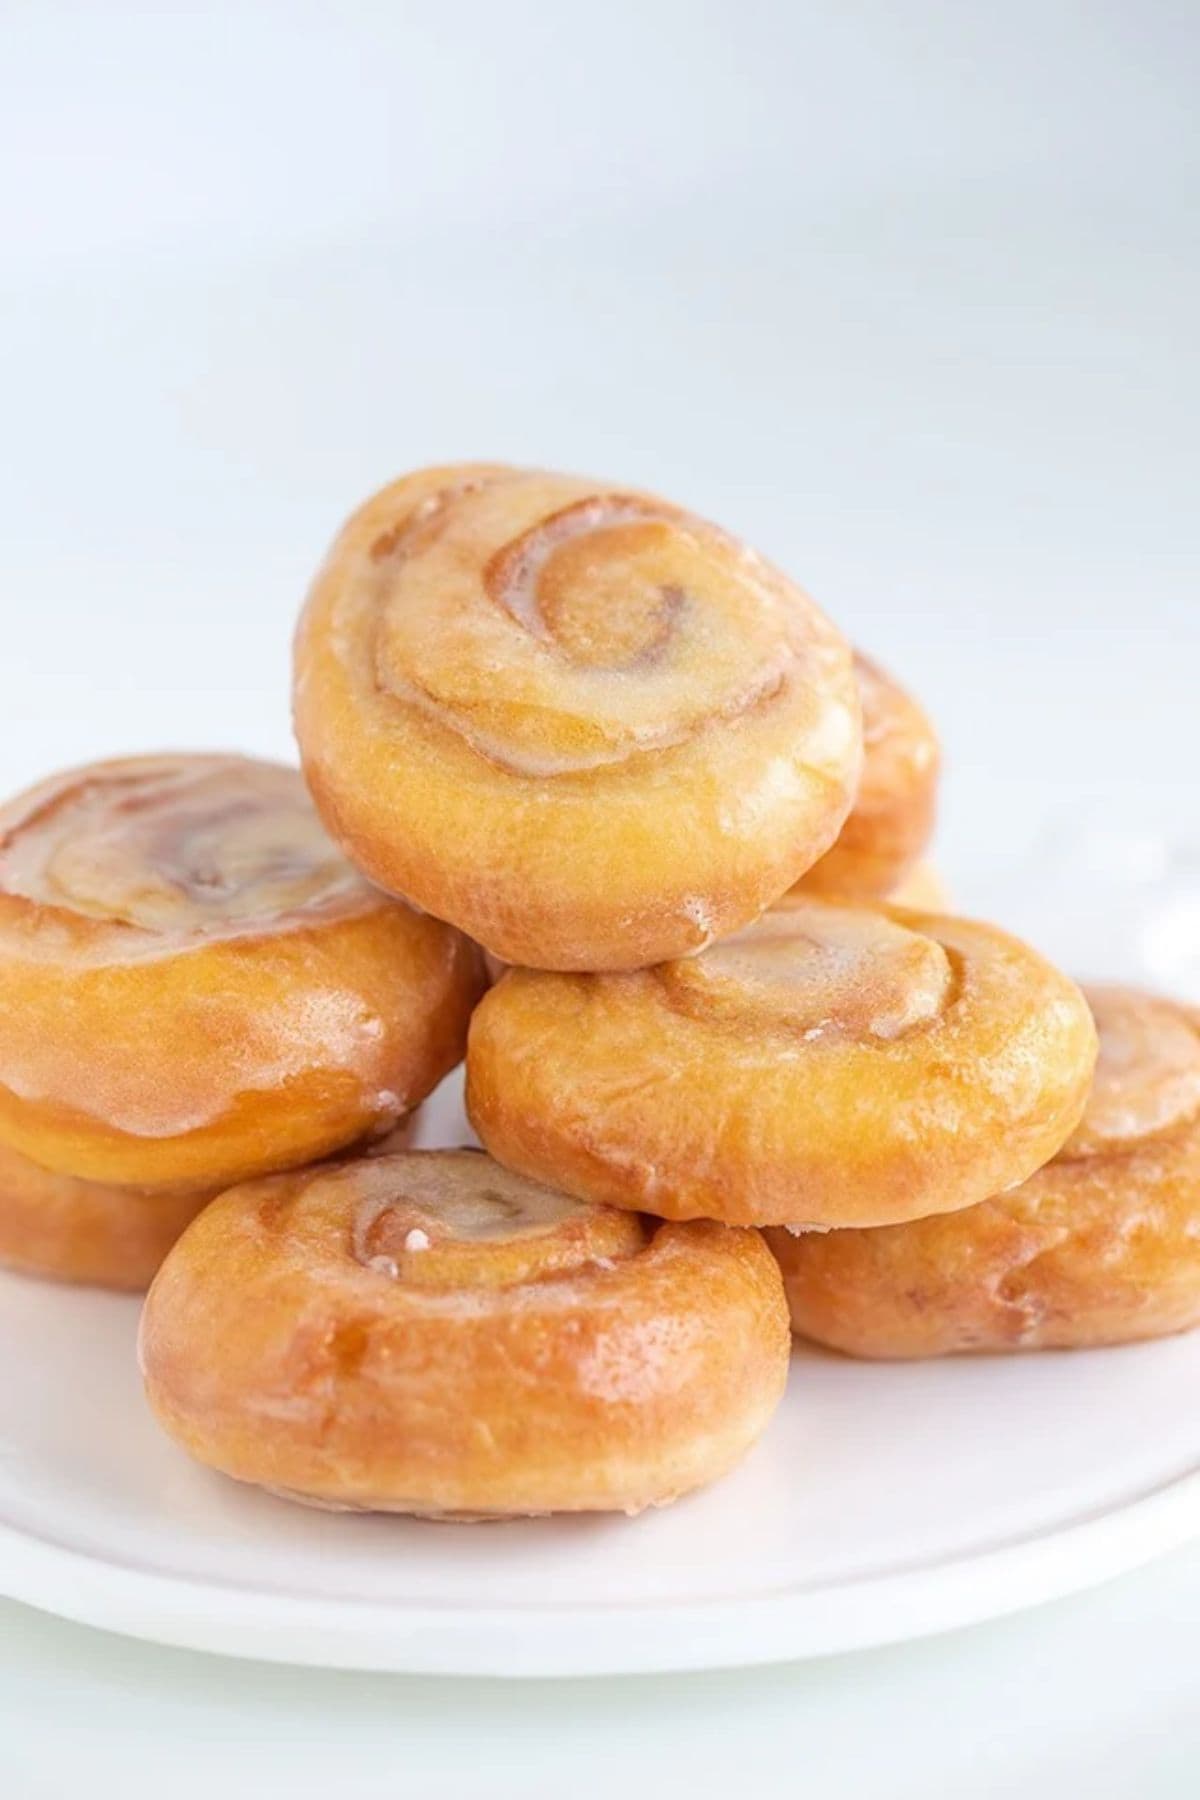
Fried Honey Buns
Frying them is more work for sure, but this is my preferred method!
Frying makes the honey buns softer and fluffier and gives them that signature honey bun flavor. The outside gets lightly golden while the inside stays soft.
They remind me much more of the packaged honey buns that I grew up with.
The downside is that frying takes more time, especially because I like to fry only one or two at a time so the oil temperature doesn’t drop dramatically.
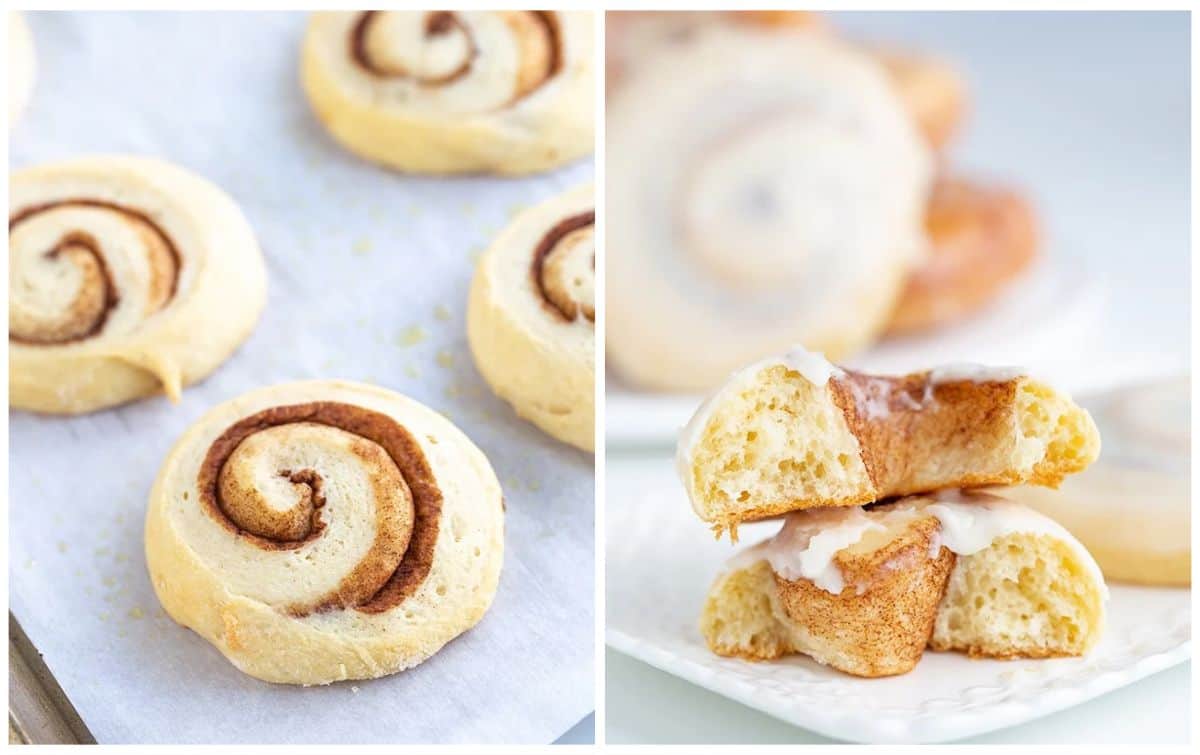
Baked Honey Buns
Baking is definitely easier.
There’s no large pot of hot oil to deal with, and you can cook the whole batch at once.
The baked version is still soft and delicious, but doesn’t puff quite the same way or have that characteristic fried flavor.
If you want the closest thing to a classic honey bun, I’d fry them. If you want the easier option, bake them.
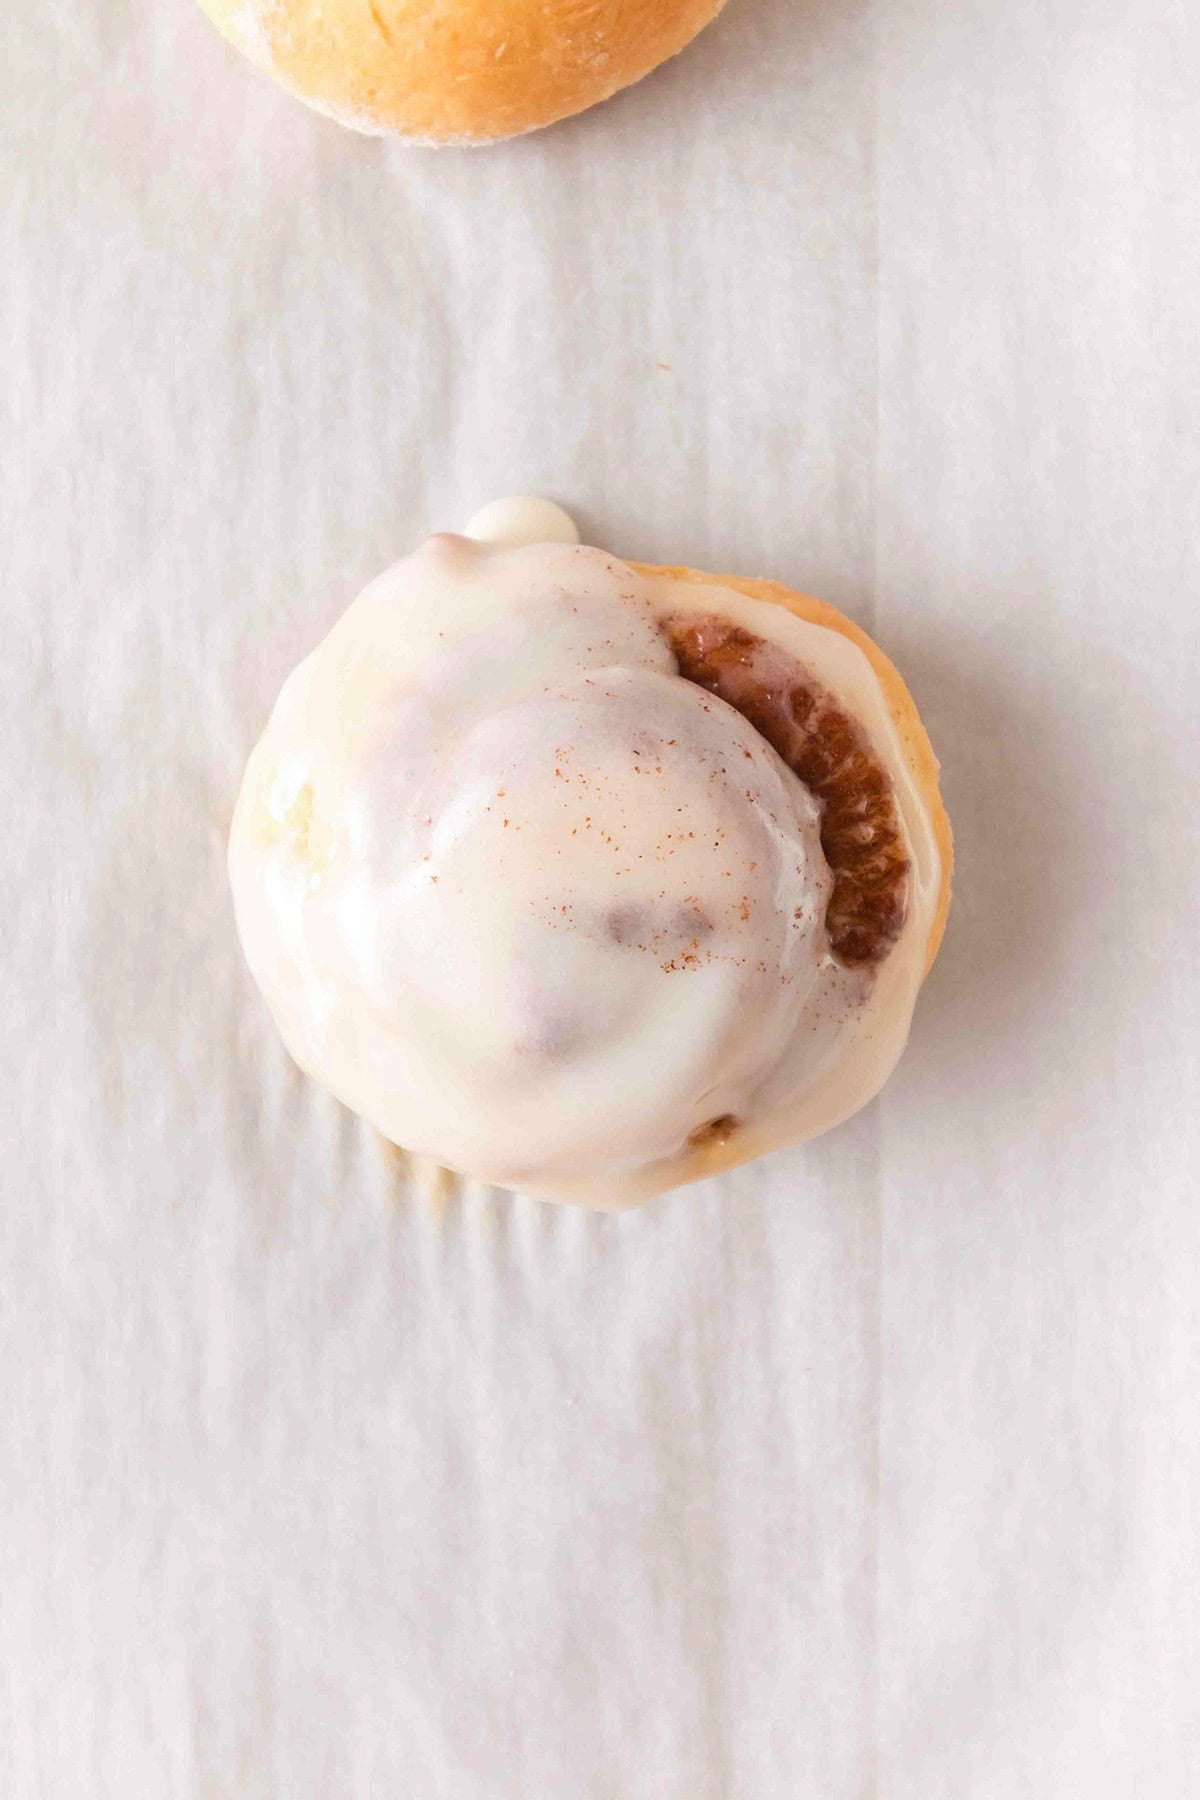
Tips for Frying Honey Buns
Keep the Oil Around 320 degrees F
Use a candy or deep-fry thermometer so you can monitor the temperature.
Oil that’s too cool can make the fried dough absorb more oil. Oil that’s too hot can brown the outside before the center has time to cook.
Don’t Crowd the Pan
Adding several pieces of room temperature dough to the oil at once causes the temperature to drop.
I like frying one at a time for the most consistent results. It takes longer, but every honey bun gets my undivided attention. Lucky buns!
Handle the Risen Dough Gently
After the second rise, the honey buns are soft and delicate.
Greasing the parchment paper before placing the buns on it makes them easier to lift without deflating them.
You can also cut the parchment around each honey bun and use it to help transfer to the dough.
Look for Color, Not Just Time
Fry until the first side is evenly golden, then flip and cook the other side until it appears the same.
Because oil temperatures fluctuate, visual cues are more reliable than trying to follow the exact number of seconds.
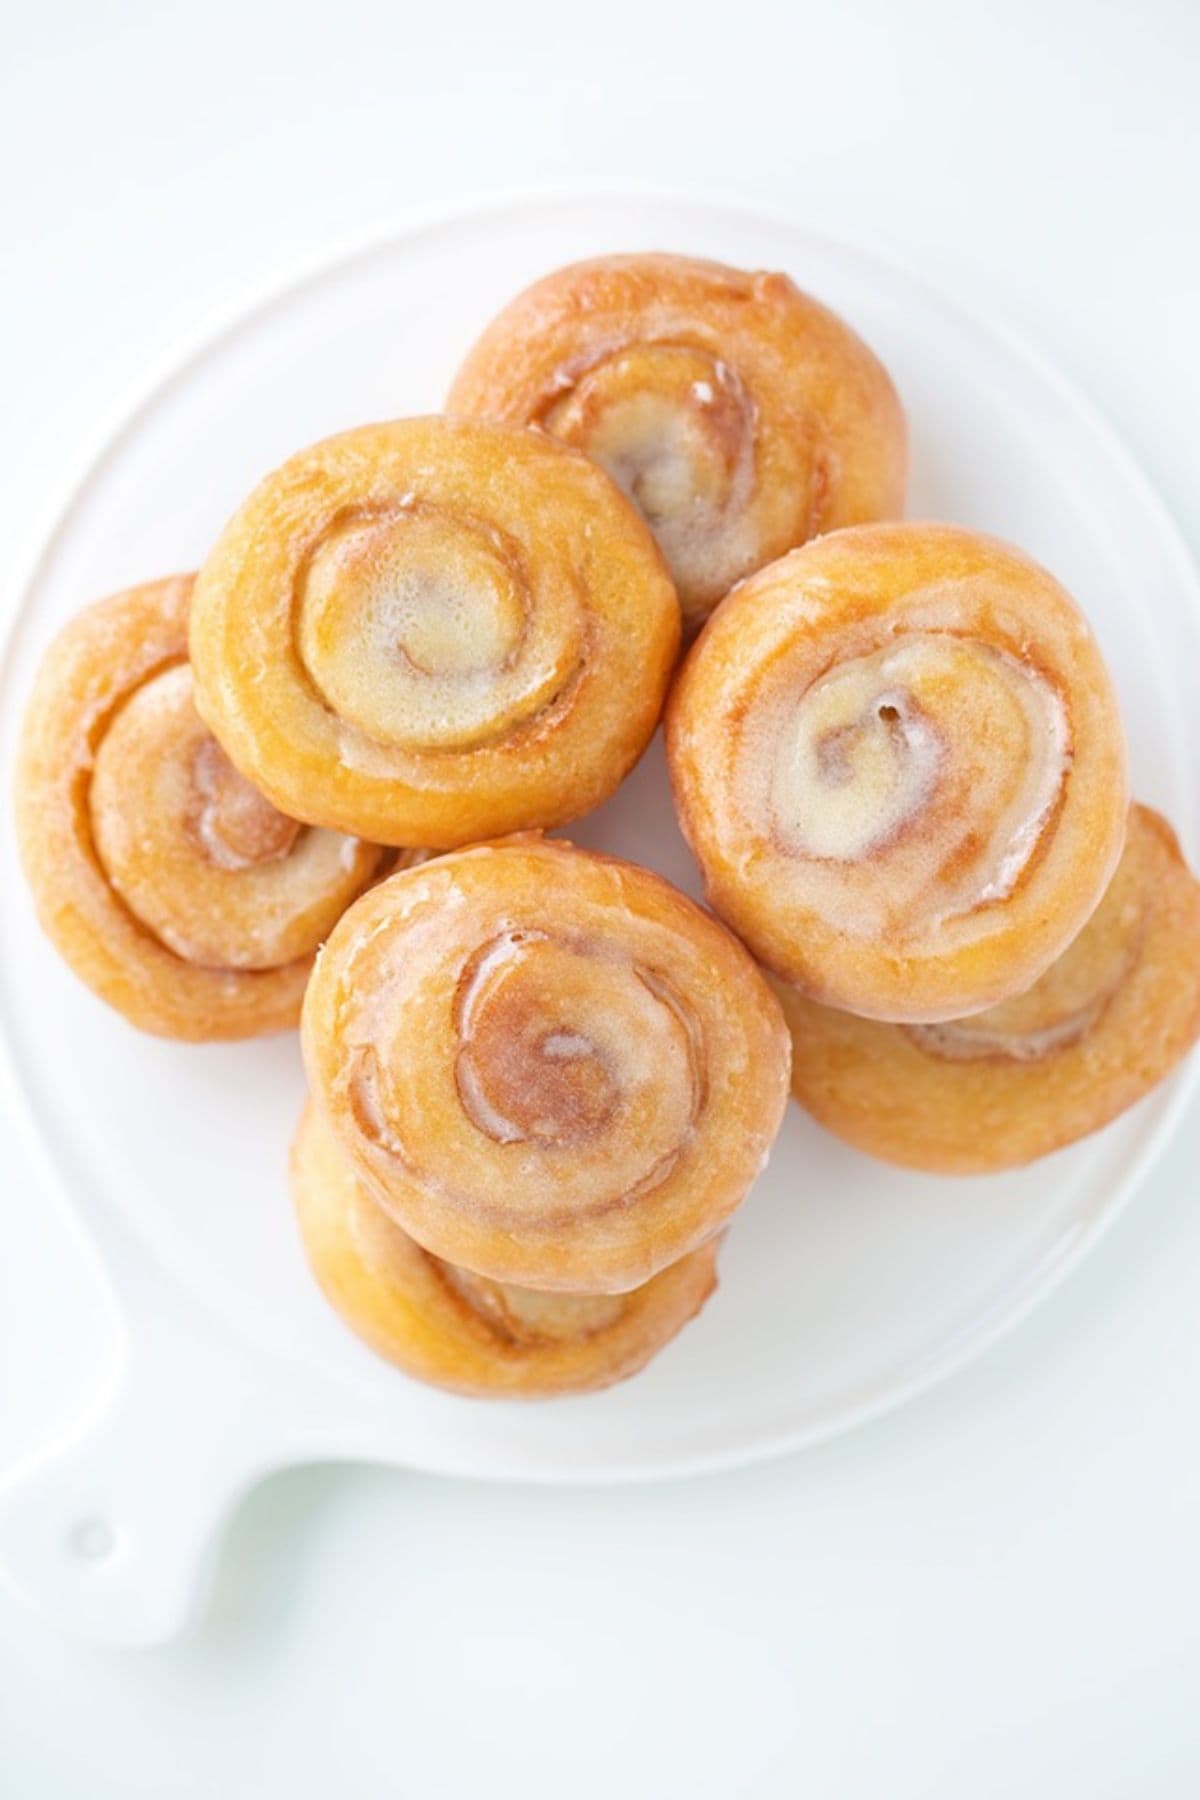
Tips for the Best Honey Buns
- Don’t add extra flour just because the dough is sticky. This is one of my biggest tips for the entire recipe.
- Check the milk temperature. It needs to be between 105 and 110 degrees F.
- Cool the melted butter before adding it to the yeast mixture.
- Watch the dough rather than the clock. Rise times change depending on the room temperature.
- Seal the seam well on the dough. A little water helps glue the dough together and keeps the spiral intact.
- Use a thermometer when frying. Maintaining the oil temperature gives you more consistent results.
- Make the glaze before you need it. You want it waiting for the warm honey buns, not the other way around!
- Glaze the homemade honey buns while they’re still warm. This allows the glaze to spread and give a thin, smooth finish.
How to Store Honey Buns
Fried honey buns are definitely best the day they’re made. You can store them in an airtight container at room temperature for up to 2 days, but they’ll lose some of that freshly fried texture and softness.
Baked honey buns keep a little better and can be stored in an airtight container at room temperature for about 3 to 4 days.
For the best flavor and texture, I’d still grab one while the glaze is fresh and the bun is soft. Preferably with coffee!
Recipe FAQs
The first thing I would do is check your yeast to see if it’s no longer active and also what the temperature of your milk and melted butter was. If the temperature was higher than the recommended 105 – 110 degrees F, you may have killed your yeast.
If those were both fine, a cool kitchen may be the reason. A cool/cold kitchen will make the dough take considerably longer to double in size.
Without a doubt, it’s because your oil temperature dropped too low.
Remember how I was harping on about sealing that seam up on the dough well and how important it was to do so. Here’s why. If the seam didn’t get sealed securely, the honey buns will unroll while they’re frying. If needed, wet the edges that you’re sealing with water and pinch firmly against the roll until it holds.
Short answer is, there doesn’t have to be. I’m not a huge fan of honey and never taste it in the store-bought Little Debbie honey buns, so my original recipe just included granulated sugar. After some testing, there is now an option to include it in this copycat Little Debbie Honey Bun Recipe. Woohoo!
You can also make these without a mixer. Stir the dough together with a spatula until the dough comes together. Oil a clean countertop and your hands with vegetable oil. Begin kneading the dough until it has a nice elastic stretch. I haven’t done it by hand, but I would guess 10 to 15 minutes would do the trick. A bench scraper would come in handy with this sticky dough.
I haven’t tested my recipe with chilling the dough overnight, so I don’t want to say it will work, especially since it’s so darn sticky. If you give it a try before I get to it, we all would love to get your feedback on it!
This Honey Bun recipe post was first published on April 24, 2020, but is being updated with more tips and tricks as well as new photos and process shots.
If you try this recipe, be sure to leave a rating below and also share it on Instagram, and tag me! You can also find me on Facebook and stay up to date on recipe releases by joining the Newsletter!
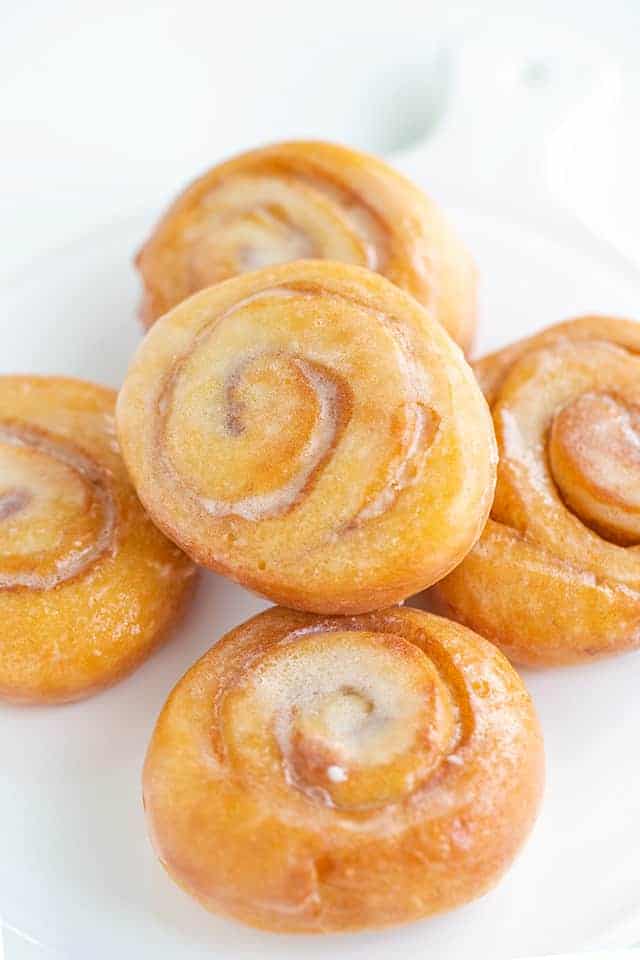
Glazed Homemade Honey Buns
SAVE THIS RECIPE
Ingredients
Honey Buns
- 2 cups all-purpose flour
- 3 tablespoons granulated sugar, or 2 tablespoons honey
- 1/2 teaspoon salt
- 1/2 cup plus 3 tablespoons milk
- 2 1/4 teaspoons instant or active dry yeast, 1 envelope
- 1/3 cup butter, melted
- 1 large egg
- 1 teaspoon vanilla extract
- 1/2 tablespoon vegetable oil
- 1 1/2 teaspoons ground cinnamon
- 3 cups vegetable oil, for frying (optional)
Glaze
- 6 tablespoons butter, melted
- 2 cups powdered sugar
- 3 – 5 tablespoons whole milk
- 1 teaspoon vanilla extract
Instructions
Honey Buns
- In a stand mixer fitted with the dough hook, add in the 2 cups all-purpose flour, 3 tablespoons granulated sugar (or 2 tablespoons of honey), and 1/2 teaspoon salt. If using honey instead of sugar, add it to the milk.
- In a microwave-safe bowl, add the 1/2 cup plus 3 tablespoons milk. Microwave for 30 seconds. You'll want the milk to be at 105 – 110 degrees F.
- Add in the 2 1/4 teaspoons instant or active dry yeast, cooled 1/3 cup butter, 1 large egg, and 1 teaspoon vanilla extract. Using a fork, whisk the egg into the mixture.
- Pour the wet mixture into the stand mixer and mix on medium for 10 minutes. The dough will be pretty sticky.
- Grease your hands and a large bowl with 1/2 tablespoon vegetable oil.
- Remove the dough from the mixer and shape it into a ball.
- Place the dough in the bottom of the bowl and coat it with 1/2 tablespoon vegetable oil. Cover the bowl with plastic wrap and let the dough rise until doubled. This will take about 1 to 2 hours.
- Line a cookie sheet with parchment paper. Spray the parchment paper with nonstick baking spray.
- Once the dough has doubled, press it down.
- Place the dough on a lightly floured work surface.
- Press the dough out into a 6-inch by 14-inch rectangle. You can use a rolling pin, but I prefer to use my hands.
- Sprinkle the 1 1/2 teaspoons ground cinnamon on top of the dough. Using your hand, rub the cinnamon all over the dough.
- Begin rolling the dough from the long side.
- Once the dough is rolled up, you'll need to seal the edge. Do this by rubbing the edge of the dough with water. Pinch the wet edge into the roll of dough to form the seam. If the dough isn't staying pinched together, rub a little more water on the edge and pinch again. Leave the dough seam side up since it will be sticky from the water and will likely stick to the counter if it touches it.
- Measure out 1/2-inch thick slices if you want thinner honey buns or 1-inch slices for thicker honey buns.
- Slide a piece of floss under the dough and cross both sides of the floss at the 1/2-inch or 1-inch line. Pull until the floss has cut completely through the dough.
- Place the slice of dough on the prepared cookie sheet. Repeat with the remaining dough slices. If you plan on baking these, you'll want to space them 2 inches apart. If you plan on frying them, they can be 1/2 inch apart.
- Spray the slices with nonstick baking spray so they don't dry out and cover with plastic wrap. Let them rise for 30 minutes in a warm place.
Baked Honey Buns
- Preheat the oven to 350 degrees F.
- Place the cookie sheet in the oven and bake for 15 to 18 minutes until the edges begin to turn golden brown.
- Prepare the glaze while the honey buns are baking.
- Remove the honey buns from the oven and let cool for 10 to 20 minutes. While they're still warm, dip the tops in the glaze. Tap the wrist that's holding the honey bun to remove the excess glaze.
- Place on a piece of wax paper and let the glaze set up.
Fried Honey Buns
- Heat 3 cups vegetable oil until it reaches 320 degrees F.
- Prepare the glaze while you wait for the oil to come up to temperature.
- Place the honey buns in one or two at a time into the oil. I did one at a time to keep my oil temperature from dropping.
- Flip once the donuts become golden brown.
- Once the other side becomes golden brown, place on a plate lined with paper towels or a wire rack. Let cool for 5 to 10 minutes.
- Dip the warm honey bun in the glaze. Give your wrist a tap to help any excess glaze to drip off.
- Place on a piece of wax paper and let the glaze set up.
Glaze
- In a medium mixing bowl, add the 6 tablespoons butter, 2 cups powdered sugar, 3 tablespoons milk, and 1 teaspoon vanilla extract. Whisk together until the glaze is smooth. For a thinner consistency, add the remaining milk 1 tablespoon at a time until it reaches your desired consistency.
Notes
Nutrition Info
(Nutrition information is automatically calculated, so should only be used as an approximation.)
very detailed. I haven’t made them yet, cant rate. just wanted to thank for how detailed recipe is
How do I make the glaze? How much of what?
The directions for the glaze and measurements are at the bottom of the post in the recipe card.
I baked them and they’re fabulous however I had to tweak some things – As is this is a batter not a dough! Add just 1 more cup of flour thats just enough you can work with it but not to much to make them dense! I didn’t use or need anymore flour rolling them out. Cut thin 3/4 inch and press down to form flat oval (think honey bun not cinnamon roll) I got 16 nice size buns. Important! As soon as they come out of the oven brush with simple syrup! Which is equal parts sugar dissolved in water with a tablespoon of honey! I used 1/4 c water and 1/4 c sugar This will keep them soft and sticky! Let cool then apply the icing w/1/2 tbs honey added. I baked 350 10 minutes or until 195 degrees internal temp. I bake ALOT! lol
For me, half the glaze was adequate for double the batch.
Tried these today. They tasted great but the dough was so sloppy as someone else had mentions. I had to add lots flour while I was trying to roll it. Will add more flour to mix in future.
I baked these and didn’t enjoy them. I think the previous commenter that said baking them wasn’t worth it was correct.
Does this glaze harden on the rolls?
The glaze will harden just a bit but it is still going to be a bit soft to the touch.
These look delicious! Can they be made without a stand mixer?
Yes, just mix up the batter as directed with a hand mixer or even a whisk and a bowl. A stand mixer is just optional.
Highly recommend the fried option. The baking option doesn’t even merrit trying. I’ve done both and the baked honey buns don’t even taste like the same recipe. If you want to “eat healthy” just don’t eat honey buns. Simple.
Use fresh oil and fry those little balls of goodness! I make them like honey buns, but I also make them like donuts (cutting them out and frying both the donut and the hole.) Either way is spectacular. I leave off the cinnamon for either way because i’m not a fan of cinnamon.
Why doesn’t the honey buns have any honey in them?
Classic honey buns actually don’t have honey! It is weird, I know! But they are still amazing!