Christmas Tree Cakes
This post may contain affiliate links. As an Amazon Associate I earn from qualifying purchases. Please read my disclosure policy.
This post is sponsored by USA Pans. As always, the opinions and content are my own.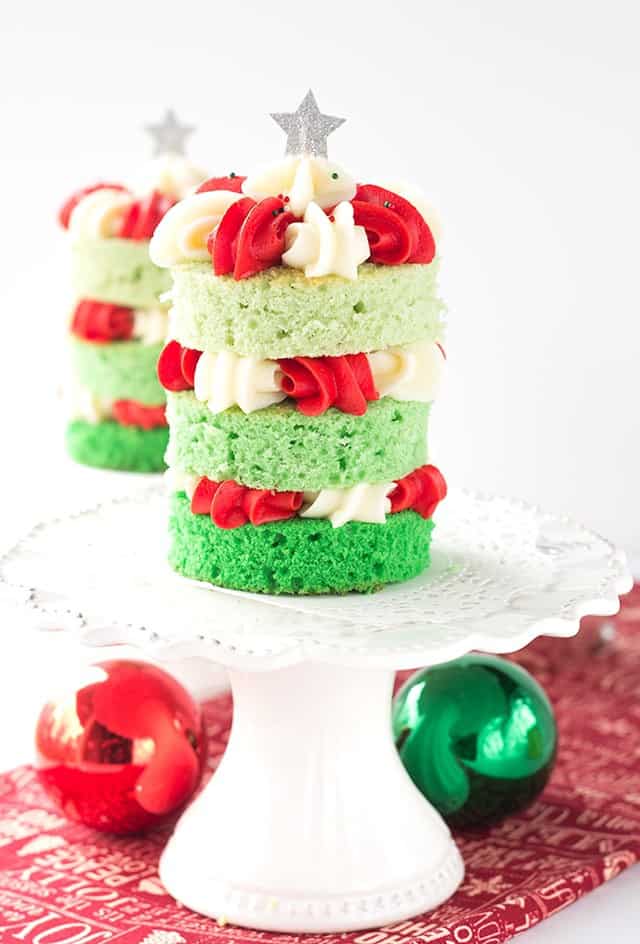
I’ve been a long time fan of USA Pans. I reached out to them to see if they wanted to partner in my Christmas giveaway and here we are with some awesome Christmas tree cakes. Yes, you read that right! There’s a giveaway happening right now on my Instagram with USA pans. If you’re looking for a nice 6 piece professional grade bakeware set, bundt pan, and their brand new lasagna pan, then head over now and get entered!
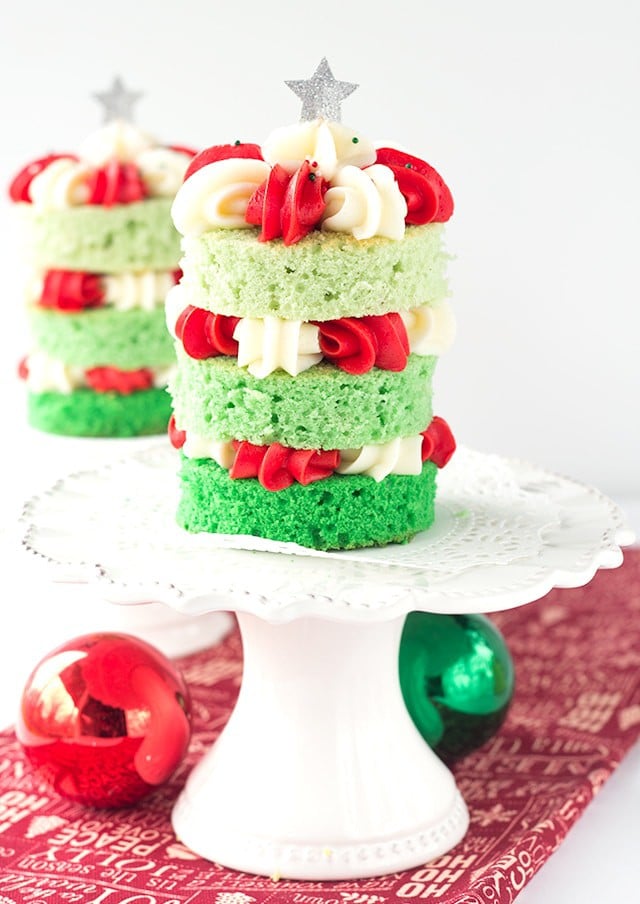
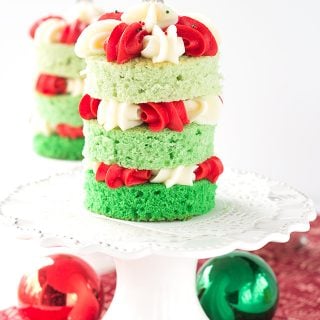
I couldn’t be happier with these Christmas tree cakes. They’re so stinkin’ cute! I wasn’t sure how the red and white frosting would look, but once I got started piping I really dug it. The 1M piping tip really added some character too.
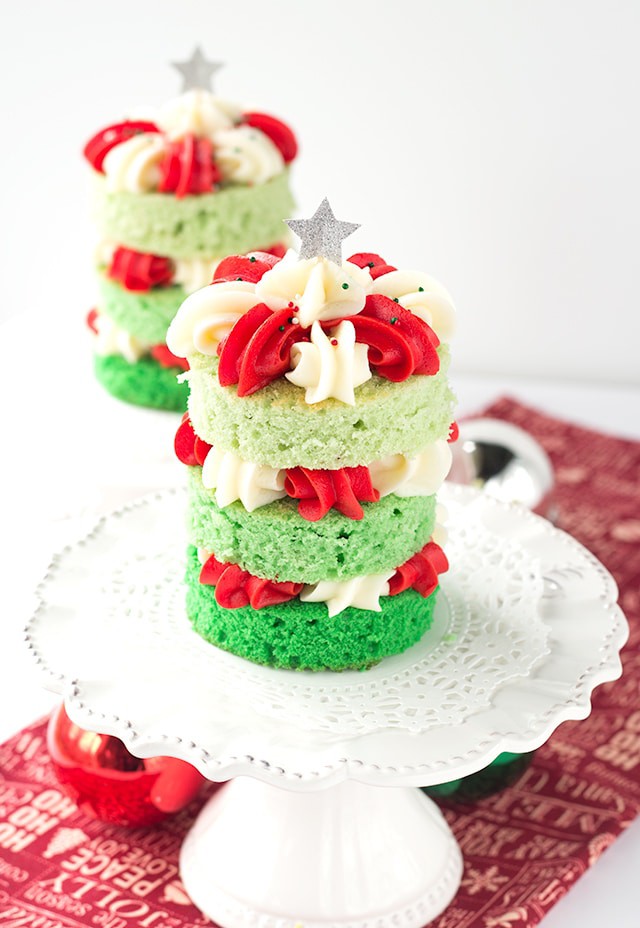
When Lucian came home from school and saw the cakes on the counter, his jaw dropped. He said to me, “Oh mama, those are beautiful!!” He was probably just sweet talking me to get his fingers on one of these cakes. If that’s the case, it worked even though I did make him wait until after dinner. He’s always so sweet though. I’m pretty lucky to have him as my #1 fan.
I used the mini round cake pan and filled two cavities at a time with the same color cake batter. I then added more gel paste food color to deepen the color and fill two more cavities. Repeat adding the food color and filling one more time and you’re ready for the oven.
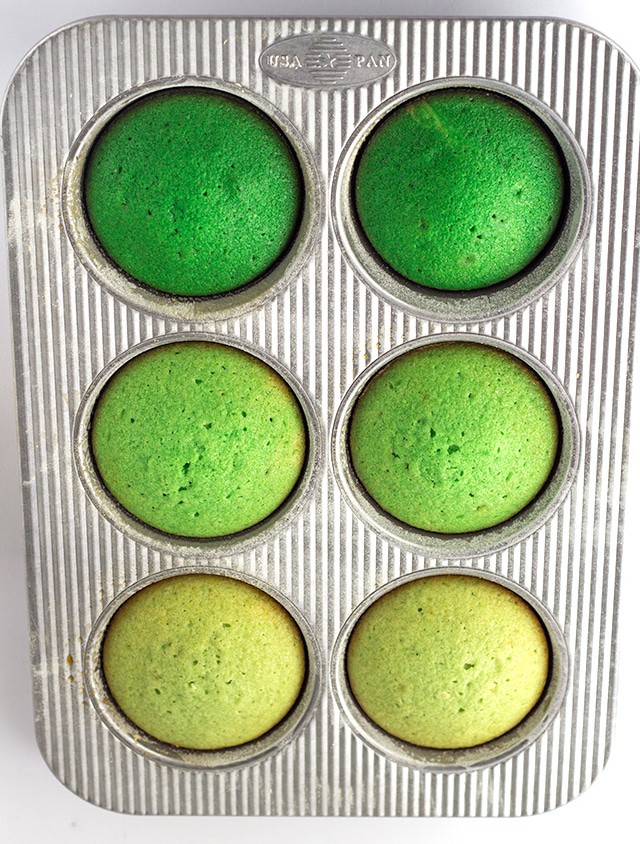
The best thing about using USA pans is that they are consistently nonstick. There’s nothing worse than putting in the work and having your baked good stuck fast. You can depend on these pans to let your cookies, cakes, or cupcakes roll off with ease. Let’s not forget the pans provide even baking. If you’re wondering why all of the pans have the fluted surface, even baking is the reason. You know those recipes where you need to rotate the pan halfway through the baking? Yeah, forget that. We have USA pans!
Christmas Tree Cake
Ingredients
Cake
- 1/2 cup butter room temperature
- 3/4 cup + 2 T. granulated sugar
- 1 T. vanilla extract
- 2 large eggs
- 1 cup + 6 T. all-purpose flour
- 1/4 tsp. baking powder
- 1/4 tsp. baking soda
- 1/2 tsp. salt
- 1/2 cup + 2 T. buttermilk
- Leaf Green gel paste food color
Frosting
- 1 cup butter room temperature
- 3 1/2 cups powdered sugar
- 4 1/2 T. milk
- 1 tsp. vanilla extract
- 6 - 8 drops red red gel paste color
- festive sprinkles
Instructions
- Preheat oven to 325 degrees. Grease mini cake pan and dust it with flour. I used the USA pans 6 well mini cake pan.
- In a mixing bowl, add the butter and granulated sugar. Mix until light and fluffy about 3 minutes.
- Add the vanilla extract and each egg separately. Mix until each egg is incorporated, before adding the next.
- In a separate bowl, add in the flour, baking powder, baking soda and salt. Stir to combine.
- Alternately add the flour and buttermilk always starting and ending with the flour. I did 3 parts flour and 2 parts buttermilk. Scrape down the sides and mix to combine.
- Add in a couple drops of leaf green gel paste color. Mix until the food color is incorporated and the batter is a pale green.
- Add in a third of the batter into the first two cavities. If you don't have the pan and want to use something similar, the measurements are 4.25 x 3.75 x 1.5 inches for each cavity.
- Add another 3 - 4 drops of leaf green paste food color. Mix until the food color is incorporated and the batter is a bright green.
- Add in another third of batter into the second two cavities. Spread the batter evenly.
- Repeat adding 3 - 4 drops of leaf green color and mix until incorporated. The batter should be a dark green.
- Add the remaining batter into the last two cavities. Spread the batter evenly.
- Place the pan into the oven and bake for 30 minutes or until the cake is done. Insert a toothpick into the center of the cake and if it comes out with moist crumbs or clean, it's done. If there's batter, place it back in the oven for a few extra minutes and test again.
- Remove from the oven and turn out onto a wire rack to cool.
- Once the cakes are cooled, even the top of the cakes out using a serrated knife.
- Use the serrated knife and slice off the brown on the bottom of the cake. It only takes a thin layer.
- Use a 4 inch cookie cutter and center it on the cake. Make sure all the brown edges will be cut off and cut it out. The brown really takes away from the little cake stacks.
Frosting
- In a large bowl, add in the butter, powdered sugar, milk, and vanilla. Mix on medium until incorporated. Turn mixer on high and beat for another 1 - 2 minutes until light and fluffy.
- Add half of the frosting into a disposable bag fitted with a 1M tip.
- Add red red gel paste food color to the remaining frosting. Add enough to give a bright red.
- Add the remaining frosting into a disposable bag fitted with a 1M tip.
- Pipe 4 red shells and 4 white shells on each cake layer.
- Top with some sprinkles, a star and serve up!
Nutrition
(Nutrition facts are an estimate and not guaranteed to be accurate. Please see a registered dietitian for special diet advice.)
I think ombre cakes always make for a pretty presentation. This Christmas tree cake is my best one yet. I did made a beautiful raspberry vanilla pink ombre bundt cake for breast cancer awareness last year though. You had to slice it to get the pink ombre. It was a nice little surprise.
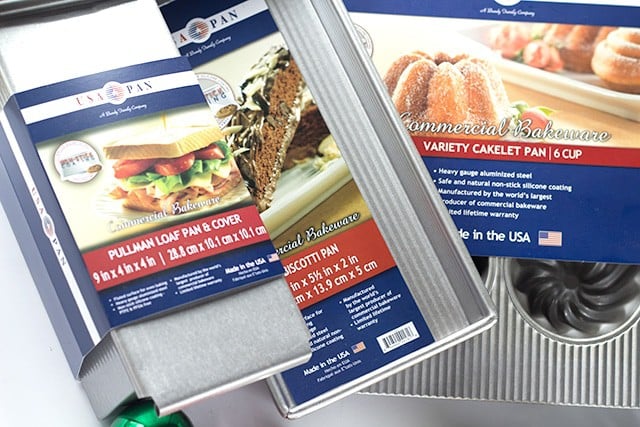
Seriously, don’t forget to get to Instagram and enter to win your very own set of pans. Scroll down and take a look at them. You know these would make an awesome present to yourself.

This post contains affiliate links. Cookie Dough and Oven Mitt is a participant in the Amazon Services LLC Associates Program, an affiliate advertising program designed to provide a means for sites to earn advertising fees by advertising and linking to Amazon.com.

These are adorable!! Love the ombre effect. Super cute for the holidays 🙂