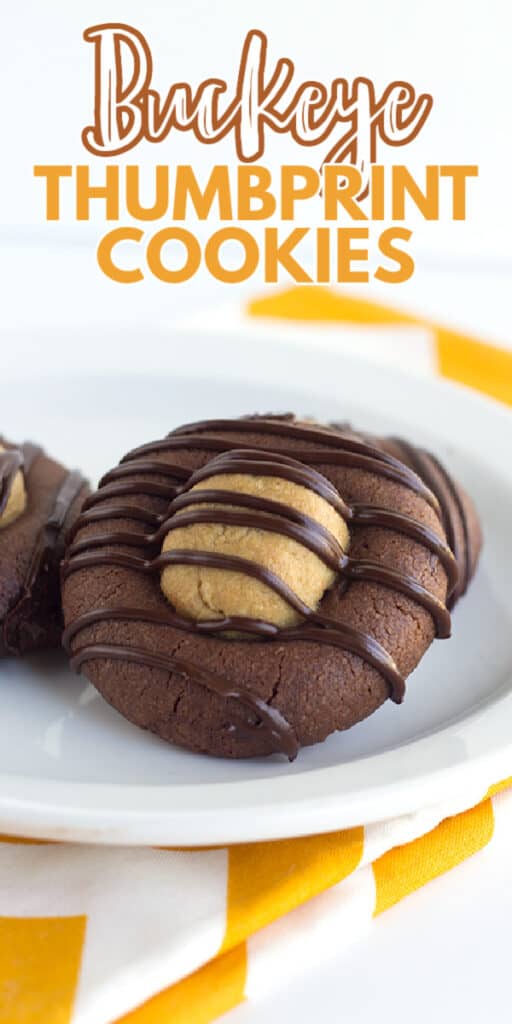
Buckeye Thumbprint Cookies
This post may contain affiliate links. As an Amazon Associate I earn from qualifying purchases. Please read my disclosure policy.
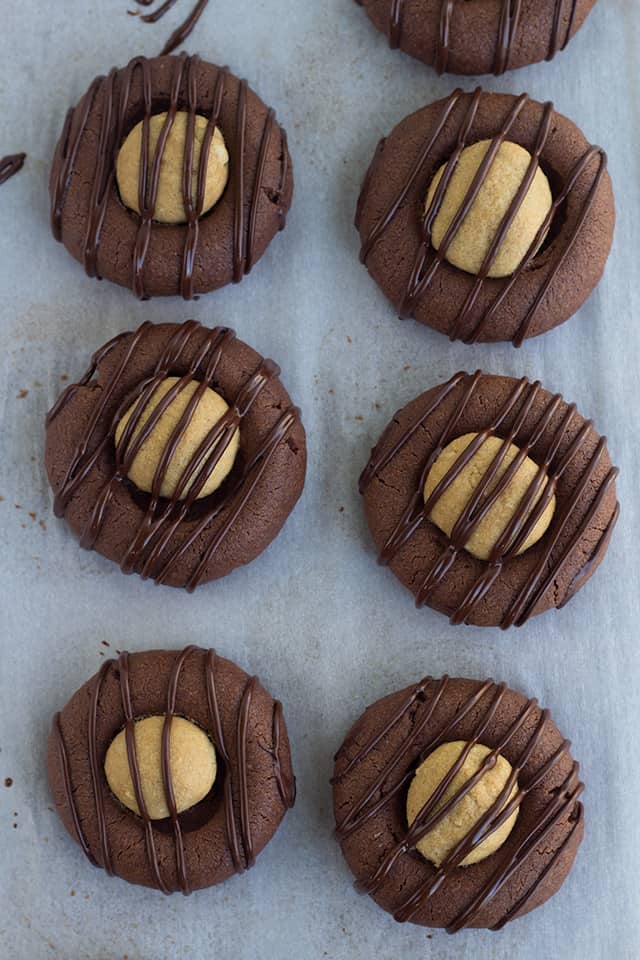
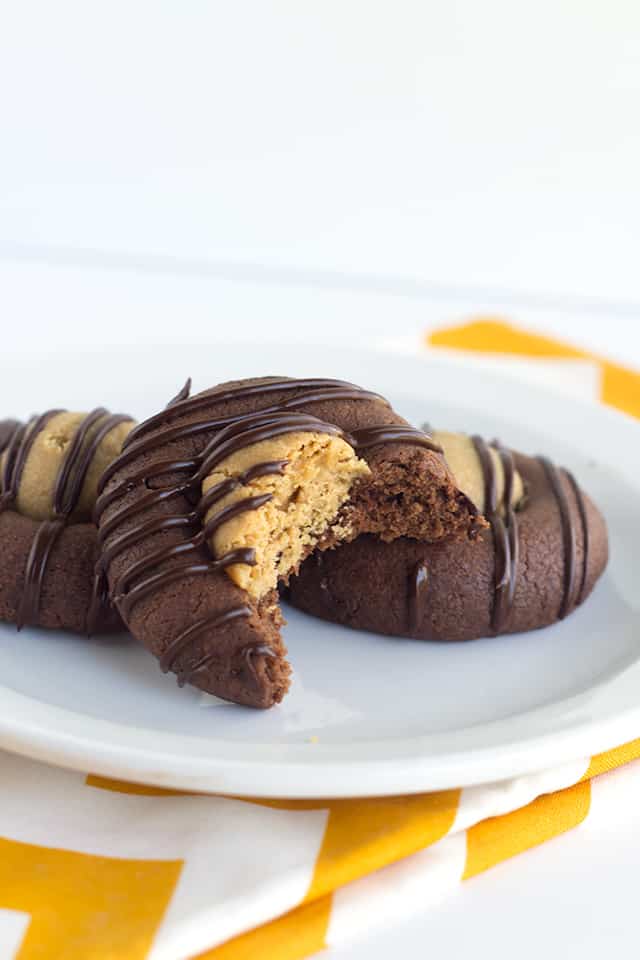
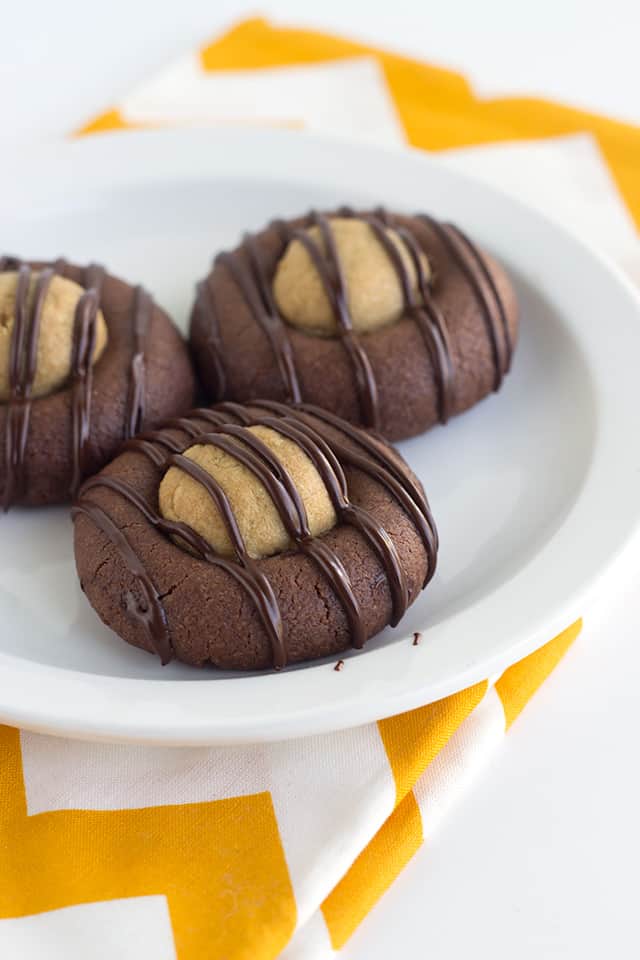
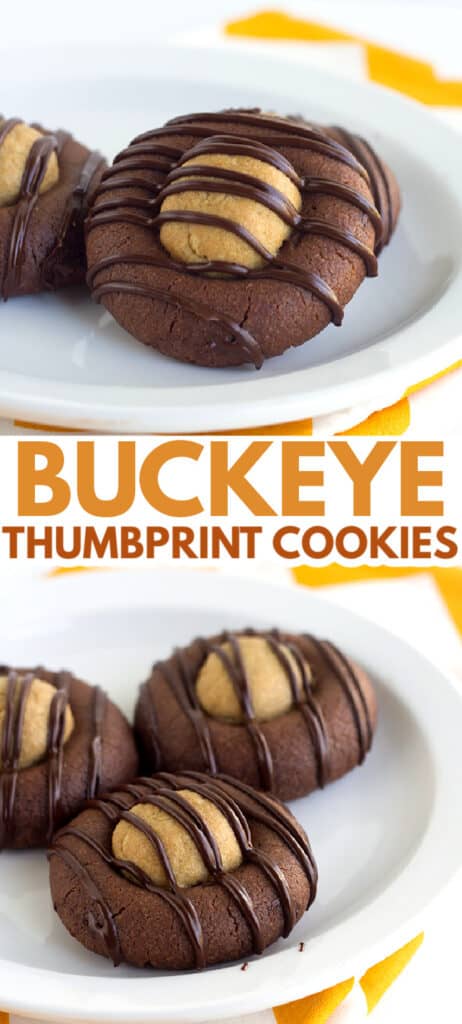
These buckeye thumbprint cookies have a rich, chocolate base with a sweet peanut butter center and a chocolate drizzle on top. It’s will make the perfect cookie for your Christmas cookie tray! I personally will enjoy them year-round though. Check out the rest of the cookie recipes!

Buckeye Thumbprint Cookies
I love peanut butter and chocolate together. It’s kind of my thing. I could make thousands of recipes using it and probably will eventually. Just give me a little time. Though, I do have a pretty good head start on it already. I think one of my favorites is my chocolate peanut butter layer dessert.
So this is just one of the recipes that you’ll find in my Easy Homemade Cookie Cookbook. There are 160 delicious cookie recipes in it. This is one of the several chocolate peanut butter recipes that I’ve been able to sneak in the book. You’re welcome, friends!
Do you want to see more of what I have in the book? You’re in luck! I’ve also shared my lemony lemon bars and chocolate crinkle cookies from the book on my blog too. I also have a couple more cookies I would like to share in the next month. Do you know why? Because it’s cooking baking season and we all love cookies! Whoop whoop!
Tips on making Buckeye Thumbprint Cookies
- When making these cookies, it’s important to make the peanut butter balls as big as the thumbprint hole you’ve created. The chocolate cookie isn’t going to puff up or cover any of the edges that aren’t covered by the peanut butter balls.
- When I say flatten the cookie balls out, I don’t mean flat like a pancake. I mean so it’s still very thick but the top and bottoms of the dough ball are flat.
- If the dough cracks when you put a thumbprint hole in it, you can press the dough between your two palms and work it until it’s more pliable. Then roll it in a ball again and press your finger in to form the thumbprint. This should reduce most of the cracking.
More cookie recipes to try:

Buckeye Thumbprint Cookies
Ingredients
Chocolate Cookies
- 1 cup butter room temperature
- 1 cup granulated sugar
- 1 large egg yolk
- 1 teaspoon vanilla extract
- 2 cups all-purpose flour
- 1/2 cup unsweetened cocoa powder
- 1/2 teaspoon salt
Peanut Butter Filling
- 1/2 cup creamy peanut butter
- 1/2 cup powdered sugar
- 1 teaspoon vanilla extract
- 4 ounces semi-sweet baking chocolate chopped
Instructions
Filling
- In a small bowl, add in the peanut butter, powdered sugar, and vanilla extract. Stir with a spatula until smooth. Set aside.
Cookies
- Preheat the oven to 350 degrees F. Line a cookie sheet with parchment paper.
- In a medium bowl, whisk together flour, cocoa powder, and salt. Set aside.
- In a large mixing bowl, add in the butter and sugar. Beat until light and creamy.
- Add in the egg yolk and vanilla extract. Beat until incorporated.
- Add the dry ingredients and beat until the dough comes together.
- Using a medium cookie scoop, scoop the dough into balls and drop them 2 inches apart on the
- prepared cookie sheet. Flatten the top of the dough balls, but don’t squish them like pancakes. You just want the top and bottom to flatten out slightly and the center still very thick.
- Using the back of a 1/2 teaspoon measuring spoon, make an indentation in the center of each dough ball. You can also use your finger.
- Scoop about 1 teaspoon of the peanut butter filling and roll it between your palms. Pop it into the whole that you formed. Be sure to fill your thumbprint completely because the cookie won’t puff up and cover up any of the edges. Repeat with all cookies.
- Place into the oven and bake for 15 minutes or until the edges of the cookie are firm.
- Remove from the oven and let sit on the baking sheet for 5 minutes then transfer to the cooling rack.
- Once the cookies are cooled completely, melt the baking chocolate for the drizzle. Do this by adding the chopped baking chocolate into a microwave-safe bowl. Microwave for 30 seconds and stir. Repeat microwaving for 30 second intervals and stirring until the chocolate is smooth.
- Add the chocolate to a sandwich bag and cut a small corner out of the bag. Drizzle the chocolate on the cookies by quickly moving your hands back and form while applying even pressure to the sandwich bag with the melted chocolate. Let the chocolate cool down and harden.
- Store in an airtight container for 4 – 5 days.
Nutrition
(Nutrition facts are an estimate and not guaranteed to be accurate. Please see a registered dietitian for special diet advice.)







I wanted to try something new so I gave these a try. I followed the recipe to a T, although the dough was very crumbly. I’m wondering if pressing with a glass is required or just pressing thumb in them would work. Also, I skipped chopping the chocolate before microwaving and it melted down perfectly. They have nice flavor it’s just the cookie is dry. The true test will be the feedback of family on Sunday!
I hope your family loves them! They are delicious 🙂
I am hoping to make these for Christmas gifts. Can the dough be frozen. and then cooked the day of ?
Yes! Definitely! Freezing the dough is a great trick to prep the cookies and bake them fresh later on
In the recipe, there are no instructions for when to add the egg. It just says to cream the butter and sugar together. Also, how are these stored (what to put them in and how long they last)?
all fixed!
Hello! Thank you so much for the recipe, these look amazing. I’m surprised no baking soda or powder? Can you please confirm this? Thank you and looking forward to trying this out!
Oh heck yes! These look amazing! I love buckeyes and thumbprints, so this combination is right up my alley!
xx Allison