Homemade Bread
This post may contain affiliate links. As an Amazon Associate I earn from qualifying purchases. Please read my disclosure policy.

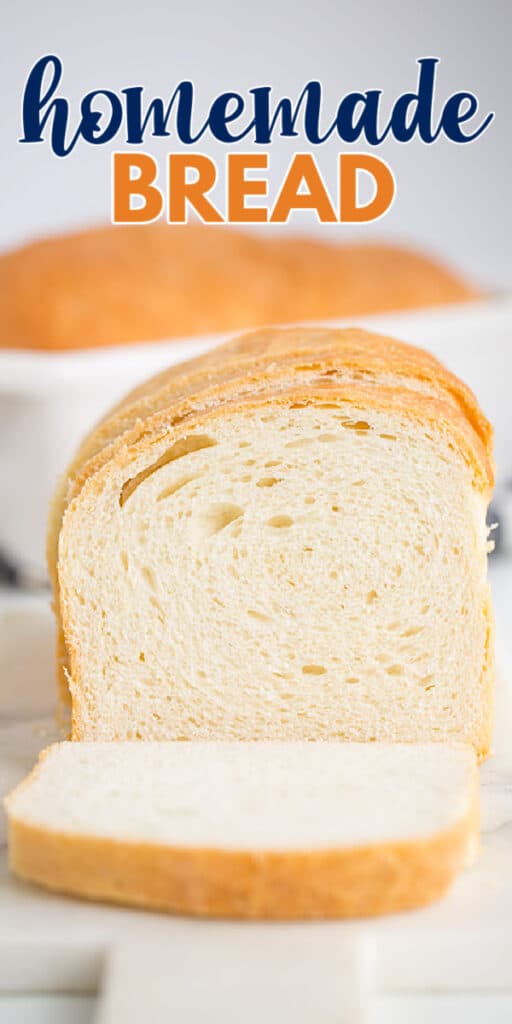
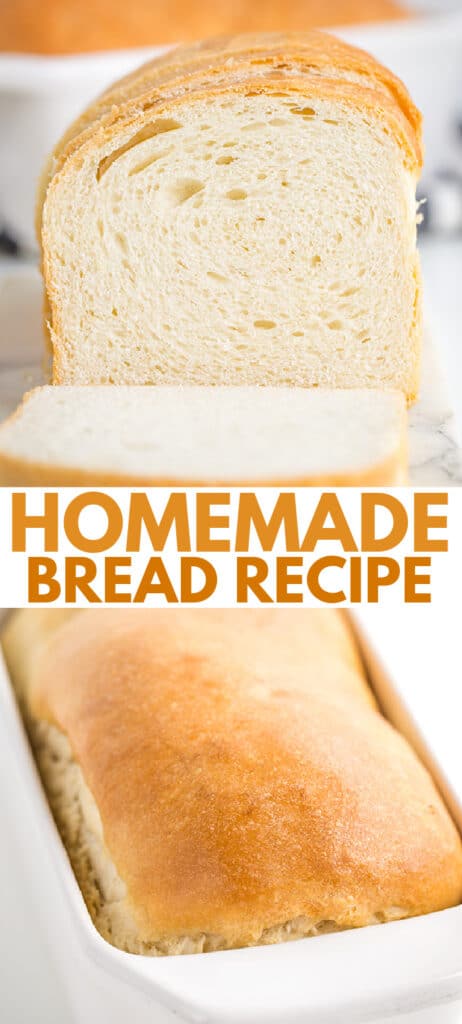
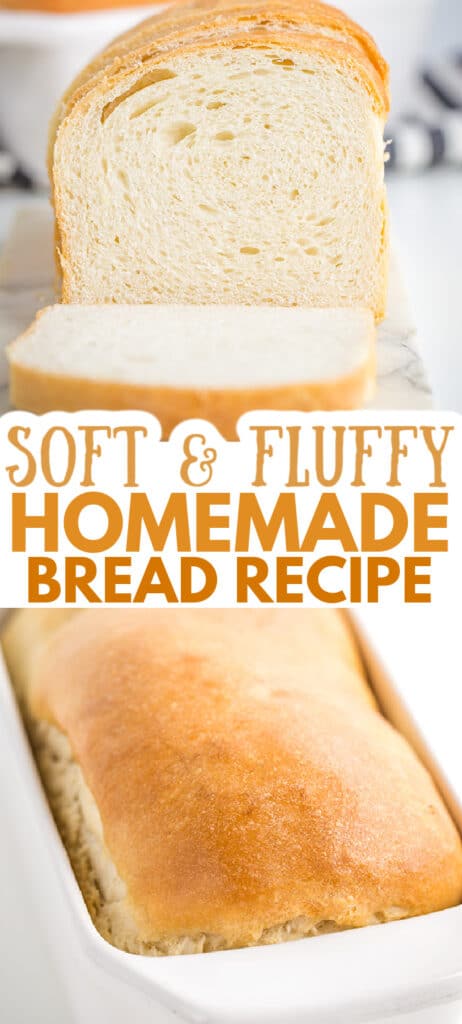


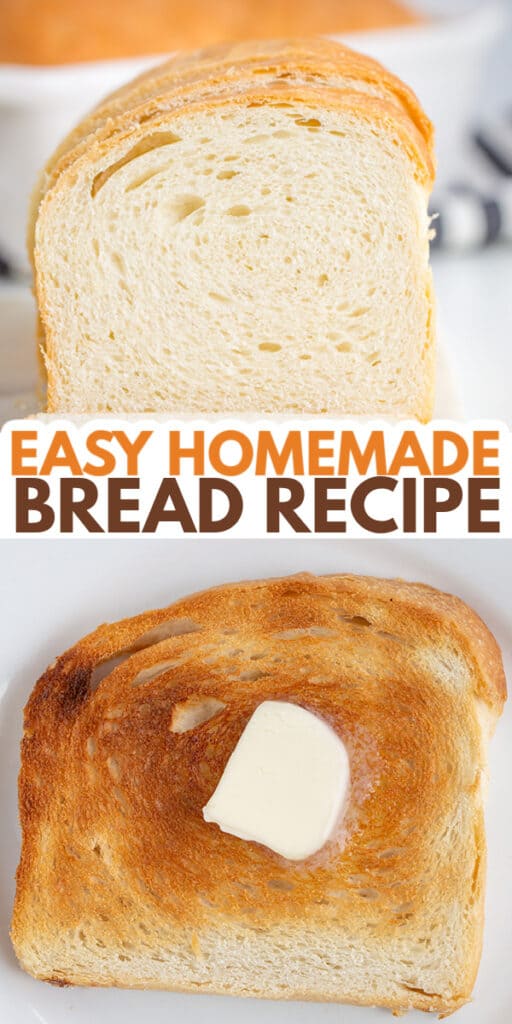
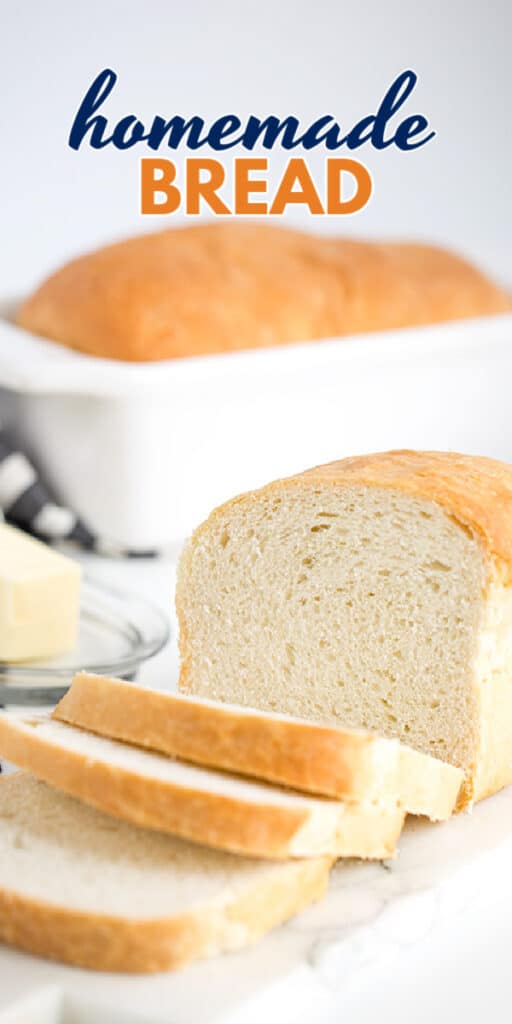
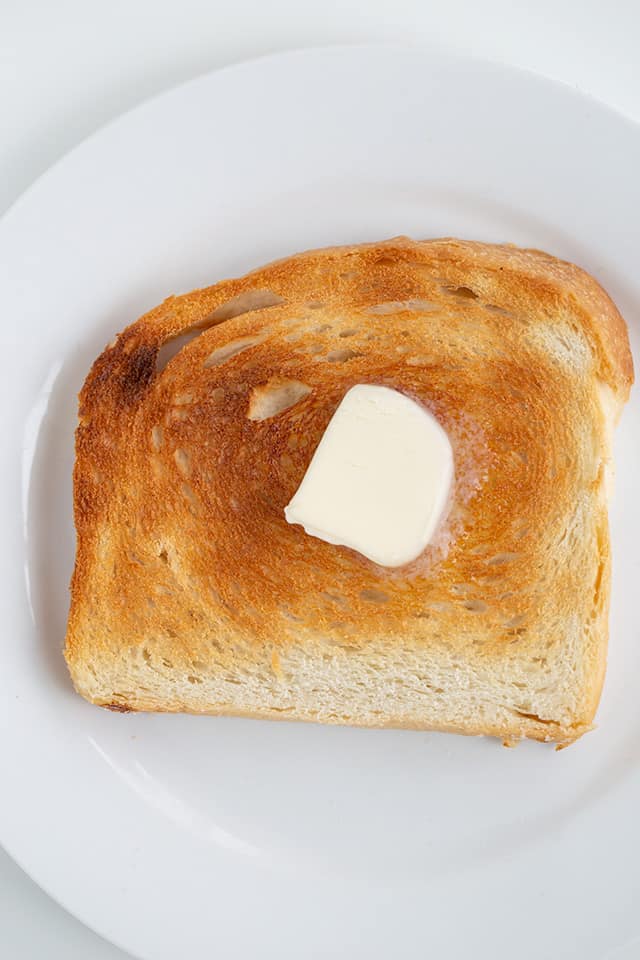
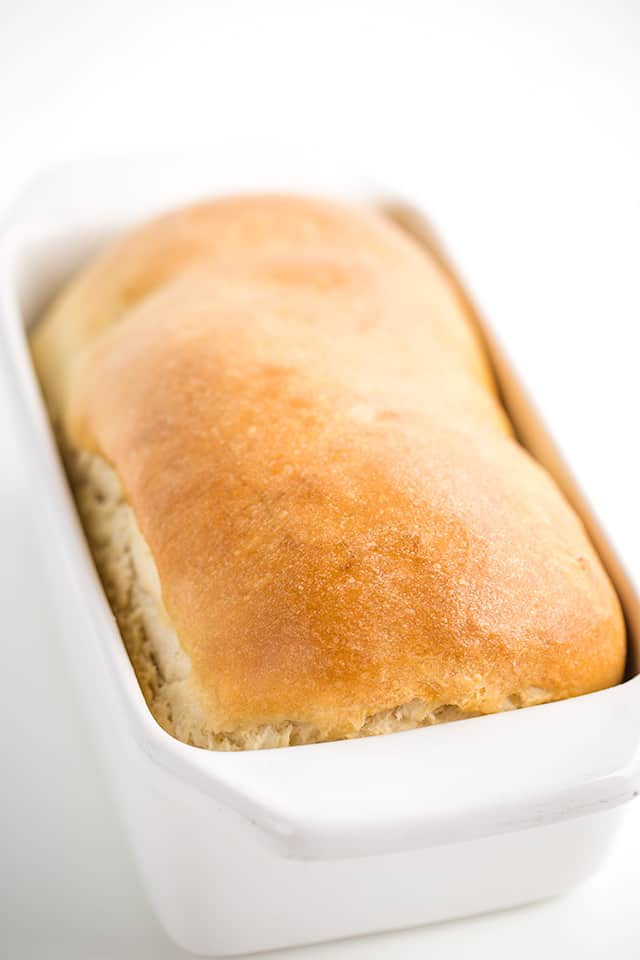
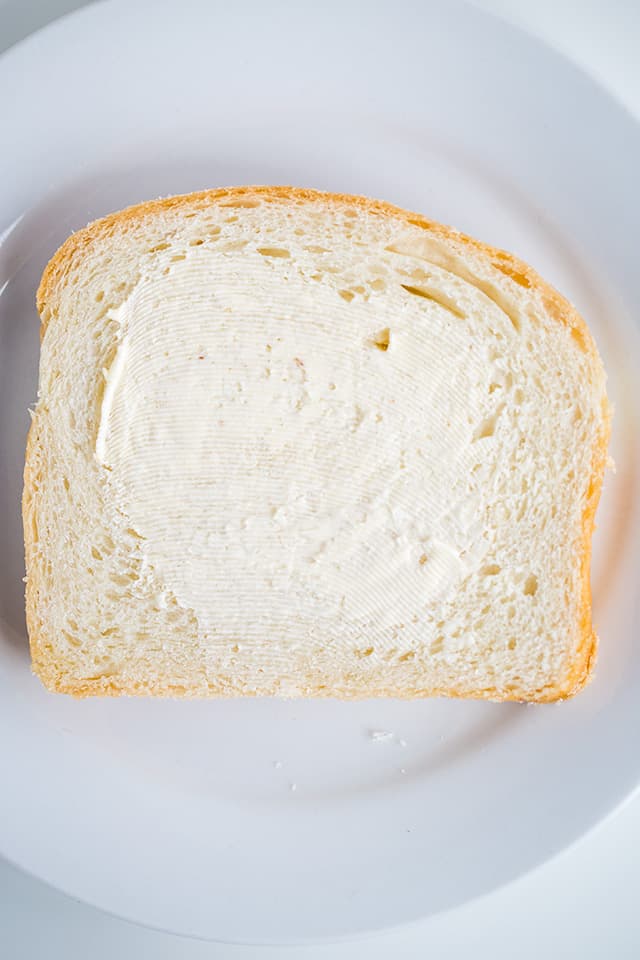
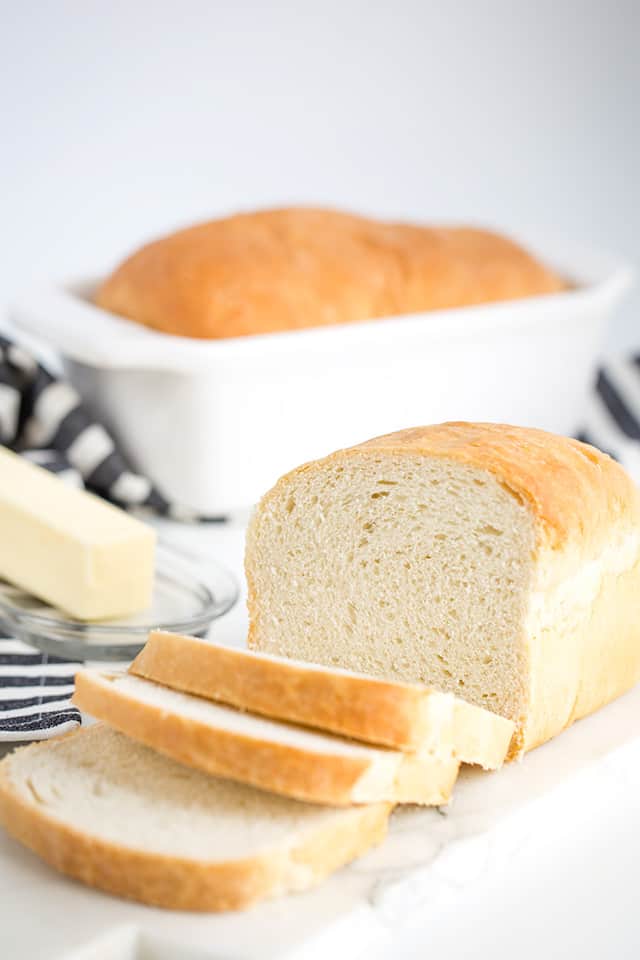
This Easy Homemade Bread is a family favorite bread recipe. It’s so soft, makes great sandwich bread, and the best toast. It bakes into the perfect golden brown color and tastes so much better than store-bought! Get more bread recipes while you’re here.
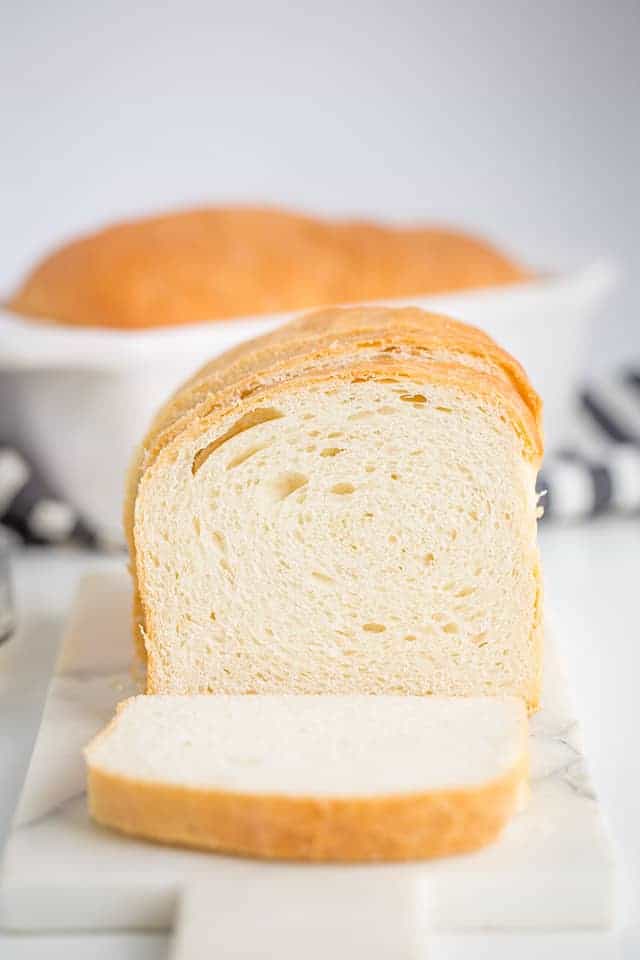
There is nothing quite as amazing as homemade bread. The smell of the bread baking in the oven, the crunchy crust and the first warm bite is enough to make everyone want to bake bread as often as possible.
We will show you all the ins and outs of making bread right in your own oven so that you can enjoy a fresh, delicious loaf anytime you’d like! Get excited because there is a lot of freshly baked bread in your future.
I can’t get enough of fresh baked bread. For a sweet breakfast type bread, I love to reach for my cinnamon swirl bread and this one for an easy no knead sourdough bread recipe.
How to Make Homemade Bread
Making bread may seem like something that would be a culinary challenge. However, once you know the proper techniques and tricks to making fresh bread, you will see how easy it really is! Almost all bread follows the same general method from homemade white bread to fancy pretzel bread- it’s all the same! Here are the steps to follow for most homemade bread recipes:
- Mix the yeast and warm water in a bowl and let it sit until it is bubbly.
- Add the remaining ingredients and stir.
- Use a dough hook and a stand mixer to mix the bread dough.
- Add more flour if needed in order to get a nice, soft dough that is not too sticky.
- Remove the bread dough from the mixer and knead it briefly by hand, making a nice smooth dough ball.
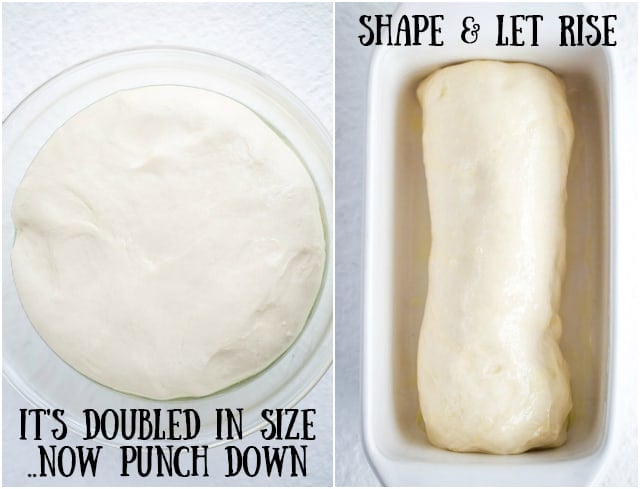
- Place the ball of bread dough in a greased bowl, cover and let rise until it has doubled in size.
- Punch down the dough to deflate it and then shape it into loaves (or rolls). Place the shaped dough in a loaf pan (if using) or on a sheet tray. Cover and let the dough raise again.
- Bake the bread in a preheated oven until golden brown.
- Let the bread cool and then enjoy!
Master these steps and you will have mastered the art of homemade bread! Of course, we always recommend reading the specific recipe that you will be following just in case there are any little tricks to making the bread you have chosen. For example, a raisin bread may have you knead in raisins at a certain point or, if making a sourdough bread, you might need to let the dough rise twice or extra flavor. However, the basic steps we outlined are almost always the same when it comes to making homemade bread!
How to Tell if Bread is Done
There are a few tips and tricks that we want to pass on to all the new bread makers out there in order to ensure all your easy homemade bread loaves turn out wonderfully. The first trick is to help you know exactly when your bread is done. While most recipes will give you a baking time, your bread may need to bake a little more or be done a little faster depending on your oven. Every oven is different so you’ll want to know the other signs that indicate your bread is ready. Here is what you should look for:
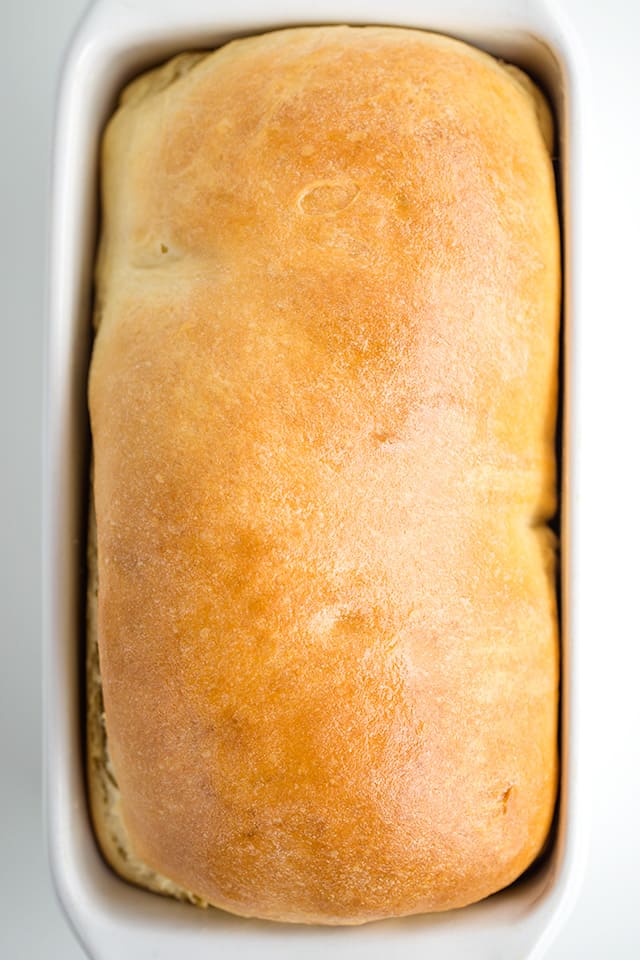
- When your bread is baked, the top crust will be completely golden brown. If the top of your bread is still pale in color, it need a little more baking time.
- The bottom of the bread should be a darker brown color. If the bottom of the loaf is still light, keep that bread in the oven!
- Gently lift up your bread using a towel or pot holder and tap on the bottom of the loaf. The bread should sound hollow and be firm to the touch. If the bread is soft or sounds dense when you tap on the bottom, it is not done. Bread will sound hollow once baked since the moisture in the dough has evaporated, making large air pockets in the dough- hence the hollow sound.
- Lift the baking homemade bread with a towel or pot holder and feel the weight of the bread. The bread should feel nice and light once it is fully baked as the moisture has been baked off. A dense, heavy loaf means that you need to keep the bread in the oven.
These tricks will help to determine if your homemade bread is done and ready to enjoy. Use each technique and you are sure to make a perfectly baked bread!
How to Store Homemade Bread
Once you have baked this perfect easy homemade bread, you will want to keep it fresh as long as possible. The best way to store bread is wrapped tightly in plastic wrap. Once the bread is well wrapped, store it at room temperature on your counter.
If you have a bread box– use it! Bread loves to be in a cool, dark place and this will ensure the bread has the best texture and stays fresh.
Once you have wrapped the bread tightly, you can also store it in the fridge but the texture may change slightly. When stored in the fridge, the bread may become a little more dense and dry. However, it will likely keep for longer than when stored on the counter.
If you do not think you will eat the loaf within a few days, opt for storing it in the fridge to extend the shelf life, just be sure it is very well wrapped. If you know you will eat all of that beautiful bread, keep it at room temperature to save that perfect crumb!
How Long Does Homemade Bread Last?
Homemade bread is definitely best when enjoyed the day it is baked.
However, if you don’t get around to eating that whole loaf, you may wonder how long it will last when wrapped and placed in your bread box. When stored at room temperature, homemade bread will last for about 3-4 days.
After that, the bread will either become very dry and hard or, it can go the other direction and start to get soggy and moldy. As we mentioned before, you can extend the shelf life of your homemade bread by storing it in the fridge but this will also alter the texture. Our best advice- eat it as quickly as possible! With no preservatives or additives, homemade bread will not stick around long.
How to Freeze Homemade Bread
If you are making homemade white bread or bake a loaf of homemade sandwich bread, you might as well bake two! Homemade bread actually freezes quite well when stored properly. To freeze your homemade loaves, follow these easy steps:
- Let the bread cool completely to room temperature.
- Wrap the bread tightly in plastic wrap, ensuring that the bread is completely sealed.
- Place the wrapped bread in a zippered plastic freezer bag and seal the bag shut.
- Store the bread in the freezer for up to two months.
When you are ready to thaw your homemade bread. Take it out of the freezer and place it in the fridge overnight, still wrapped in plastic. The bread should be thawed within 24 hours and ready to slice and enjoy!
How to Make Ahead and Refrigerate or Freeze Bread Dough
While you can choose to bake, wrap and store your homemade bread, there really is nothing quite like a freshly baked loaf. Luckily, you can actually make bread dough then store it to bake later.
Make ahead
Once your bread dough has been mixed and given the chance to rise, shape the bread into loaves or rolls and place them on a lined sheet tray. Loosely cover the bread with a piece of plastic wrap. Place the tray in the fridge if you plan to bake the bread within a day. Otherwise, place the tray in the freezer.
Freezing Bread Dough
After an hour, when the dough has been in the freezer long enough to be firm, wrap the dough in plastic wrap and then place the wrapped dough in a zippered freezer bag. Place the bag back in the freezer and keep the dough frozen for up to a month.
Thaw and Bake the Dough
When you are ready to bake your homemade bread, remove the dough from the freezer and place it in the fridge on a new lined sheet tray to thaw. Bake the refrigerated (thawed) dough as directed in your recipe. This is a great way to plan ahead and have freshly baked bread anytime you’d like!
Whether you are making homemade sandwich bread, trying out a recipe for a pumpernickel loaf or giving your own homemade sourdough starter a try, making bread is one of the best things you can do in your kitchen. Homemade bread is perfect for all kinds of occasions and also just fun to bake. Give our recipe for easy homemade bread a try and you just may never go back to buying bread again!
More great recipes to try
Shop this post:
If you try this recipe, be sure to leave a rating below and also share it on Instagram, and tag me! You can also find me on Facebook and stay up to date on recipe releases by joining the Newsletter!
Homemade Bread
SAVE THIS RECIPE
Ingredients
- 1 3/4 cups lukewarm water, 110 degrees F
- 1 tablespoon instant yeast or rapid rise yeast
- 2 tablespoons granulated sugar
- 2 tablespoons salted butter, melted and cooled
- 2 tablespoons vegetable oil
- 4 1/4 – 5 cups bread flour, divided
- 1/2 teaspoon salt
Instructions
- In a large bowl or in a stand mixer, add in the 1 3/4 cups lukewarm water, 1 tablespoon instant yeast or rapid rise yeast, 2 tablespoons granulated sugar, 2 tablespoons salted butter, and 2 tablespoons vegetable oil. Give it a quick stir.
- Add in 4 cups of bread flour and 1/2 teaspoon salt. Mix with a bread hook if using a stand mixer until combined.
- Begin adding the additional 1 1/4 cups of bread flour, 1/4 cup at a time and mix until the dough starts to pull away from the sides of the bowl but is still tacky. I typically only need 1/4 to 1/2 cup out of the 1 1/4 cups.. Adding too much flour will result in a dry, dense bread.
- To knead the dough, mix in the stand mixer for 5 to 6 minutes until an elastic dough forms. If kneading by hand, knead on a lightly floured surface for 7 minutes.
- Place the dough in a large bowl with 1 tablespoon of vegetable oil in it. Roll the dough around to coat it in oil and cover loosely with plastic wrap. Let rise in a warm space for about 1 hour to 1 hour and 30 minutes until the dough has doubled. I like to bring my oven up to 350 degrees, immediately turn it off once it’s preheated, and sit the bowl of dough on the stove top to rise. The heat from the oven provides a nice amount of warmth to help with the rise.
- Punch the dough down to remove the air bubbles.
- Press the dough out on a clean work surface. I like to use my hands to do that, but you can use a rolling pin. Press the dough into a rectangle, keeping the dough only 10 inches wide so it fits in the pan and about 25 to 30 inches long. The length doesn’t need to be exact.
- Start at the side that’s 10 inches wide, begin tightly rolling up the dough. Press the edge of the rolled up dough down into the dough that’s laying on the counter every couple of rolls to help seal it along the way.
- Once it’s completely rolled into a loaf, pinch the seams together to connect the end of the dough and the roll of dough.
- With the seam side of the loaf facing down, push the ends of the dough into the roll of dough, pinch the end seams together, and fold it underneath the loaf.
- Preheat the oven to 350 degrees and spray a 10×5-inch loaf pan with nonstick baking spray.
- Place the dough seam side down into the prepared loaf pan.
- Loosely cover with plastic wrap and let rise for 30 minutes or until the dough is doubled in size.
- Remove the plastic wrap and place in the preheated oven. Bake for 30 to 35 minutes or until the top is golden brown. Tap on the top of the bread, it will sound hollow if it’s done.
- Carefully invert onto a cooling rack to cool completely. If you leave it in the pan, the sides will become soggy.
- While the bread is still hot, brush the top with melted butter. You can also just rub a tablespoon or 2 of butter on top and it will melt on its own.
Notes
Nutrition
(Nutrition facts are an estimate and not guaranteed to be accurate. Please see a registered dietitian for special diet advice.)
Love this recipe. Has quickly become a family favorite. Making my third double batch in 2 weeks.