Cannoli Cones
These Cannoli Cones are a fun twist to a classic cannoli, without all the prep. They're a sugar cone that is covered in chocolate inside and out and filled with delicious cannoli filling. Top with a cherry and some pistachios, and serve up a dessert that will wow your family and friends.

If you haven't heard of the cannoli cones recipe, it is so easy. You don't go through the process of making a traditional cannoli but can enjoy similar flavor. Great for summer cookouts, serving up guests, and more.
How to make Cannoli Cones
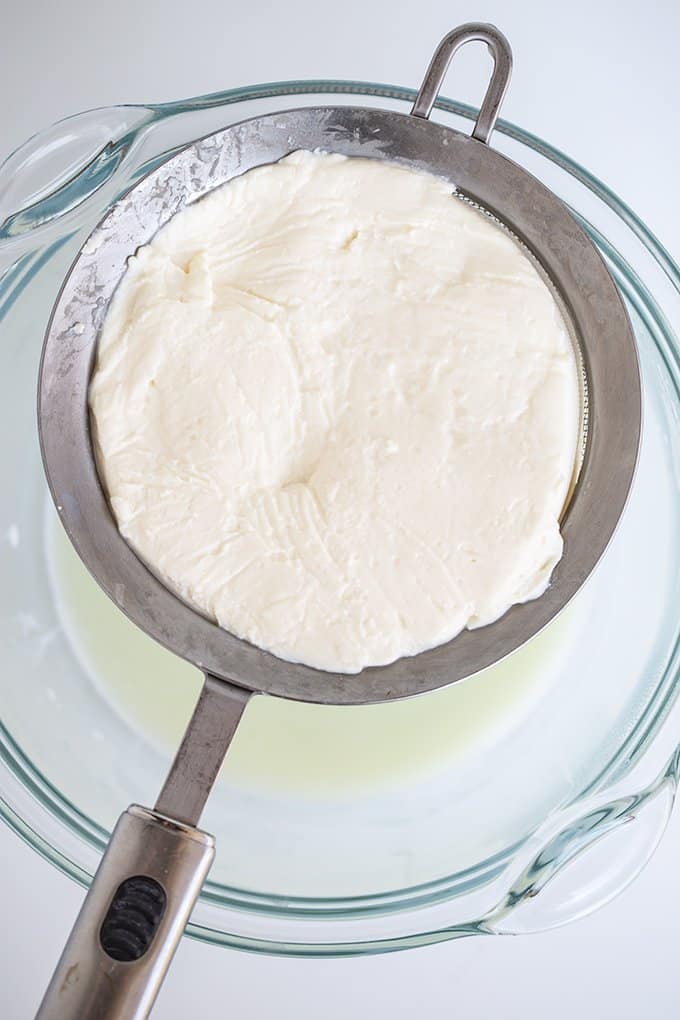
The first step is taking your ricotta and place in a fine mesh strainer and place over a bowl, cover and refrigerate overnight. You want the liquid to drip out of the ricotta.
Now you will prep a baking sheet with parchment. Then melt up your chocolate chips and coconut oil.
Once the chocolate is melted, spoon some of the chocolate into a cone, and rotate it around. You want to coat all of the inside of the cone with chocolate. Tap and roll the cone around.
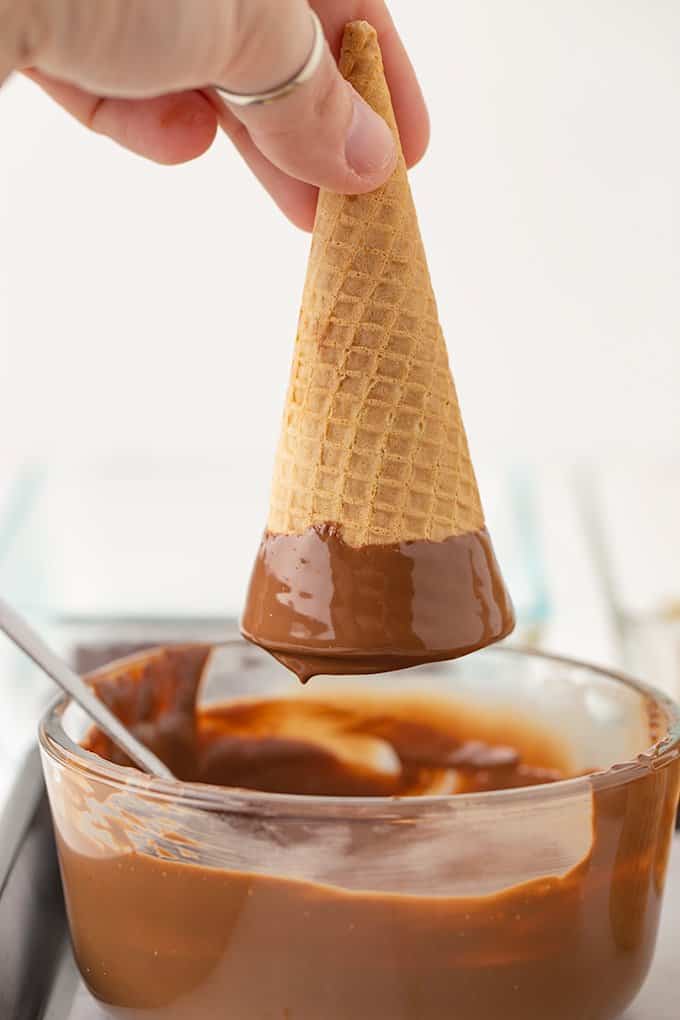
Dip the top of the cone in the chocolate, to create a rim of chocolate. Shake off excess. Place the cones upside down on the parchment to set up. If you want coat the ring with pistachio nuts.
Now in a medium size bowl whip your heavy cream until it creates stiff peaks. Set aside.
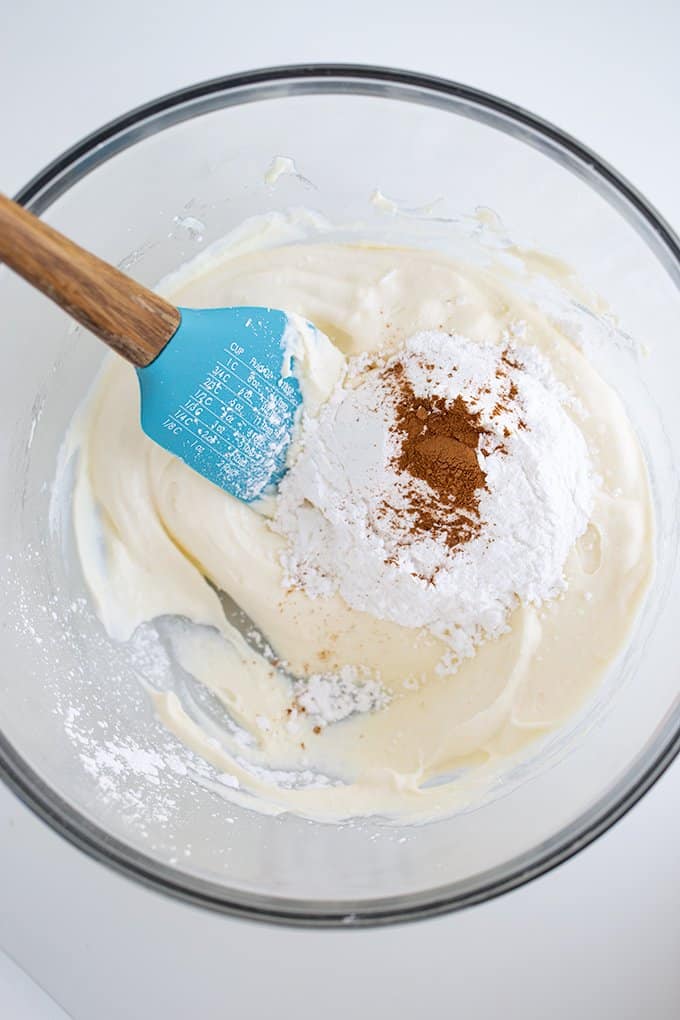
In a separate bowl, stir in the ricotta and mascarpone, stirring till combined. Add in the powdered sugar and cinnamon.
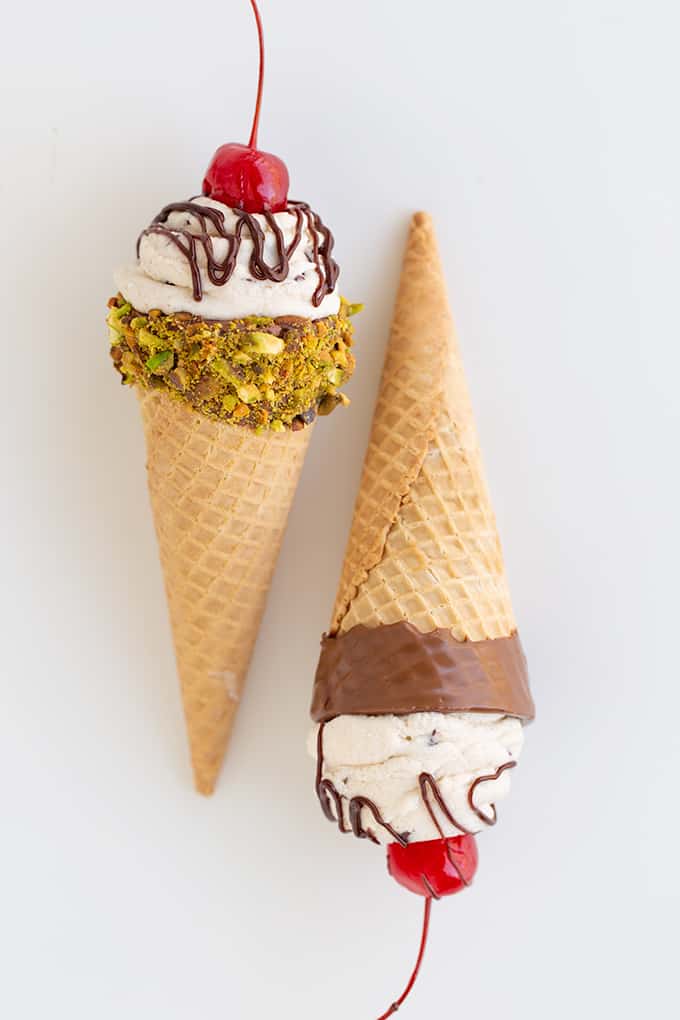
Toss in the mini chocolate chips and whipped cream. Pour into a piping bag and fill each cone. Top with a cherry then serves and enjoy!

How long do Cannoli Cones last
You can store your cones for a few days in the fridge. They are best eaten fresh on day one but the cones will store for a couple of days if stored in an airtight container in the refrigerator.
It is very important to coat all areas inside the cone. Otherwise, yes the cones can get soggy. If you create that barrier with the chocolate it helps to prevent the sugar cones from becoming soggy right away.
Go right ahead and reach for waffle cones in replace of a sugar cone if you would like. I love the crisp and light texture of a sugar cone. But, waffle cones will work. Just use the same process of coating the whole inside of the cones.
Absolutely! Not wanting to use chocolate chips with oil, reach for melting wafers. Just heat up the chocolate and do one cone at a time. The melting chocolate wafers will set up rather quickly.

More Cannoli Inspired Dessert Recipes
- If you're looking to fill cannoli shells, cakes, or cupcakes, this Cannoli Filling Recipe is perfect.
- When you want some delicious cannoli filling, but don't have shells on hand, this Cannoli Pie is just the ticket to satisfy that craving.
- Having a party and need a tasty dessert dip to serve up? Grab some cannoli ships and whip up this Cannoli Dip.
- If you enjoy cream puffs, these cannoli cream puffs are going to be a hit!

Cannoli Cones
Ingredients
- 10 sugar cones
- 1 cup milk chocolate chips semi-sweet chocolate chips will work
- 1 tablespoon refined coconut oil
- ½ cup heavy whipping cream
- ¾ cup whole-milk ricotta cheese drained
- 1 cup mascarpone
- ½ cup powdered sugar
- ½ teaspoon ground cinnamon
- ½ cup mini chocolate chips
- 10 stemmed maraschino cherries drained
- ¼ cup chopped pistachios optional
Instructions
- Place the ricotta cheese in a fine-mesh strainer over a bowl. Cover with plastic wrap and allow to drain overnight in the fridge.
- Line a baking sheet with wax paper or parchment paper. Set aside.
- Add the 1 cup of milk chocolate chips and coconut oil to a microwave-safe bowl. Microwave in 30-second intervals stirring after each interval until smooth.
- Spoon the chocolate into each cone. Rotate the cone around while gently tapping the wrist holding the cone to coat the entire inside with chocolate.
- Dip the top of the cone back into the chocolate to form a ring of chocolate around the outside of the cone and hold it upside down over the bowl of chocolate while continuing to tap the wrist holding the cone to remove the excess chocolate.
- Place the cone upside down on the piece of parchment paper to set up. Repeat with the remaining cones. To speed up the process, place the cones in the refrigerator for 10 to 15 minutes until set up. Coat the outside ring of chocolate with chopped pistachios before placing the cones in the fridge.
- In a medium bowl, add in the heavy whipping cream. Beat with a hand mixer on medium until stiff peaks form.
- In a large mixing bowl, add the drained ricotta and mascarpone. Stir to combine.
- Add in the powdered sugar and cinnamon. Mix until incorporated.
- Add in the whipped cream and mini chocolate chips and beat with the hand mixer on medium until incorporated.
- Add the filling to a piping bag fitted with a large round tip.
- Fill the cones and add a swirl on top with the filling.
- Add a maraschino cherry to the top.
- Store in an airtight container in the fridge.
Nutrition
(Nutrition facts are an estimate and not guaranteed to be accurate. Please see a registered dietitian for special diet advice.)

