Carrot Patch Brownies
This post may contain affiliate links. As an Amazon Associate I earn from qualifying purchases. Please read my disclosure policy.
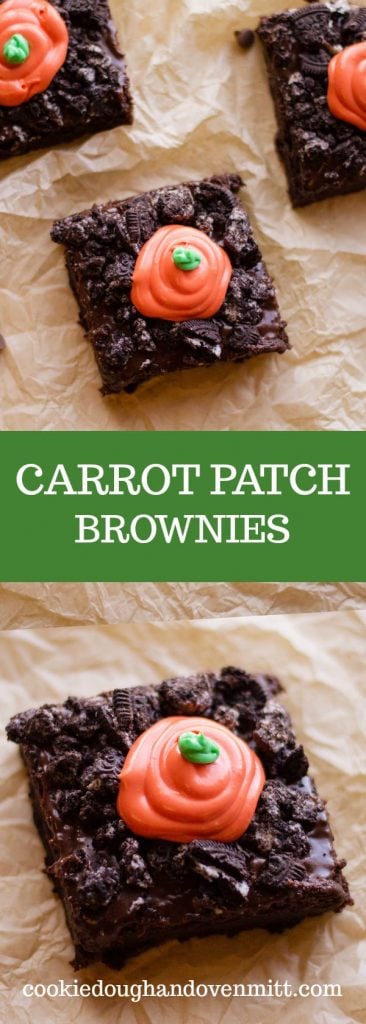
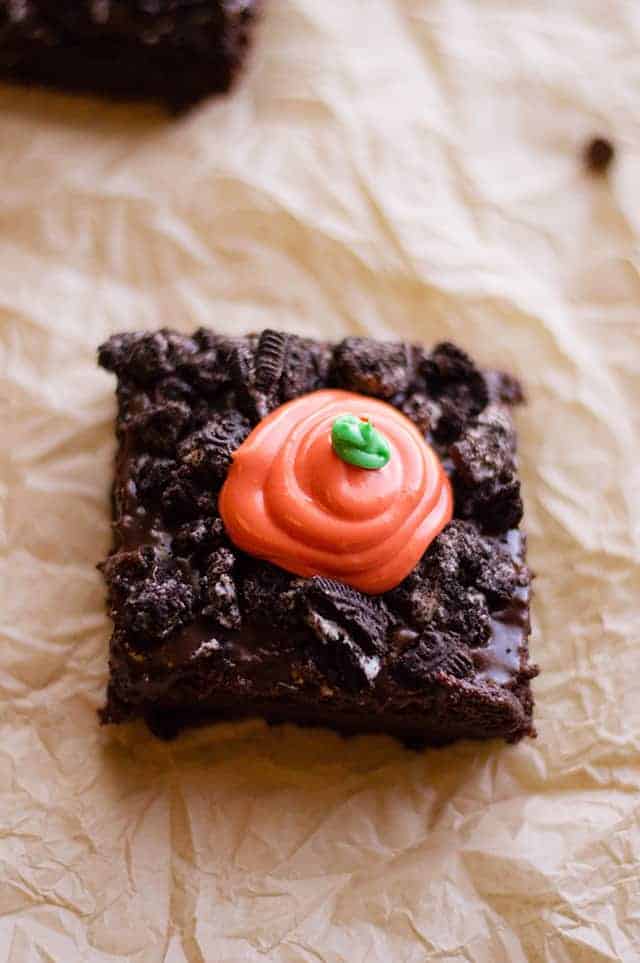
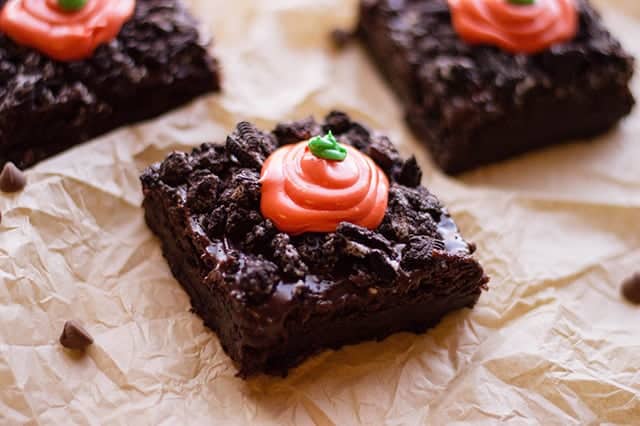
These carrot patch brownies are perfect for Easter and spring in general! These brownies make for a rich, fudgy base with a chocolate frosting slathered on top! Sprinkle some crushed up Oreos on for the dirt and pipe the tops of carrots.
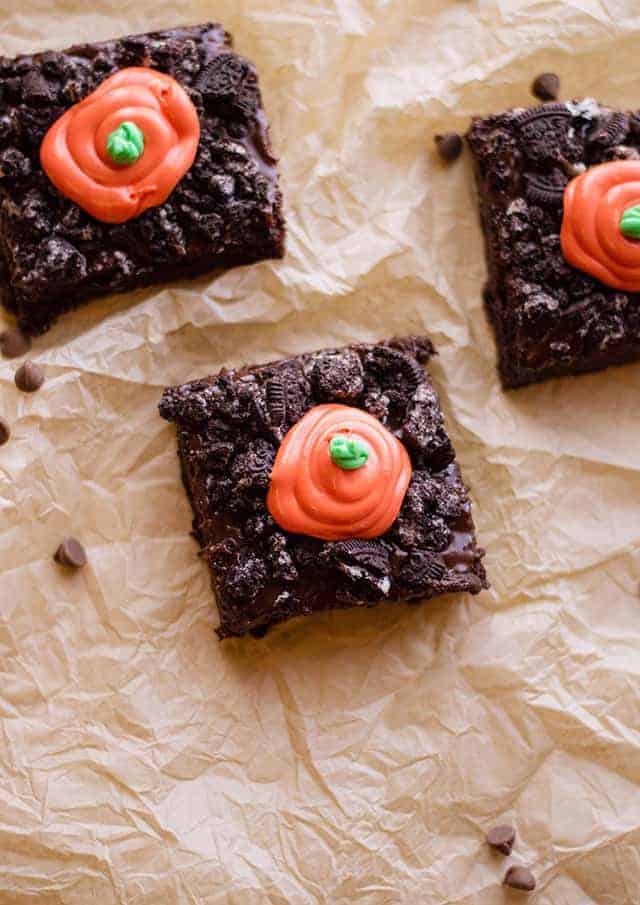
Carrot Patch Brownies
These Easter brownies are perfect for anyone that needs to bring a dessert for the family holiday dinner. They’re quick to make and are just so cute that no one will want to pass them up. Plus, everyone loves brownies right?
I was checking out my browned butter carrot cake blondies when it hit me that I haven’t posted a brownie recipe in a really, really long time for the blog. How could I neglect the poor brownie recipes? I do have big plans of making some brownies stuffed with Reese’s, but the seasonal recipes have crowded it out.
They’ll come eventually. I hope and I bet you too!
Some questions you may have:
Can you freeze brownies?
Yes! Make sure they’re cooled completely first. You can either freeze them as a slab of brownies or in single serving squares. Wrap them well and place them in a freezer bag. They’re good for about 3 months in the freezer.
For these carrot patch brownies I would leave the frosting/oreos off until you have thawed them otherwise it’s likely you’ll have a mess. If its a must to frost them first, place them in a freezer-safe container where the frosting will freeze without being disturbed. Wrap them up after they’re frozen solid and store inthe container or in a freezer bag.
Can you use olive oil in brownies?
Yes! It can replace the butter/vegetable oil in the recipe but I would choose a mild flavor. The olive oil will give the brownies a fruity flavor. A strongly flavored olive oil will definitely overpower the brownies so mild is a must!
How long do brownies last?
If they’re stored properly, meaning in an airtight container, I would say 3 – 4 days. They taste the best if they’re eaten within 1 to 2 days though.
How to make brownies from scratch
Carrot Patch Brownies
Ingredients
- 2 sticks butter salted
- ½ cup semi-sweet chocolate chips
- ½ cup unsweetened cocoa powder
- pinch salt
- 1 cup granulated sugar
- 1 cup light brown sugar packed
- 1 cup all-purpose flour
- 2 large eggs
- 2 cups store-bought chocolate buttercream
- 2 cups Oreos crushed
- 2 cups store-bought vanilla buttercream
- orange gel food coloring
- leaf green gel food coloring
Instructions
- Preaheat oven to 350 degrees. Line a 9x9 square pan with parchment paper with an overhang (for easy removal of brownies once baked) and set aside.
- In a medium saucepan, melt butter and chocolate chips over medium heat.
- Once melted, add cocoa powder and salt. Stir to combine.
- Add both sugars to your chocolate mixture and stir until completely melted.
- In a large bowl, add the flour.
- Add the chocolate mixture to a large bowl. Mix to combine.
- Add your eggs one at a time and whisk until each one is fully incorporated.
- Pour batter into the prepared pan and bake for 20-25 minutes or until your brownies pass the toothpick test. Insert a toothpick and if it comes out clean or with moist crumbs, the brownies are done. Batter means more time! Remove from oven.
- Let the brownies sit for 10 minutes. Remove from pan. Allow to cool completely before decorating.
- Once cooled, frost the top of the brownies with your chocolate buttercream.
- Add the crushed Oreos.
- Cut into squares.
- Mix orange food coloring in 1 ½ cups of your vanilla buttercream.
- Add the orange frosting into a piping bag with a straight tip or just a coupler. Pipe a mound of orange frosting onto each brownie square so that it looks like the top of a carrot.
- Color the remaining vanilla buttercream with green food coloring.
- Add the green frosting into a piping bag with a small straight tip. A Wilton #4 would work or a grass tip. Pipe a little green top on top of the orange buttercream to give it its final touch.
Nutrition
(Nutrition facts are an estimate and not guaranteed to be accurate. Please see a registered dietitian for special diet advice.)

