Rock Candy
This post may contain affiliate links. As an Amazon Associate I earn from qualifying purchases. Please read my disclosure policy.
Whipping up this Rock Candy Recipe has been a Christmas family tradition as long as I can remember. Hard Rock Candy is easy to make and looks fantastic in mason jars packed as gifts for family and friends. It’s a homemade hard candy recipe made with sugar, corn syrup, water and of course flavoring and food color!
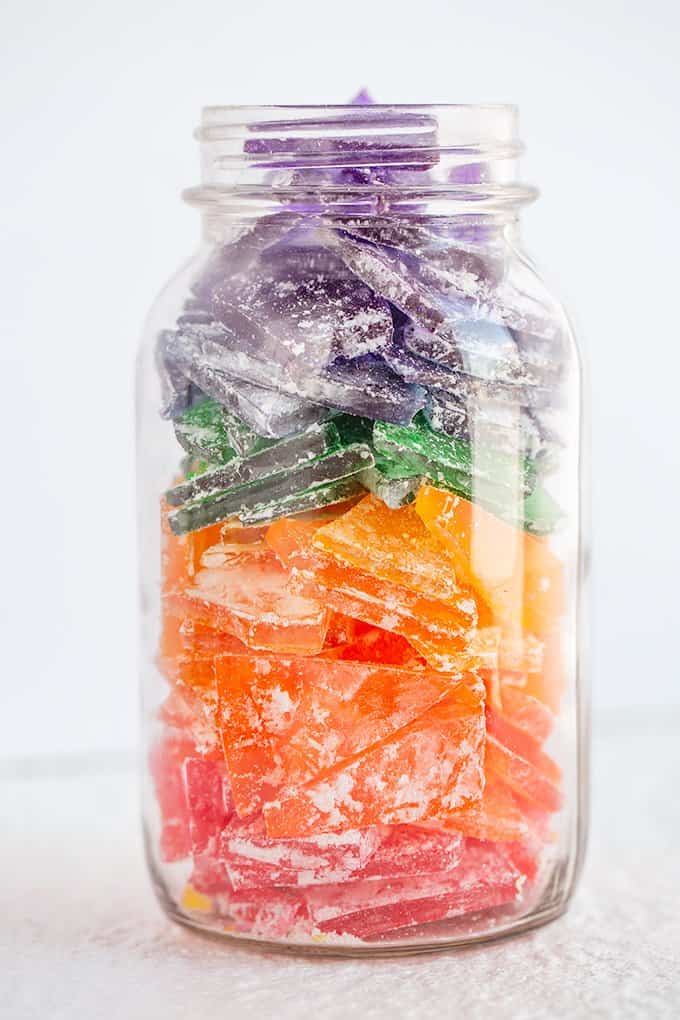
Are you looking for a specific flavor of hard rock candy? I know Cinnamon Rock Candy is really popular especially around Christmas time and my recipe gives you the perfect cinnamon punch without it being overwhelming.
I also have a recipe for the Rock Candy on a Stick if you’re looking for a fun science experiment for the kids. There’s nothing more amazing to a child than colored sugar crystals magically growing into delicious hard candy.
Hard rock candy has always been a tradition at Christmas time for my family. Similar to how some people make seafoam candy or bake Christmas cookie recipes, it started when my brother and I were little children. My mom always made this hard candy for us.
It’s funny now that I think about it because the flavors of rock candy that my mom made aren’t ones that I would associate with children. They are the same flavors you find when you eat spiced jelly beans, clove, wintergreen, cinnamon, anise, but she included tutti frutti and buttered rum as well.
Ingredients
- Sugar – Granulated Sugar is a must for this recipe.
- Corn Syrup – light corn syrup is a must! It has a much lighter flavor and doesn’t interfere with taste of the flavored oils
- Water
- LorAnn’s Oils – We’ve always used LorAnn’s candy oils and you’ll need ½ teaspoon or 1 fl. Dram (the entire bottle)
- Food Color – I use gel food coloring instead of the liquid but you can definitely use the liquid from the grocery store. It will take probably half of a small bottle to get vibrant colors though.
- Powdered Sugar – this is just for coating the candy after it’s done to help prevent it from sticking to other pieces.
Flavor Varieties of Rock Candy
You can use any flavoring oil that is made for hard candy.
You can opt for fun fruity flavors such as:
- Watermelon
- Strawberry
- Lemon
- Apple
- Blackberry
- etc.
You can go with spiced flavors like I prefer such as:
- Clove
- Wintergreen
- Anise
- Cinnamon.
You can go with fun childhood favorites such as: b
- Bubblegum
- Fruit Punch
- Cotton Candy
If you’re wondering what flavored oils I use in my recipe for hard rock candy, I shall fulfill your curiosity.
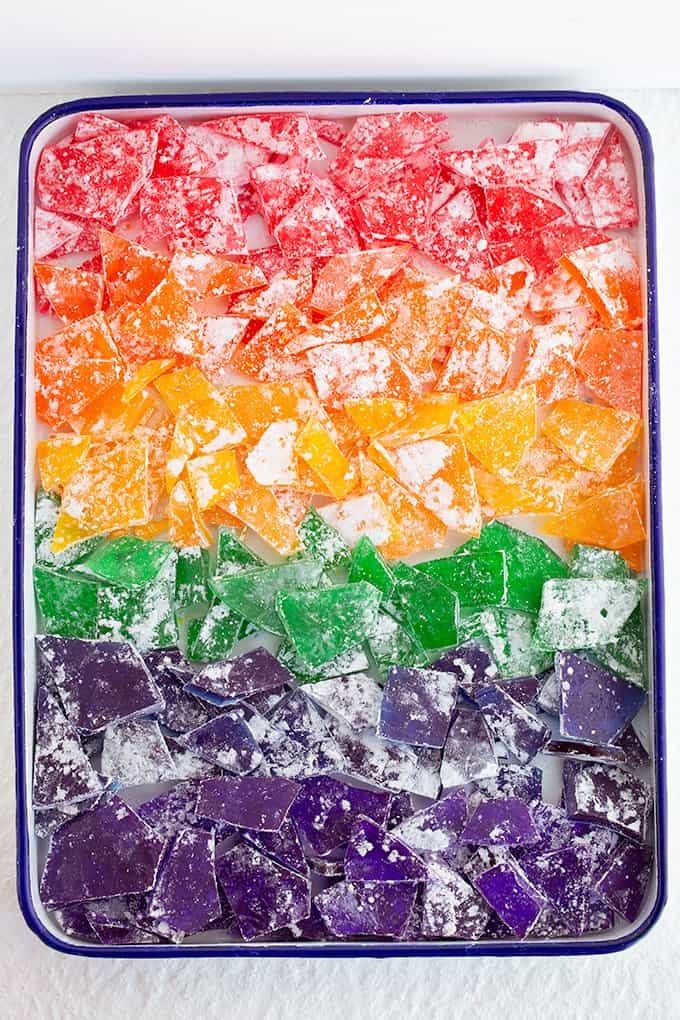
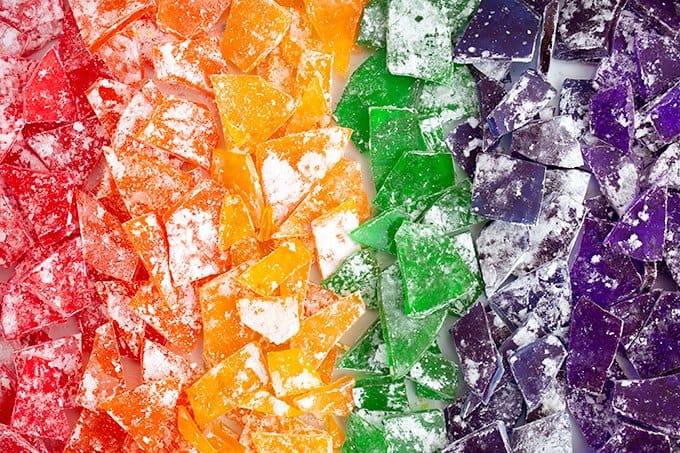
Purple is anise, blue is clove, green is wintergreen, orange is butter rum, yellow is banana cream, red is cinnamon, and pink (not shown here) is tutti frutti. The banana rock candy is a new addition because that’s pretty much the only kind the husband will eat. Normally our yellow is tutti frutti.
Why do I have to use flavored oil and not extracts?
Here’s the thing. Oils don’t cook off or boil up like extracts do because they aren’t made with alcohol or a combination of alcohol and water. This also means the oils are much stronger flavored than extracts since extracts are diluted with liquids.
How to make Hard Rock Candy
Making hard candy is easy if you have the right tools. So let’s first go over the equipment list. You’ll need a candy thermometer, large saucepan, and rimmed baking pan such as a pizza pan or a sheet pan.
Now I’ve watched my mom perform the hard crack test every year with a glass of cold water and dripping a small amount of the hot sugar, syrup, and water mixture into the cold water. If it didn’t immediately turn hard, it needed to go longer, but it’s just so much easier to buy an inexpensive but accurate candy thermometer.
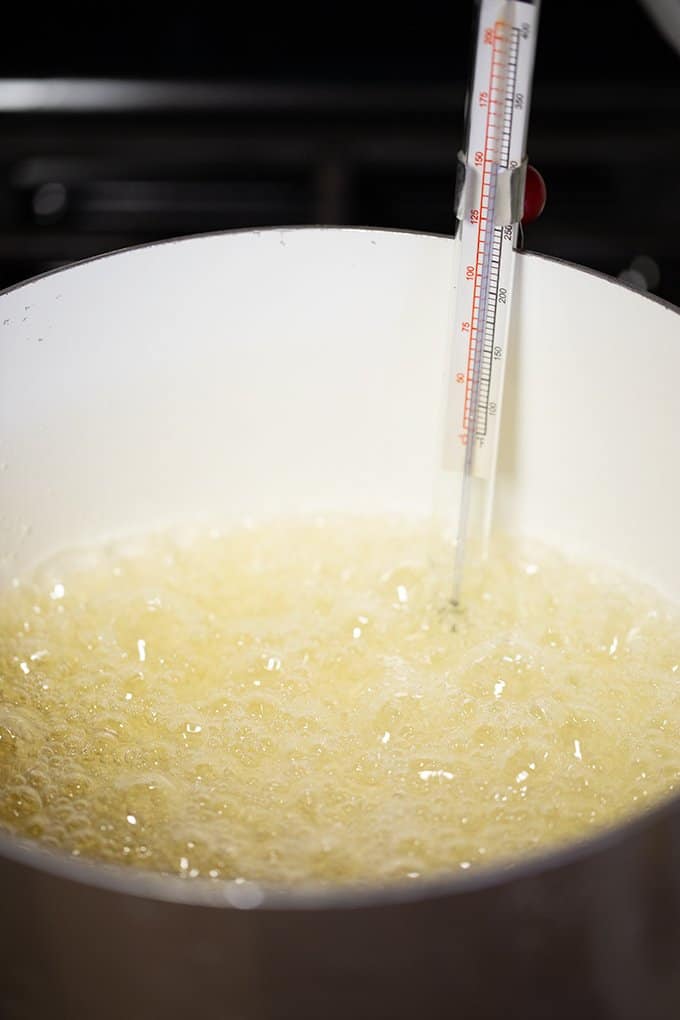
STEP ONE: Add the sugar, corn syrup, and water to a large saucepan. Stir to combine and place over medium heat.
STEP TWO: Add a candy thermometer to the side of the saucepan but don’t allow it to touch the bottom of the pan. Let the candy mixture cook until it reaches 300 degrees F.
STEP THREE: Remove from the heat and quickly stir in the flavoring oil and gel food color.
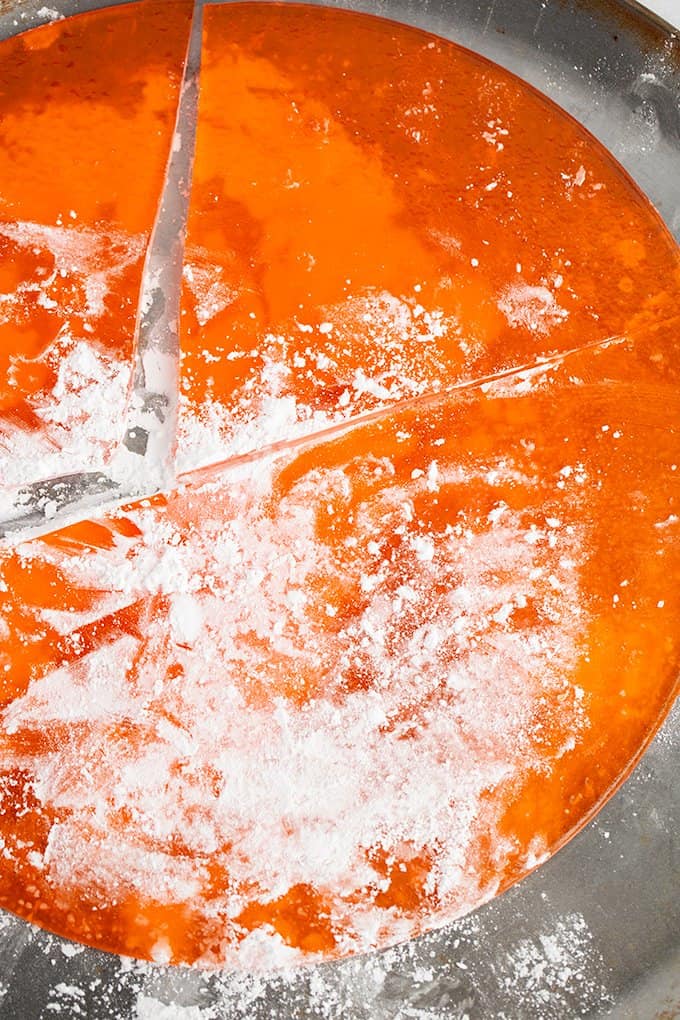
STEP FOUR: Pour the hard rock candy into a well-greased rimmed baking sheet or pizza pan. You can tilt the pan to help spread the candy out. Let the candy cool completely.
STEP FIVE: Coat both sides of the hard candy sheet generously in powdered sugar.
STEP SIX: Break the rock candy apart into small pieces.
How to Store Hard Candy
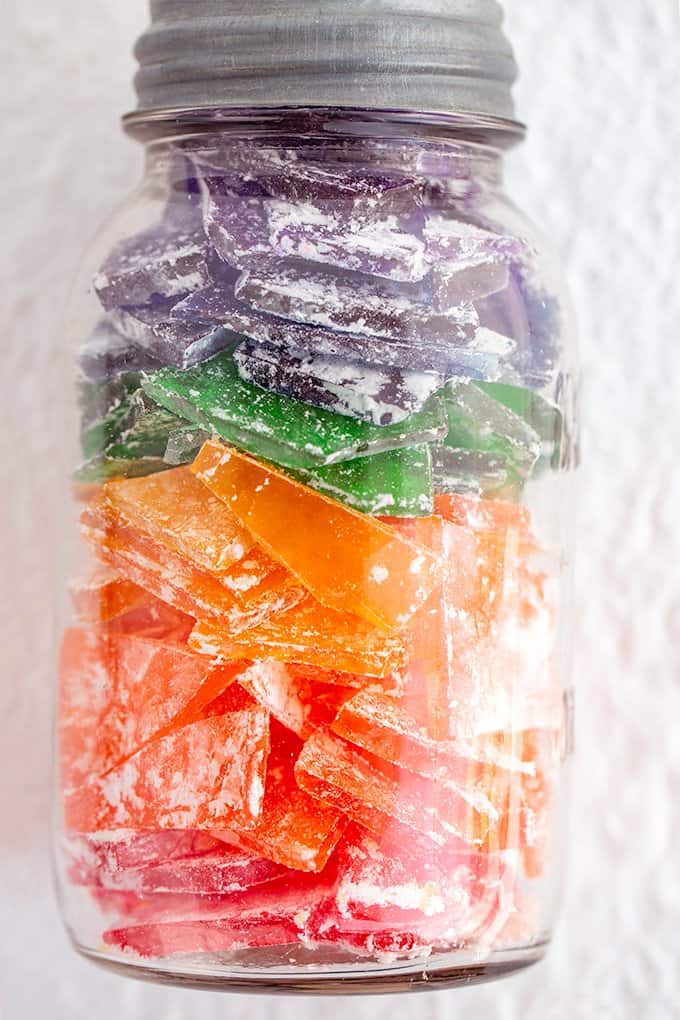
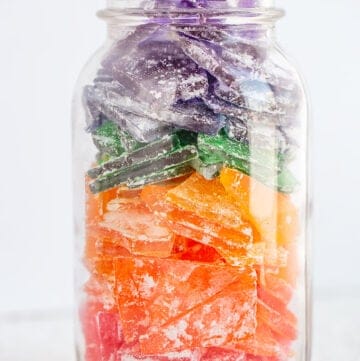
Storing homemade candy is like storing any other candy. It needs to be kept in a cool, dry area. You can store it in mason jars, a bowl with a lid, or any airtight container. It can last at least a month or longer if stored properly.
Frequently Asked Questions
Yes. You can pour it on parchment paper and if you’re worried about it sticking, go ahead and lightly spray the parchment paper with nonstick cooking spray. You can also use greased tin foil if you would like, but I would not recommend using wax paper.
It usually takes about 30 to 40 minutes or so. It can take a longer or shorter period of time depending on the temperature of your house. If I’m in a hurry and need to speed up the process, I pop mine in the cold sunroom for 15 to 20 minutes.
You could score the hard rock candy with a greased knife before it has fully set up. It would need to be cooled long enough to hold the scoring but warm enough to actually score it.
Another idea is you can carefully pour the DIY candy into candy molds.
I just break it up with my hands or a clean meat tenderizer.
If you’ve let it sit for 40 to 45 minutes and it still isn’t getting hard, your sugar mixture didn’t reach 300 degrees F (the hard crack stage). This is why having a candy thermometer and making sure it’s accurate is important.
More Candy Recipes
Rock Candy
Ingredients
- 2 cups granulated sugar
- 1/2 cup light corn syrup
- 1/2 cup water
- 1/2 teaspoon or 1 fl. dram of LorAnn’s flavored oil
- gel or liquid food coloring
- powdered sugar for dusting
Instructions
- Spray cooking spray on a rimmed baking sheet. I used a 12 inch round pan.
- In a large saucepan, add in the first 3 ingredients. Over medium heat, stir until combined and let it cook to 300 degrees F. I would highly recommend using a candy thermometer for this. 300 degrees is the hard crack stage. My mom always filled a measuring cup with ice cold water and dropped a teaspoon of the candy into the water. If the set immediately and was crunchy, it was ready.
- After the sugar mixture has reached 300 degrees, remove from the heat. Add in a few drops of food coloring and the flavored oil. Stir vigorously.
- Quickly pour the hot sugar mixture onto the greased cookie sheet. Let it cool for 20-30 minutes. I like to sit mine out in the sun room to cool quicker.
- Tap on the cookie sheet to release the sheet of candy. Dust both sides of the candy with powdered sugar. Bust the sheet into small pieces and place into an airtight container.
Notes
Nutrition
(Nutrition facts are an estimate and not guaranteed to be accurate. Please see a registered dietitian for special diet advice.)
This post was originally published December 19, 2013, but updated in November 2021 with additional information.


Just as I remembered
love this recipe itst great I can adapt to what I want to use it for. Thanks for sharing this simple candy recipe.
You are so welcome!!!
Just made this recipe, used cinnamon, my favorite, it turned out awesome, not too strong of a flavor either, going to make several different flavors here soon and will continue to use this recipe, thing I’ll do different next time though is lay parchment paper down and grease it, will save some clean up
can you put them in the refridgerator to help them cool
Yes!
Couldn’t get mine to harden. Let it sit all night and still was just like pudding
Hi Stella! Sorry your candy didn’t harden! It most likely needed to cook a little longer to reach the correct temperature. Hopefully it works next time you giev it a try!