Red Velvet Fudge
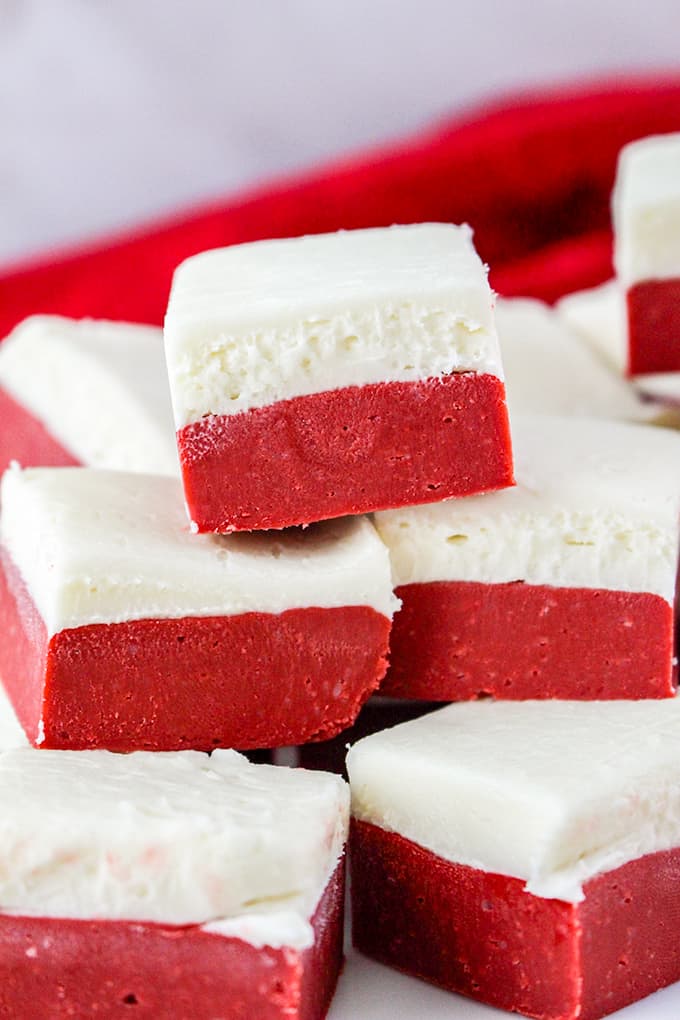
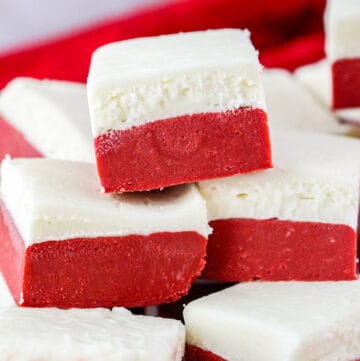
This Easy Red Velvet Fudge with a delicious cream cheese topping is made with semi-sweet chocolate chips, white chocolate chips, sweetened condensed milk, and a few other tasty ingredients. This red velvet recipe is so simple and perfect for a Valentine's Day or Christmas sweet.
Jump to:
A velvety and creamy red velvet fudge that is loaded with rich decadent flavor. This red velvet fudge recipe is made with semi-sweet chocolate, white chocolate, and cream cheese. You will love the flavor of this stand-out fudge.
The blend of semi-sweet and white chocolate really gives you that craveable red velvet flavor you know and love. Serve for Valentine's Day or just a treat to break up the work week.
If you would like to add a few more red velvet recipes to your Valentine's Day, I have a Red Velvet Cake with Cream Cheese Frosting, Red Velvet Cheesecake, and Chewy Red Velvet Bars that are all worth a try!
Ingredients
Here are the ingredients you need to make this homemade red velvet fudge recipe.
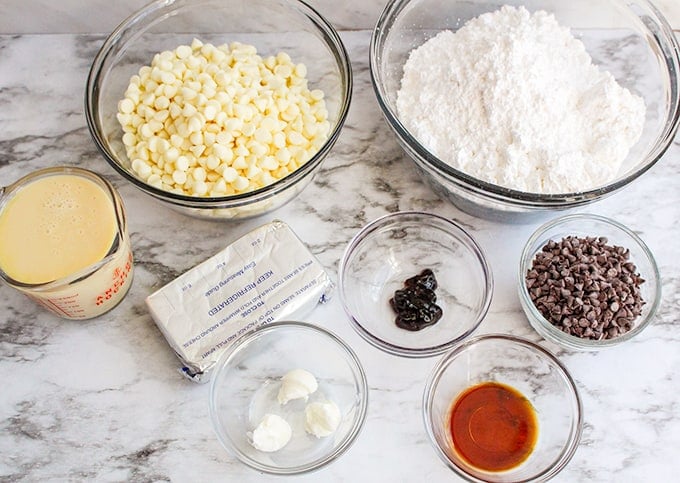
(The measurements are in the recipe card at the bottom of the post.)
- White chocolate chip
- Semi-sweet chocolate chips
- Sweetened condensed milk
- Vegetable shortening
- Red gel food coloring
- Powdered sugar
- Cream cheese
- Vanilla extract
How to make Red Velvet Fudge
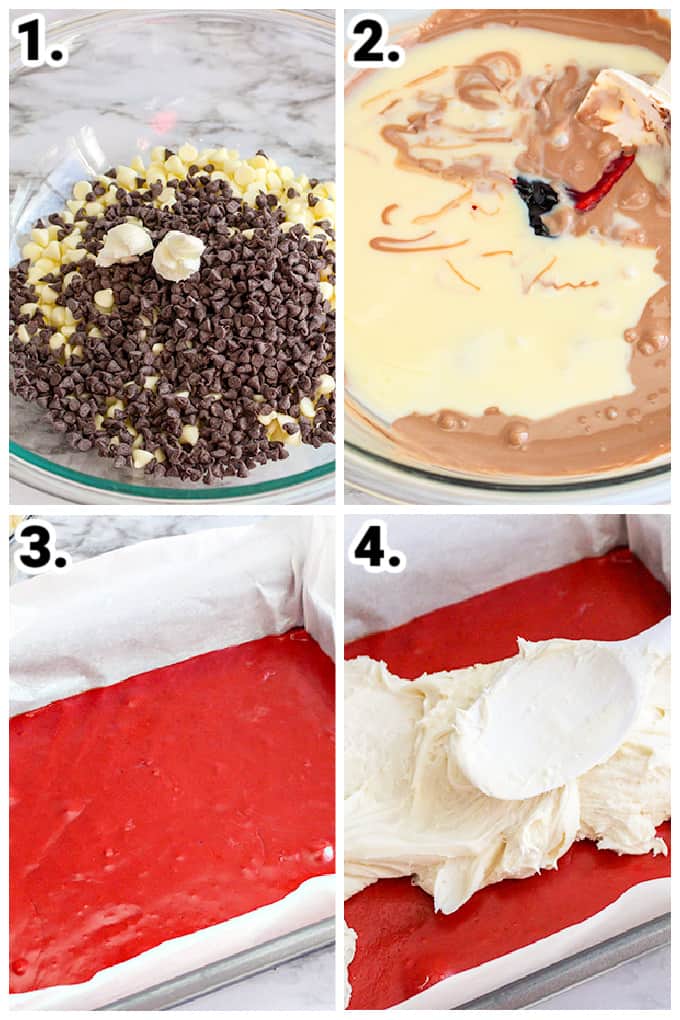
- Start by greasing your pan and set aside. Next, you will add your chocolate and shortening to a bowl and heat up until fully melted. Make sure to stir or it will burn. I microwaved for 20-30 second increments. You could use a double boiler.
- Add in the condensed milk, food coloring, and vanilla. Stir until completely smooth.
- Pour the mixture into the baking sheet.
- Then repeat the process with the remaining chocolate chips and shortening. Then with this step, you will add the cream cheese. Mix and then pour on top of the other layer of fudge.
- Let the fudge set up, then slice and serve.
Pro Tips For Making Fudge
- Grease your pan well or line with parchment or wax paper to prevent the fudge from sticking in the pan.
- Make sure to stir your chocolate in between each heat cycle. Otherwise, you will run the risk of your chocolate burning.
- Gel food coloring works best, and it will help to not alter the flavor of the fudge or thin out your fudge.
- Add on festive sprinkles at the end if you want, or even chocolate chips to add more flavor.
- I recommend making fudge a day in advance of when you plan to eat to ensure it has time to fully set up.
How to Store Red Velvet Fudge
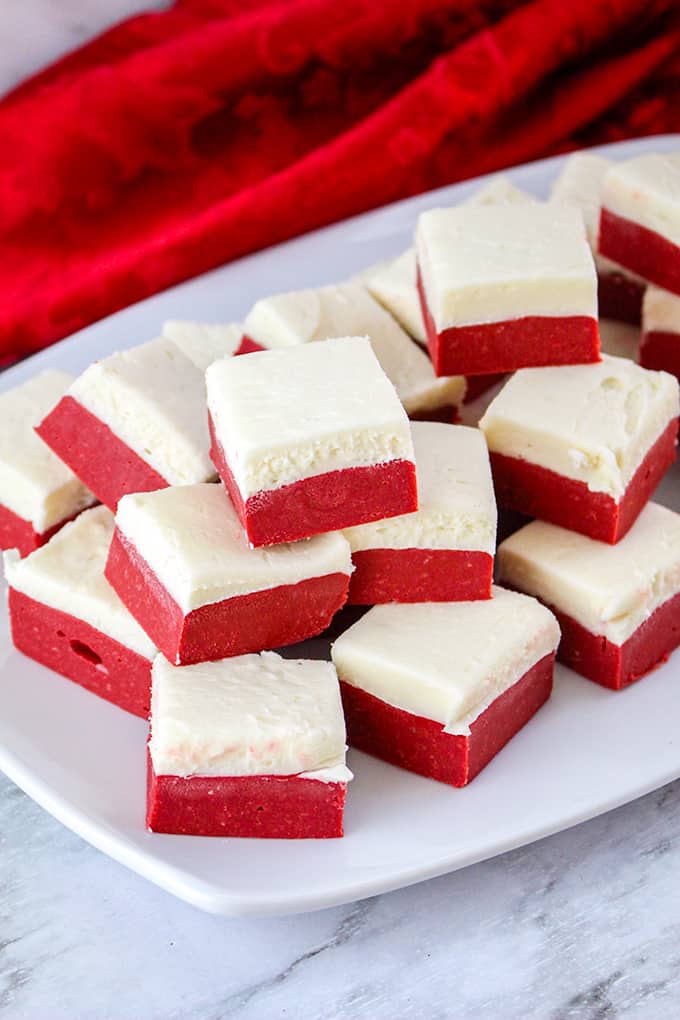
With this red velvet fudge having cream cheese in it, you need to refrigerate the fudge. Just store in a sealed container in the fridge for up to a week.
I like to eat the fudge within the first 4 days, after that you will find it begins to dry out a bit more.
Frequently Asked Questions
If you want to save back some of the fudge you made, go right ahead and freeze it. Place in a single layer in a freezer bag or container. If you want to stack place wax paper between the layers to prevent the fudge from sticking. Freeze for 3-4 months. Then thaw in the fridge overnight. Or on the counter for 1 hour and then enjoy.
Go right ahead and switch out the white chocolate chips to a white baking chocolate if you want. With the shortening, it will still allow the chocolate to set up the way you want. Just roughly chop your chocolate and melt it in the microwave. It may take longer for the fudge to firm up though.
If you want go ahead and use milk chocolate in replace of semi-sweet. By doing this you will have a lot milder flavor of chocolate. Which will still be delicious, just know it will change up the flavor of the fudge a bit.
If you try this recipe, be sure to leave a rating below and also share it on Instagram, and tag me! You can also find me on Facebook and stay up to date on recipe releases by joining the Newsletter!
Red Velvet Fudge
Ingredients
- 24 ounces white chocolate chips divided (two 12 ounce bags)
- ⅔ cup semi-sweet chocolate chips
- 3 teaspoons vegetable shortening divided
- 14 ounces sweetened condensed milk
- 1 ½ teaspoons red gel food coloring
- 4 cups powdered sugar divided
- 6 ounces full-fat cream cheese room temperature
- 1 teaspoon vanilla extract
Instructions
- Grease a 9x13 baking dish with nonstick baking spray. Line with parchment paper and lightly spray the paper with additional baking spray.
- In a large microwave-safe bowl, add 3 ¼ cups white chocolate chips, semi-sweet chocolate chips, and 2 teaspoons of vegetable shortening.
- Microwave the chocolate chips on high for 1 minute. Stir vigorously to allow the chocolate to continue melting with the residual heat.
- Micorowave the chocolate chips for 15-second intervals, strring after each interval until the chocolate mixture is smooth and creamy.
- Once the chocolate chips are completely smooth, add the condensed milk and food coloring. Stir until well combined.
- Add in 1 cup powdered sugar and stir until thoroughly incorporated.
- Pour the chocolate mixture into the prepared baking dish and spread evenly to the edges with an angled spatula.
- In a separate microwave-safe bowl, add the remaining white baking chips and shortening, Microwave for 1 minute. Stir vigorously to allow the chocolate chips to continue melting with the residual heat.
- Microwave the chocolate chips in 15 second intervals, stirring after each interval until the chocolate is smooth and creamy.
- Add the cream cheese and vanilla extract to the melted chocolate chips. Beat with a hand mixer on medium until smooth.
- Gradually add in the remaining powdered sugar into the cream cheese chocolate mixutre while mixing on low speed until smooth.
- Pour the cream cheese white chocolate mixture into the prepared baking dish on top of the red velvet layer and evenly spread to the edges with an angled spatula.
- Place in the refrigerator to chill for at least 2 hours or until firm.
- Remove the fudge from the baking dish by lifting edges of parchment paper.
- Warm the blade of a large sharp knife by running it under hot water or letting it sit for 30 seconds in a tall container of hot water. Wipe dry and cut the fudge into squares, reheating and drying the knife between cuts for clean pieces.
- Store in an airtight container in the refrigerator for up to a week.
Nutrition
(Nutrition facts are an estimate and not guaranteed to be accurate. Please see a registered dietitian for special diet advice.)


Yummy! It was a hit!