Pumpkin Crisp
This post may contain affiliate links. As an Amazon Associate I earn from qualifying purchases. Please read my disclosure policy.
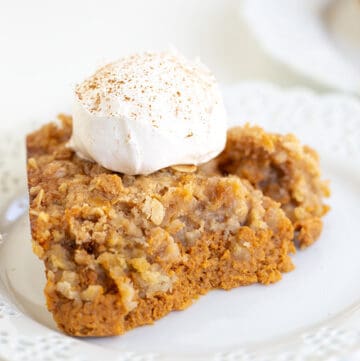

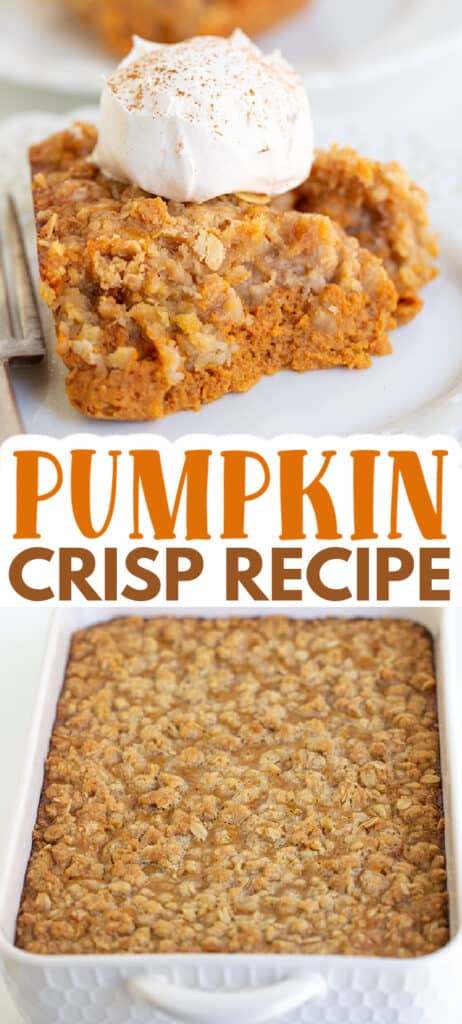
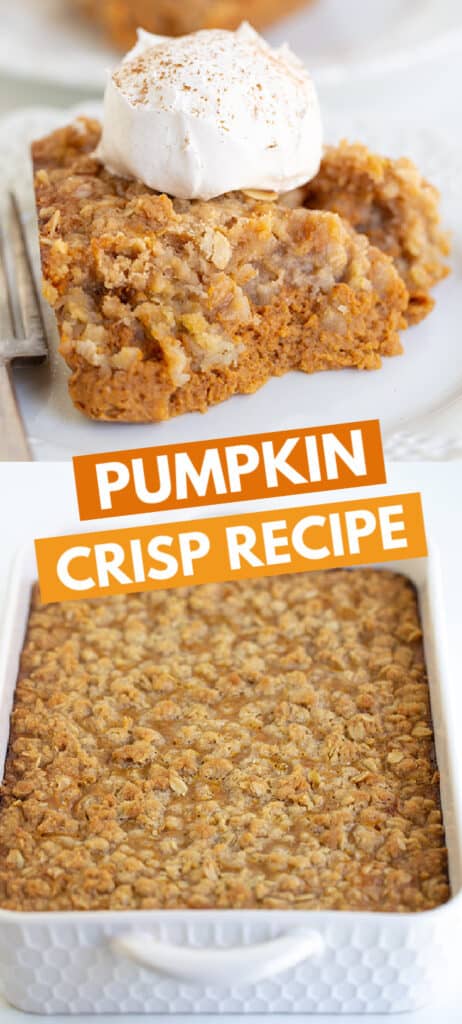
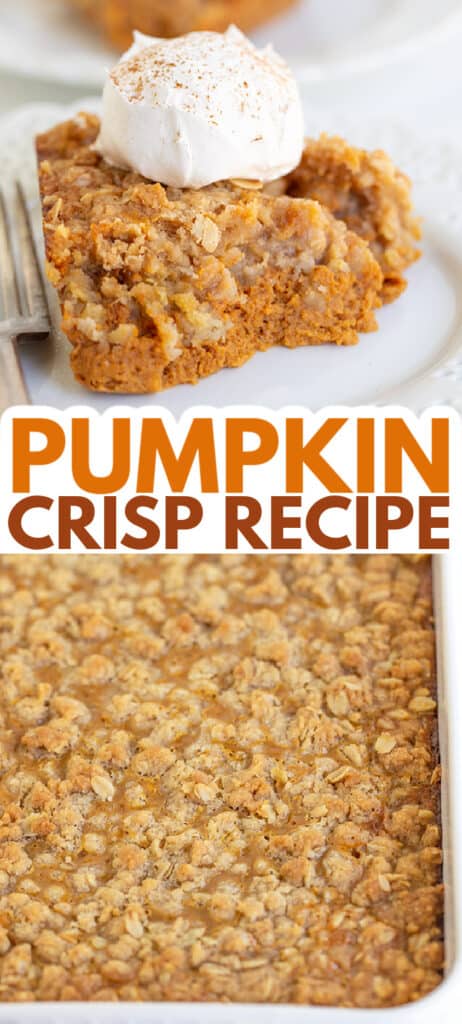
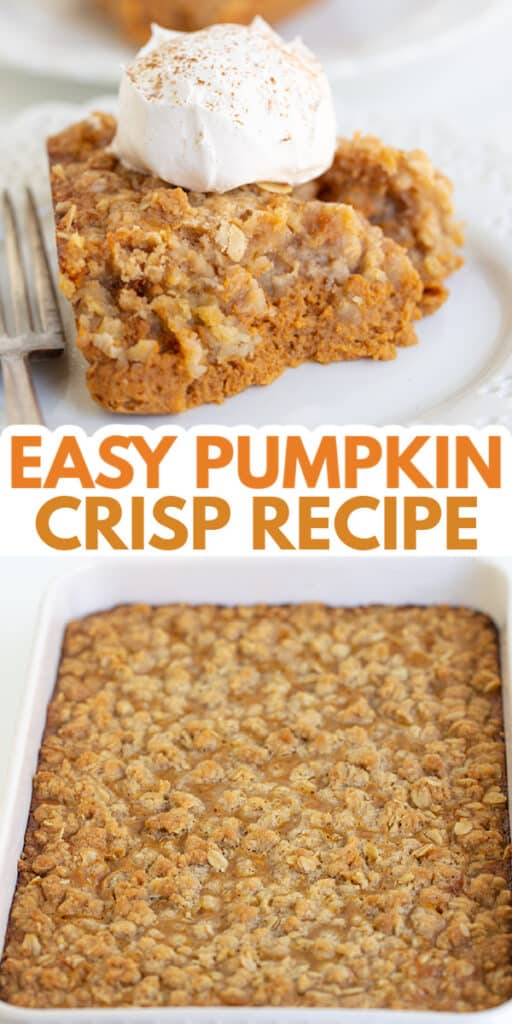
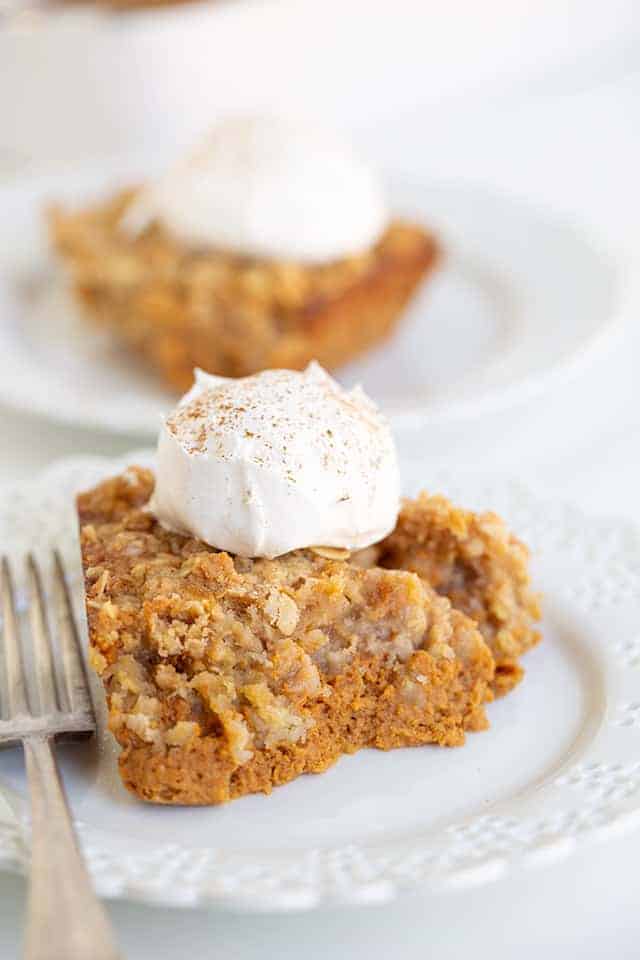
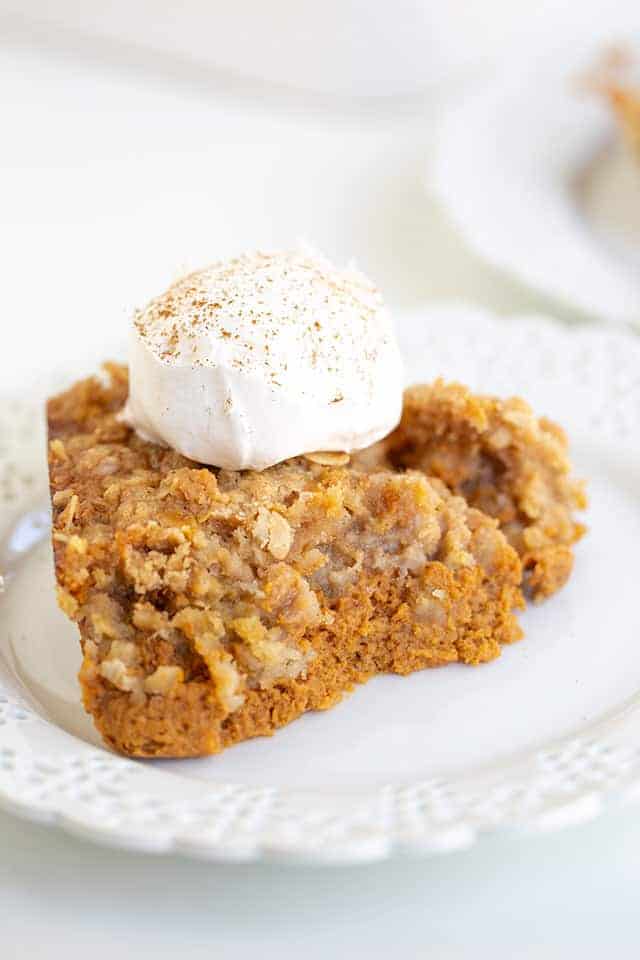
This Pumpkin Crisp has a delicious pumpkin pie filling with crumbles of a cinnamon brown sugar crisp topping baked on top. It takes minutes to put together and tastes great served with fresh whipped cream or vanilla ice cream. Get more crisp recipes here!
You have probably heard about apple crisp. You may even have had a delicious peach crisp in the past. But have you ever tried a pumpkin crisp?
This Pumpkin pie crisp is an amazing, tasty dessert that is perfect for fall. It is super easy to make and much faster than baking an entire pie since you don’t have to worry about making a pie crust!
Instead of mixing and rolling dough, a simple crumble topping adorns this seasonal treat which is a tasty, easy alternative. We know that after you make this recipe once, you may never make a regular pumpkin pie ever again! Now, on to the pumpkin crisp recipe and how this perfect dessert is made.
FREE EMAIL BONUS: Treat yourself with these delicious recipes
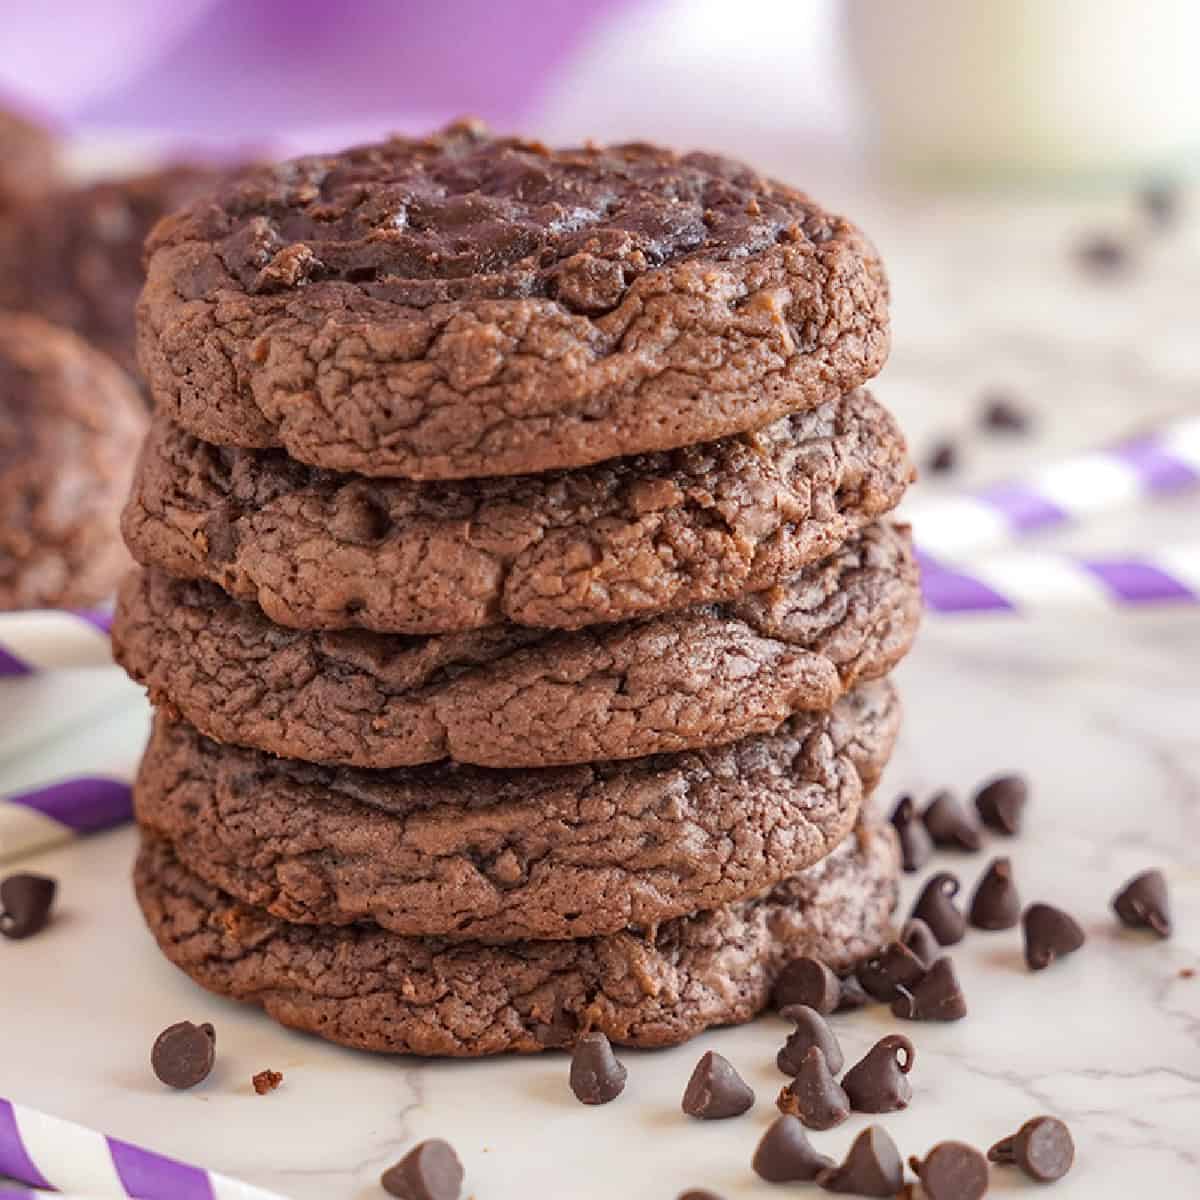
Get more great fall Pumpkin Dessert Recipes
How to Make Pumpkin Crisp
Making a pumpkin crisp only takes a matter of minutes. All you will need to get started is two large bowls and a rectangular baking dish and you can make either the pumpkin pie filling or the crisp topping first.
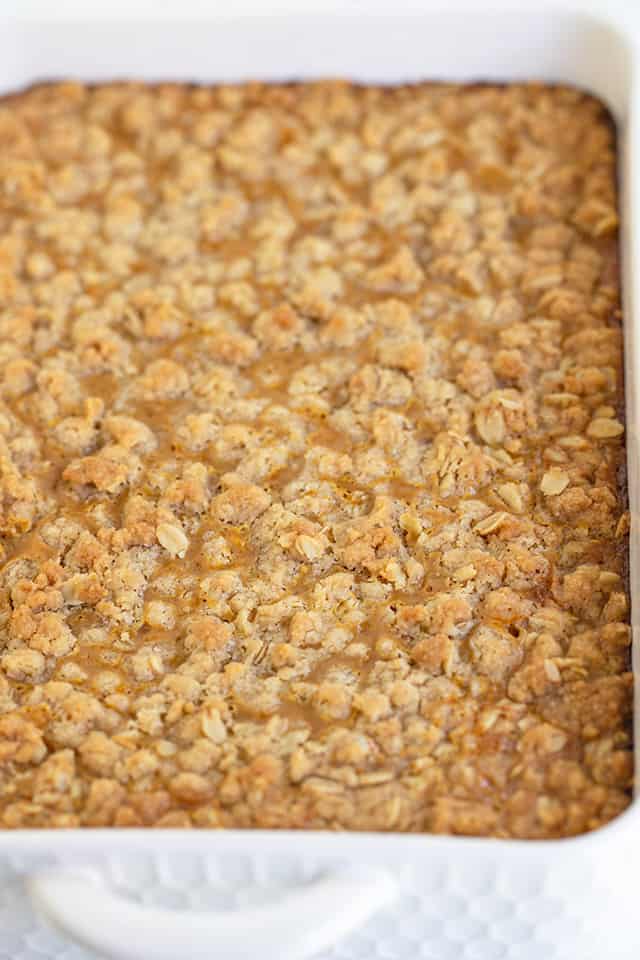
To make the pumpkin crisp topping, all of the ingredients are placed in a large bowl and then mixed together to form a coarse, crumbly mix. Use your hands to really blend the butter into the dry ingredients and make the crisp perfectly blended. You want to be sure not to overmix as the topping can quickly go from a nice sandy blend to a tougher, dry dough.
Once you see those small clumps begin to form, stop mixing! The pumpkin crisp topping will look like any other crisp topping or crumble pie topping you have made in the past (you’re probably a crisp topping pro!).
Next, the pumpkin crisp filling is made. In a new, large bowl, all of the filling ingredients are mixed together until uniform and smooth. While a spatula will work, we prefer to use a whisk to gently break up the eggs and really blend the puree and wet ingredients well.
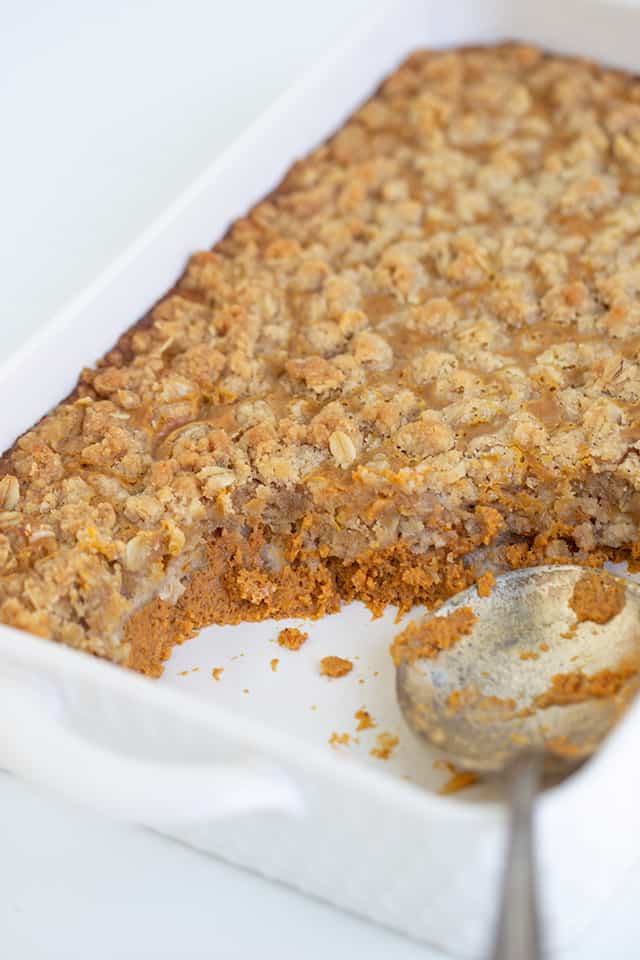
The pumpkin filling is then poured into a greased 7×11-inch pan and baked until it has thickened slightly. You want the filling to still be soft but it should not be completely firm.
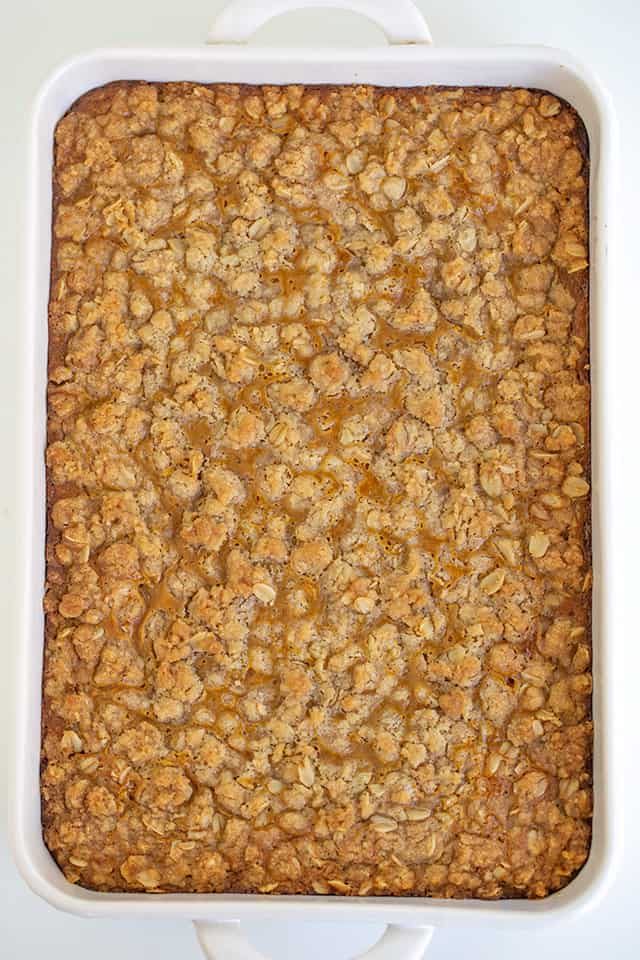
The idea is that the pie filling will be able to hold up the crisp without it sinking to the bottom of the pan. Once the filling is slightly firm, the crisp topping is sprinkled over the par-baked pumpkin mix and then the whole pumpkin crisp goes back into the oven to finish baking.
When the topping is golden brown and the center of the crisp is set, it is ready to come out of the oven! Let it cool completely before serving.
How to Store Pumpkin Crisp
Once you have baked a perfect, fall-ready pumpkin crisp, there is a good chance you eat it all right away. However, if you do have any left over or, if you make the crisp ahead of time, you may need to store it.
Pumpkin crisp is definitely best to keep in the fridge. Since the pumpkin filling is made with lots of eggs and milk, it will keep best when covered tightly and stored in the fridge for up to a week. After a week, you may start to see the filling separate which is a good indication that the crisp is past its prime.
It can be left at room temperature for up to two hours. It’s similar to a homemade pumpkin pie, so store it like one.
Can You Freeze Pumpkin Crisp?
Good news! You definitely can freeze pumpkin pie crisp! Pumpkin crisp is a custard based dessert and those tend to freeze very well thanks to the high fat content.
To freeze this pumpkin crisp recipe, make the crisp completely, following the directions until the crisp is fully baked. Let the crisp cool completely then place a piece of plastic wrap directly on the surface of the crisp. This will help seal in some of the moisture and also protect the crisp from the drying air of the freezer. Wrap the crisp in more plastic wrap completely then freeze for up to 6 months.
To thaw the crisp, take it out of the freeze a day in advance and let it thaw in the fridge. You want to thaw the crisp slowly to prevent the filling from separating.
How Many Days in Advance Can You Make Pumpkin Crisp?
This recipe is fantastic to make in advance. You can make the crisp completely and freeze it up to six months before you are ready to serve it! You may even want to stock your freezer full of crisps so that you have a perfect dessert on hand all the time.
If you do not want to freeze your crisp, make it up to 3 days in advance. The crisp will still be very fresh after three days. Just be sure to store it in the fridge after it has baked!

Recipe FAQs
Can you use homemade pumpkin puree?
You definitely can use homemade pumpkin puree! It will work perfectly in this recipe. Just be sure to blend the pumpkin very well, making it as smooth as possible. This will ensure your crisp filling has no lumps. Both homemade pumpkin puree or store bought puree will work perfectly in this recipe.
Can I substitute the evaporated milk for heavy cream?
You can definitely use evaporated milk or heavy cream in this recipe. Both can be used interchangeably in the same quantity. Evaporated milk is slightly thinner than heavy cream but it will not make your pie filling thinner or alter the texture too much. Heavy cream will give the pie slightly more fat and have a more buttery texture.
Pumpkin pie crisp is an amazing, delicious, fall flavored dessert that you are sure to love. It is easy to make and is a wonderful dessert to serve for the next big holiday or just to make a Tuesday night more exciting! We hope you enjoy our recipe as much as we do!
Shop this Post:
- 7×11 inch Baking Dish
- Glass Mixing Bowls
- Small Strainer for dusting cinnamon
Pumpkin Crisp
SAVE THIS RECIPE
Ingredients
Crisp
- 1 1/2 cups all-purpose flour
- 3/4 cup old fashioned oats
- 1/2 cup granulated sugar
- 3/4 cup light brown sugar, packed
- 1/2 teaspoon ground cinnamon
- 3/4 cup butter, room temperature
Pumpkin Filling
- 15 ounces pumpkin puree
- 3/4 cup light brown sugar, packed
- 1/2 cup granulated sugar
- 3 teaspoon pumpkin pie spice
- 1 teaspoon vanilla extract
- 2 large eggs
- 12 ounces evaporated milk
Instructions
Crisp Topping
- Preheat the oven to 375 degrees F. Spray a 7×11 baking dish with nonstick baking spray.
- Add the 1 1/2 cups all-purpose flour, 3/4 cup old fashioned oats, 1/2 cup granulated sugar, 3/4 cup light brown sugar, and 1/2 teaspoon ground cinnamon to a medium bowl. Stir to combine.
- Add the 3/4 cup butter to the dry ingredients. Using a spatula, fork, or your hands, work the butter into the dry ingredients until the butter has coated all of the dry ingredients and clumps together.
- Break apart the big clumps, cover, and place in the freezer to firm up. Begin working on the pumpkin filling.
Pumpkin Filling
- In a large bowl, add in the 15 ounces pumpkin puree, 3/4 cup light brown sugar, 1/2 cup granulated sugar, and 3 teaspoon pumpkin pie spice. Stir to combine.
- Add in the 1 teaspoon vanilla extract and 2 large eggs. Stir with a spatula or whisk until the eggs are worked into the filling.
- Add in the 12 ounces evaporated milk and stir until there are no more white milk streaks in the filling.
- Pour the pumpkin filling into the prepared baking dish.
- Place in the oven and bake for 20 minutes until it has thickened up some in the center.
- Pull the baking dish out of the oven and sprinkle the crisp topping all over the top.
- Place back in the oven and bake for an additional 25 minutes until the center of the crisp is set up and the crisp topping is golden brown.
- Let cool completely and serve. Top with whipped cream.
- Cover and store in the refrigerator.
Notes
Nutrition
(Nutrition facts are an estimate and not guaranteed to be accurate. Please see a registered dietitian for special diet advice.)
I loved this recipe! I have celiacs so I substituted gluten free flour and gluten free oats and it turned out great. No one knew it was gluten free
Can this be made in a 9×13” dish? If so would you use double the ingredients or 1 1/2?
I would do 1 1/2 times the recipe to make a 9×13 pan. Hope this helps!