Red Velvet Sugar Cookies
This post may contain affiliate links. As an Amazon Associate I earn from qualifying purchases. Please read my disclosure policy.
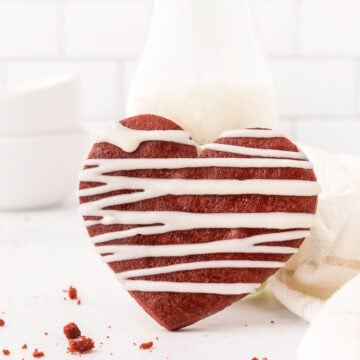
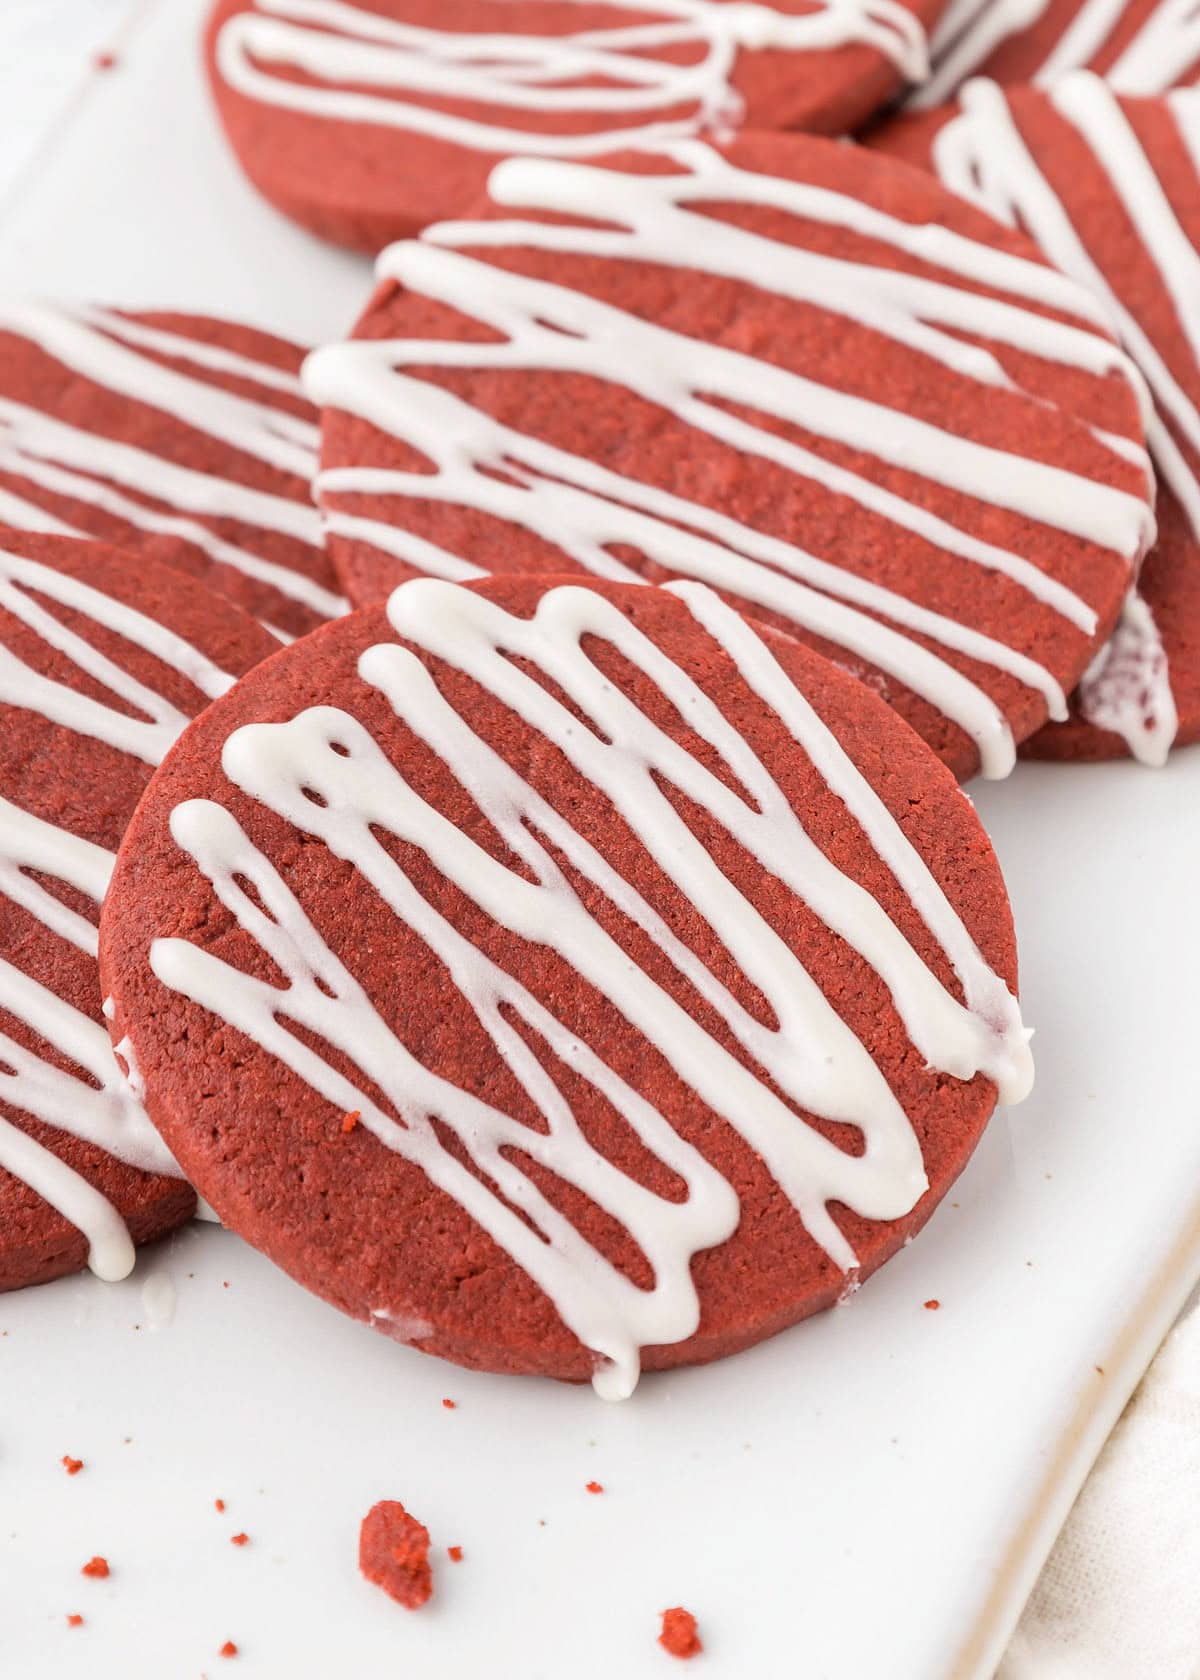
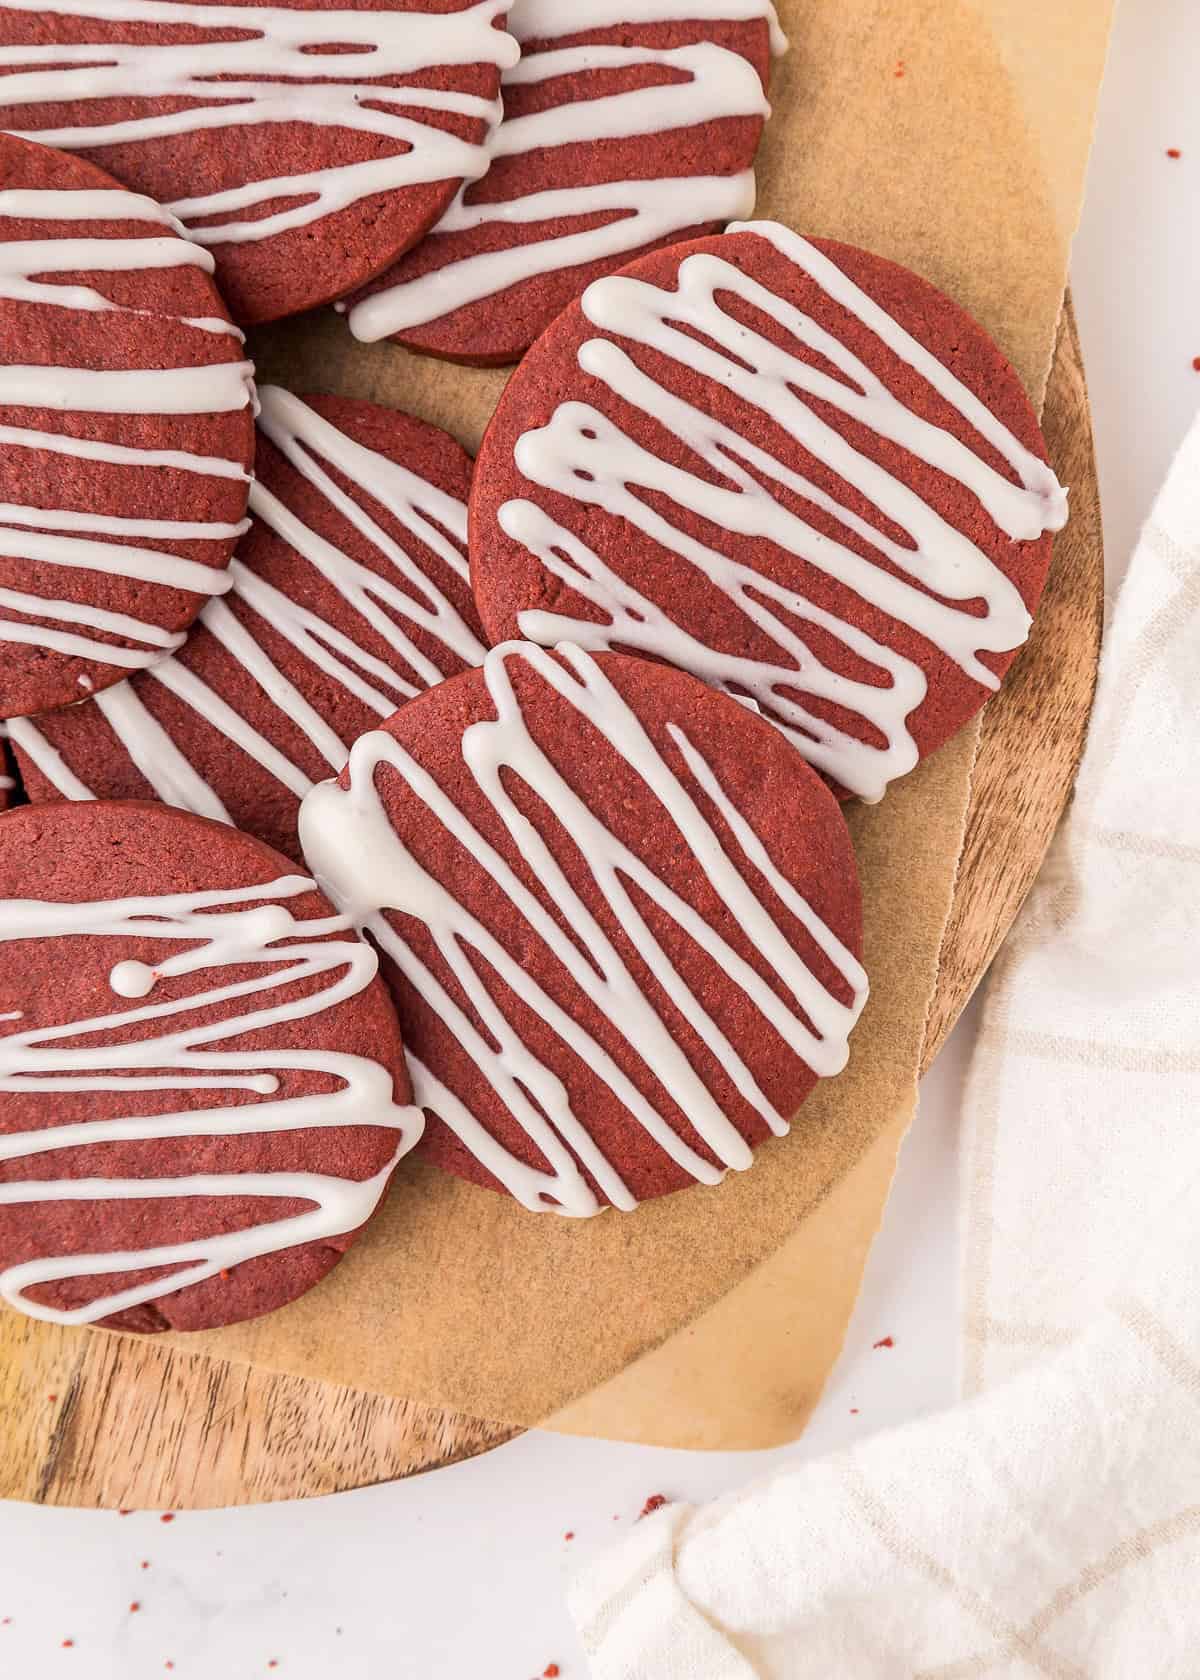
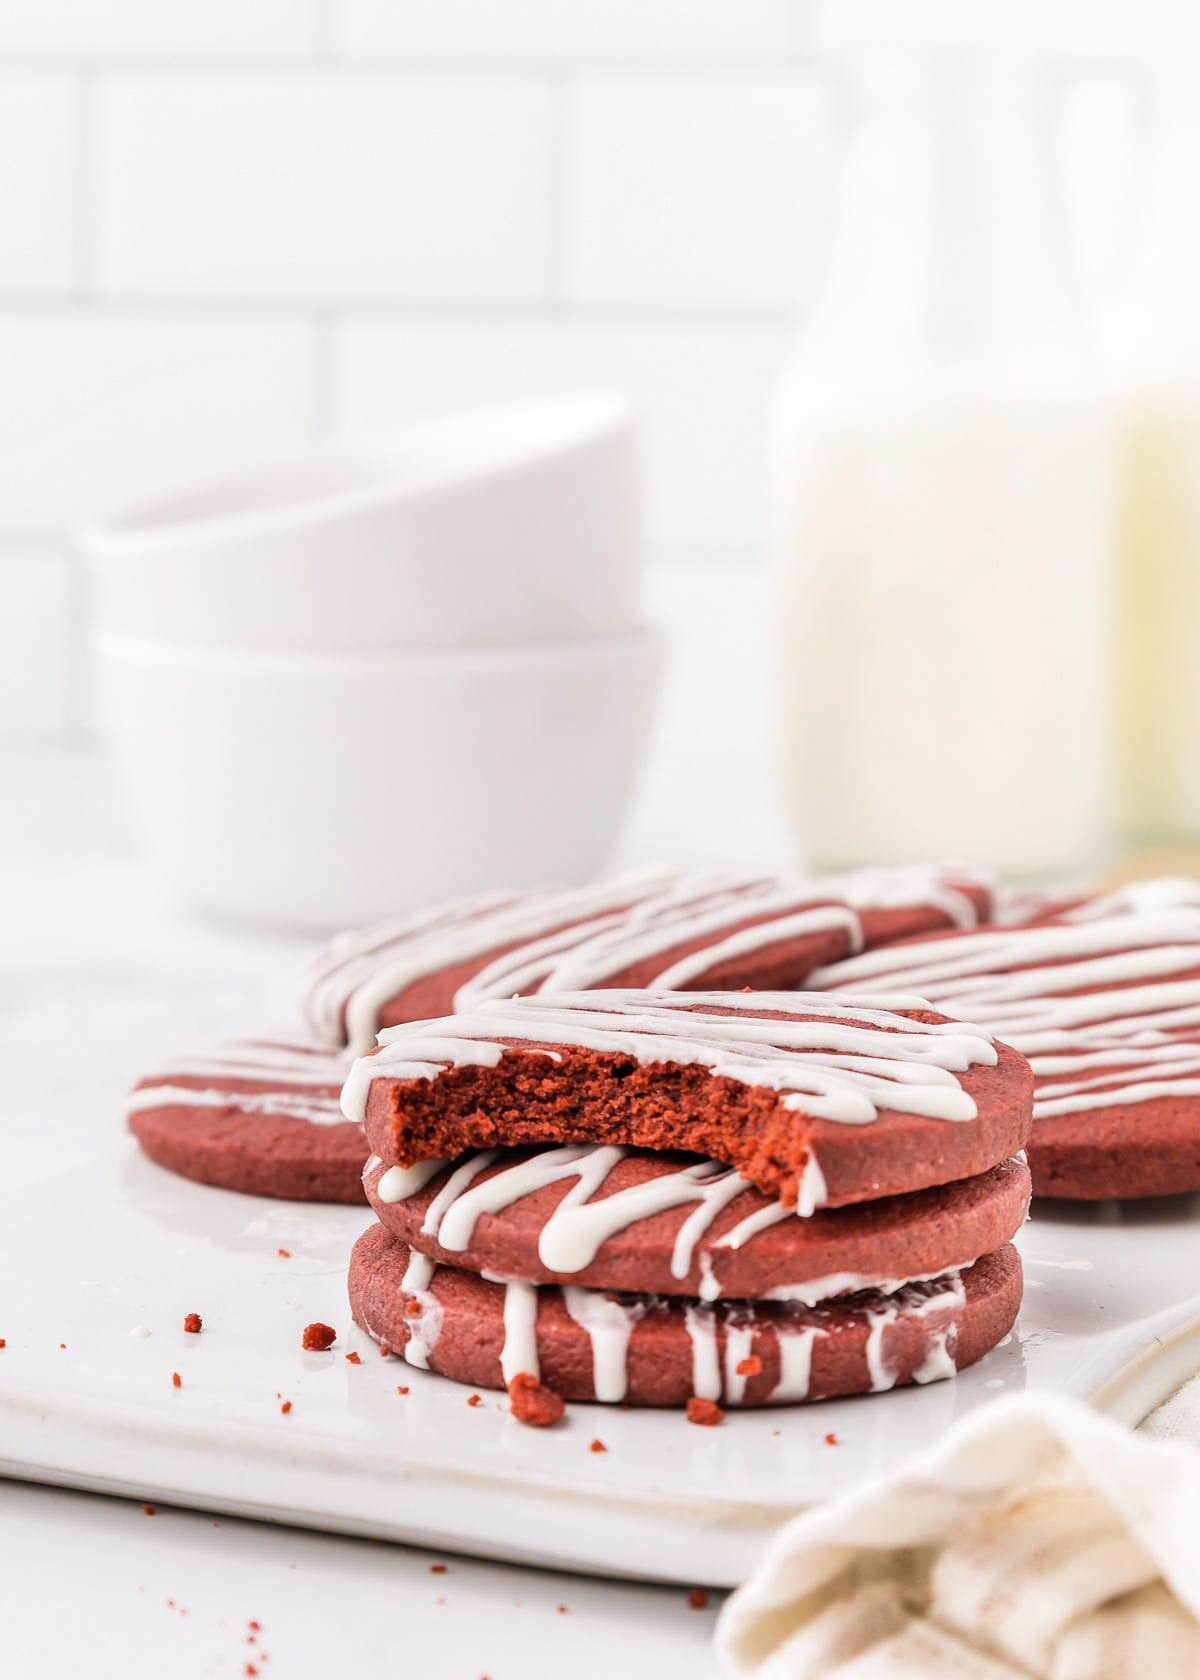
These tender Red Velvet Sugar Cookies have the signature deep red color, a hint of chocolate to them, and topped with a tangy cream cheese icing. They’re a delicious way to celebrate valentine’s day, use for Christmas cookie cut outs or just to make for a mid week treat.
Most of us have tried red velvet cake by now. That deep red color and rich chocolate taste is too good to resist! But it is time to try something new that is just as good, if not better. I am talking about red velvet sugar cookies. It is the perfect way to enjoy that great red velvet flavor in a whole new way. Intrigued? You should be! Get ready to make your new favorite dessert.
Ingredients
See the recipe card at the bottom of the post for all ingredients and quantities.
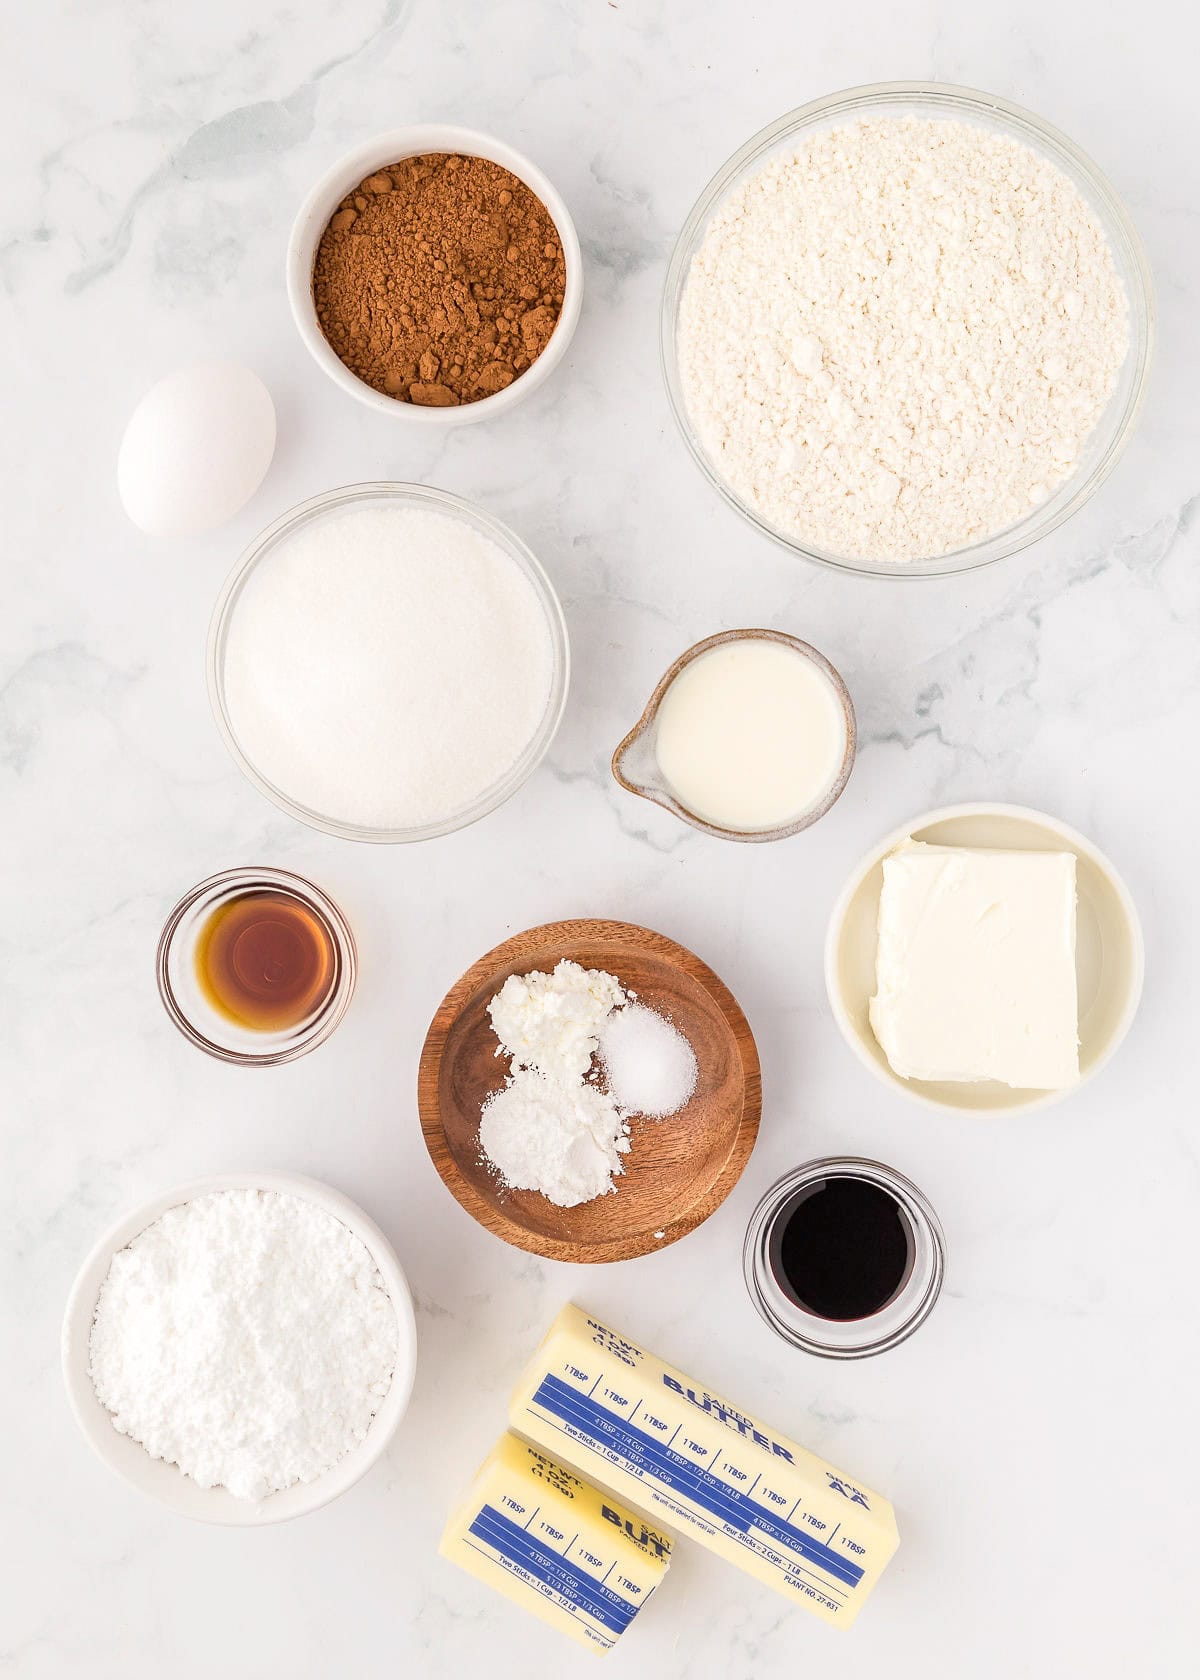
- butter – I used salted butter, but unsalted butter works great too.
- granulated sugar – white sugar is a must in this recipe. It can’t be substituted since it will effect the cutout cookie shape.
- egg – large eggs are needed for this recipe. Any other size may add more or less liquid than what is needed.
- vanilla extract – your favorite store-bought or homemade vanilla extract works great.
- red velvet emulsion or red gel food coloring – I prefer the red velvet emulsion since it has flavor, but you can skip that and use red gel food coloring. It should be gel food coloring since it’s not adding a bunch of extra liquid to your cookie dough which will effect your cutout shape.
- all-purpose flour – The gluten in all-purpose flours can vary. I use King Arthur’s brand
- unsweetened cocoa powder – My preferred unsweetened cocoa powder is Hershey’s brand. There’s no need to use dutch processed cocoa powder but is fine to use if that’s all you have on hand.
- baking powder – The leavening agent for these cookies.
- cornstarch – This helps the cookies keep their shape as well make them softer.
How to Make Red Velvet Sugar Cookies
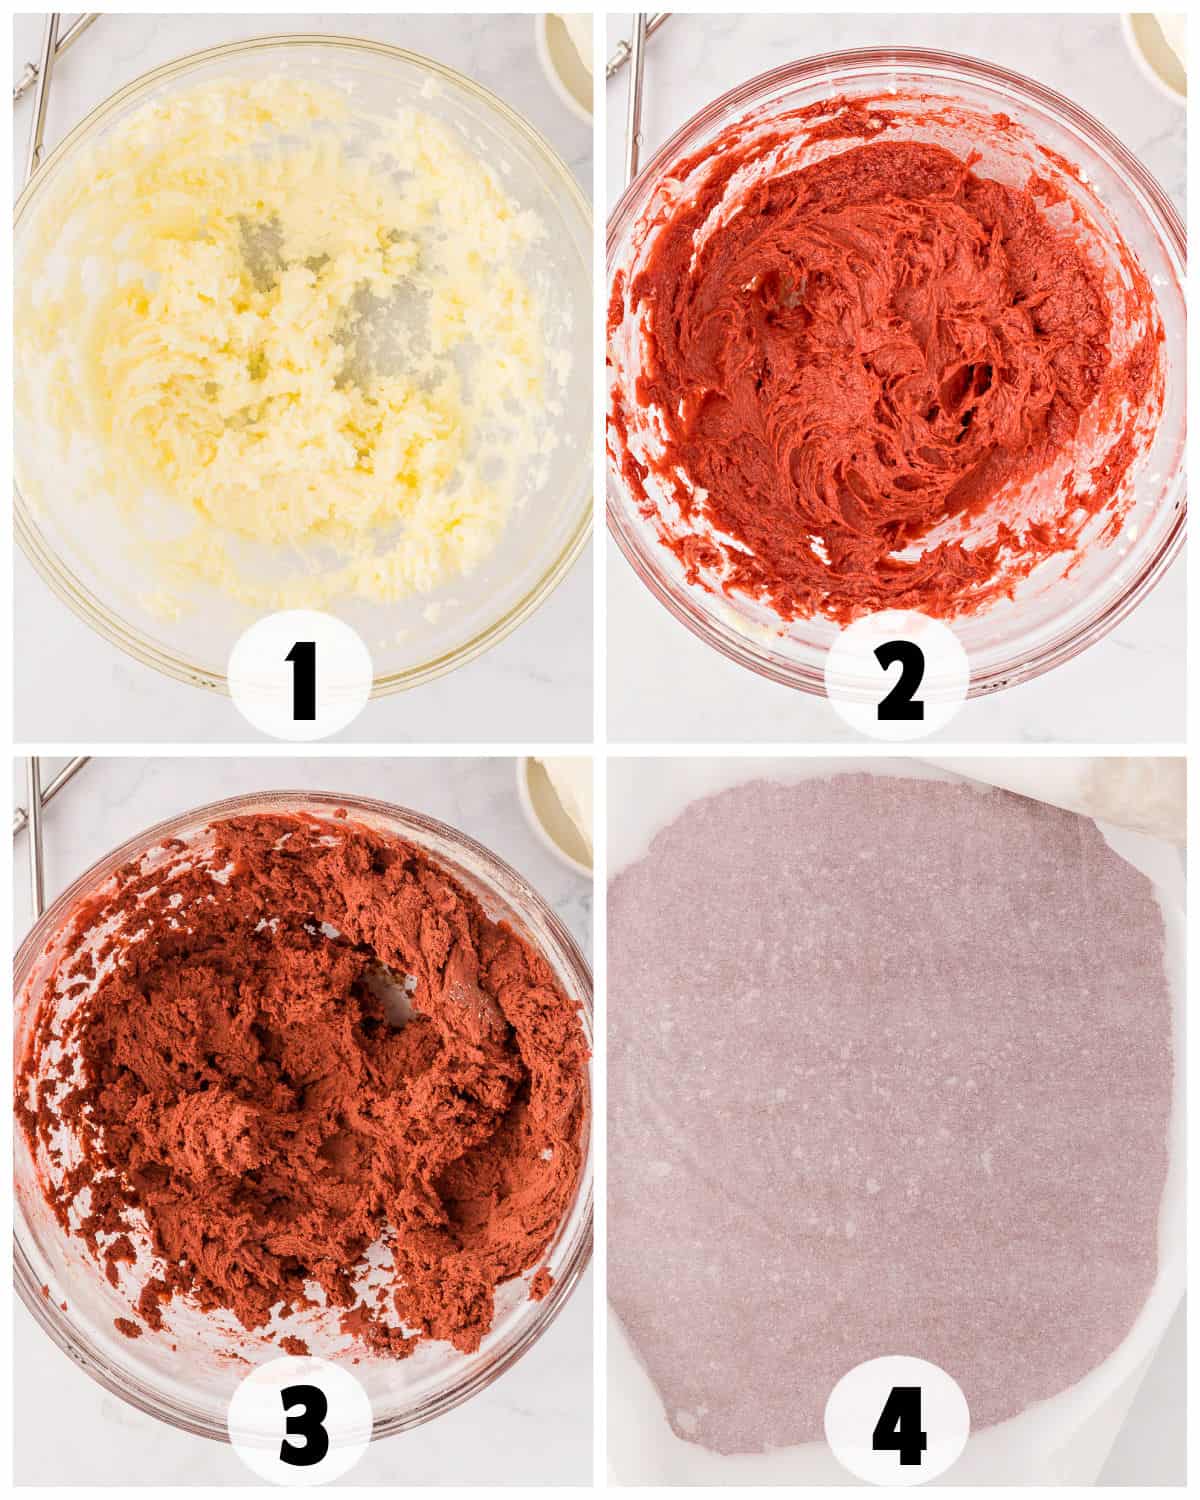
Step 1 – Begin by creaming the butter and sugar together until they are light and fluffy.
Step 2 – Then, add the vanilla, egg and red food coloring are added to the mix.
Step 3 – All of the dry ingredients go in last. Once everything is blended together, you will have a smooth, soft dough.
Step 4 – The dough can be a little stick which is why it is easiest to roll it out between two pieces of parchment paper. Lay a piece of parchment on your work surface and then scoop the cookie dough on to the paper. Place another piece of paper on top and then roll the cookie dough between the paper until it is about ½ of an inch thick. Keep the dough between the papers and slide it onto a sheet tray then place it in the fridge to chill. The dough will also get more firm once it is cold and be easier to cut.

Step 5 – You can cut the chilled dough into any shape you’d like. I like to make hearts since the bright red dough makes a perfect Valentine’s Day dessert! Arrange the cutouts on a sheet tray, spacing them about an inch apart and then bake. When the cookies no longer look wet in the center, they are ready to take out of the oven. Let them cool slightly before icing the cookies.
Step 6 – Whip up the cream cheese glaze for the topping and either add it to a sandwich bag with a small hole cut out of one of the corners or in a disposable piping bag. Drizzle the glaze back and forth on top of the cookies. You can also dip the tops in the glaze if you prefer.
How to Store Red Velvet Cookies
The best way to store the red velvet cookies is to keep them un-iced and store the cookie in an airtight container at room temperature. They will keep their taste and texture best when not frosted. When you are ready to eat the cookies, make the glaze and put it on fresh!
If you choose to glaze all the cookies right after baking, you should keep them in the refrigerator. The glaze has cream cheese which map spoil if left out. Store your iced red velvet cookies in an airtight container in the fridge.
Can You Freeze Red Velvet Cookies?
If you are planning on making cookies in advance, you can prepared the dough or the cookies and freeze them. Here are two ways to get those cookies in the freezer and ready to go
Cookie Dough
Make the cookie dough completely, even going as far as to cut out the shapes. Freeze the cut out cookie dough in a large, zippered freezer bag or other airtight container. The unbaked cookie dough can be frozen for up to two months. When you are ready to bake the cookies, place the frozen cookie cut outs on a baking tray and bake as directed. They will bake in about the same amount of time as if the cookie dough was fresh- it thaws very quickly!
Baked Cookies
You can also choose to freeze the fully baked cookies. Let them cool completely and then place the cookies in a zippered freezer bag or airtight container. You don’t want to put the icing on the cookies until later on. Freeze the baked cookies for up to a month. Take them out of the freezer and let them come to room temperature. Frost the cookies after they have thawed. They will taste just as good as if they were made fresh!
Can These Red Velvet Sugar Cookies be Made Ahead of Time?
They definitely can! You can store your baked sugar cookies at room temperature for 4-5 days. You can refrigerate the iced cookies for about a week. Or, you can choose to make the cookies in advance and freeze them. Take a look at the section above that talks all about how to freeze red velvet sugar cookies for later.
Recipe FAQs
Red velvet is a slightly acidic, chocolate flavor. The chocolate is fairly mild but still strong enough to satisfy any chocolate craving. Red velvet has a tangy taste since it is made with buttermilk and also vinegar. However, it is still super sweet and perfect for a dessert!
One of the signatures of red velvet is the deep red color. However, if you do not want to use food coloring, you don’t have to. Your cookies will just be a light brown color rather than a rich red. The taste will still be fantastic!
We strongly recommend refrigerating the cookie dough before cutting out the cookies. The red velvet sugar cookie dough is very soft. Placing it in the fridge allows it to get firm and stiff, making cutting out the cookies much easier. If you try to cut the soft dough, the cookies will not hold their shape. If you are in a rush, pop the dough in the freezer for about 30 minutes instead of using the fridge.
Our cream cheese glaze is the perfect complimentary frosting to the sweet red velvet sugar cookies. You can also frost the cookies with a simple american buttercream icing. Royal icing glaze would work as well. These cookies even taste fantastic when eaten plain- no frosting needed!
More Red Velvet Desserts
If you try this recipe, be sure to leave a rating below and also share it on Instagram, and tag me! You can also find me on Facebook and stay up to date on recipe releases by joining the Newsletter!
Red Velvet Sugar Cookies
SAVE THIS RECIPE
Ingredients
Cookies
- 3/4 cup butter, room temperature
- 1 cup granulated sugar
- 1 large egg
- 2 teaspoons vanilla extract
- 1 tablespoon red velvet emulsion or red gel food coloring
- 2 cups all-purpose flour
- 1/4 cup unsweetened cocoa powder
- 1 teaspoon baking powder
- 1 teaspoon cornstarch
- 1/2 teaspoon salt
Glaze
- 4 ounces cream cheese, room temperature
- 1 cup powdered sugar
- 1/4 cup milk
- 1 teaspoon vanilla extract
Instructions
Cookies
- Add the 3/4 cup butter and 1 cup granulated sugar to a large mixing bowl. Using a hand mixer, beat on medium until creamed.
- Add in the 1 large egg, 2 teaspoons vanilla extract, and 1 tablespoon red velvet emulsion or red gel food coloring. Beat until the egg is incorporated into the mixture.
- Add in the 2 cups all-purpose flour, 1/4 cup unsweetened cocoa powder, 1 teaspoon baking powder, 1 teaspoon cornstarch, and 1/2 teaspoon salt. Beat on low until most of the flour is incorporated, turn to medium and beat just until all of the dry ingredients are worked into the cookie dough.
- Place the dough between two large pieces of parchment paper. Roll the dough out to about ½-inch thickness. Slice a cookie sheet under the parchment paper and transfer to the fridge to chill until firm. This will take 1 to 2 hours.
- Preheat the oven to 350 degrees F. Line a cookie sheet with parchment paper.
- Remove the top piece of parchment paper.
- Using a 2-inch circle or heart cutter, cut out the shapes and place them 1 inch apart on the prepared cookie sheet.
- Place in the oven and bake for 10 to 11 minutes or until done. The center shouldn’t be dark or shiny, it should be the same color as the edges and a matte color.
- Remove from the oven and let cool 5 to 10 minutes before transferring to a cooling rack or paper towel to cool completely.
Glaze
- In a medium bowl, add in the 4 ounces cream cheese. Using a hand mixer, beat on medium until smooth and creamy.
- Add in the 1 cup powdered sugar, 1/4 cup milk, and 1 teaspoon vanilla extract. Beat until smooth.
- If the glaze is too thick, add additional milk 1 tablespoon at a time until you reach the desired consistency.
- Add the glaze to a sandwich bag and cut a small hole in one of the corners of the bag.
- Drizzle each cookie with glaze.
- Once the cookies are glazed, they’ll need to be refrigerated in an airtight container so I would recommend glazing just before serving.
- The cookies themselves can be stored in an airtight container at room temperature.
Notes
Nutrition
(Nutrition facts are an estimate and not guaranteed to be accurate. Please see a registered dietitian for special diet advice.)