No Churn Vanilla Ice Cream
This post may contain affiliate links. As an Amazon Associate I earn from qualifying purchases. Please read my disclosure policy.
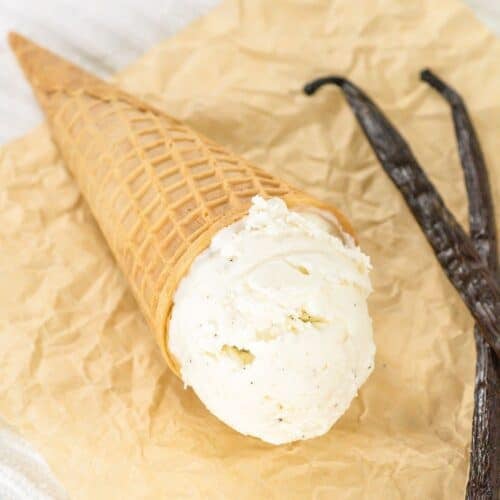
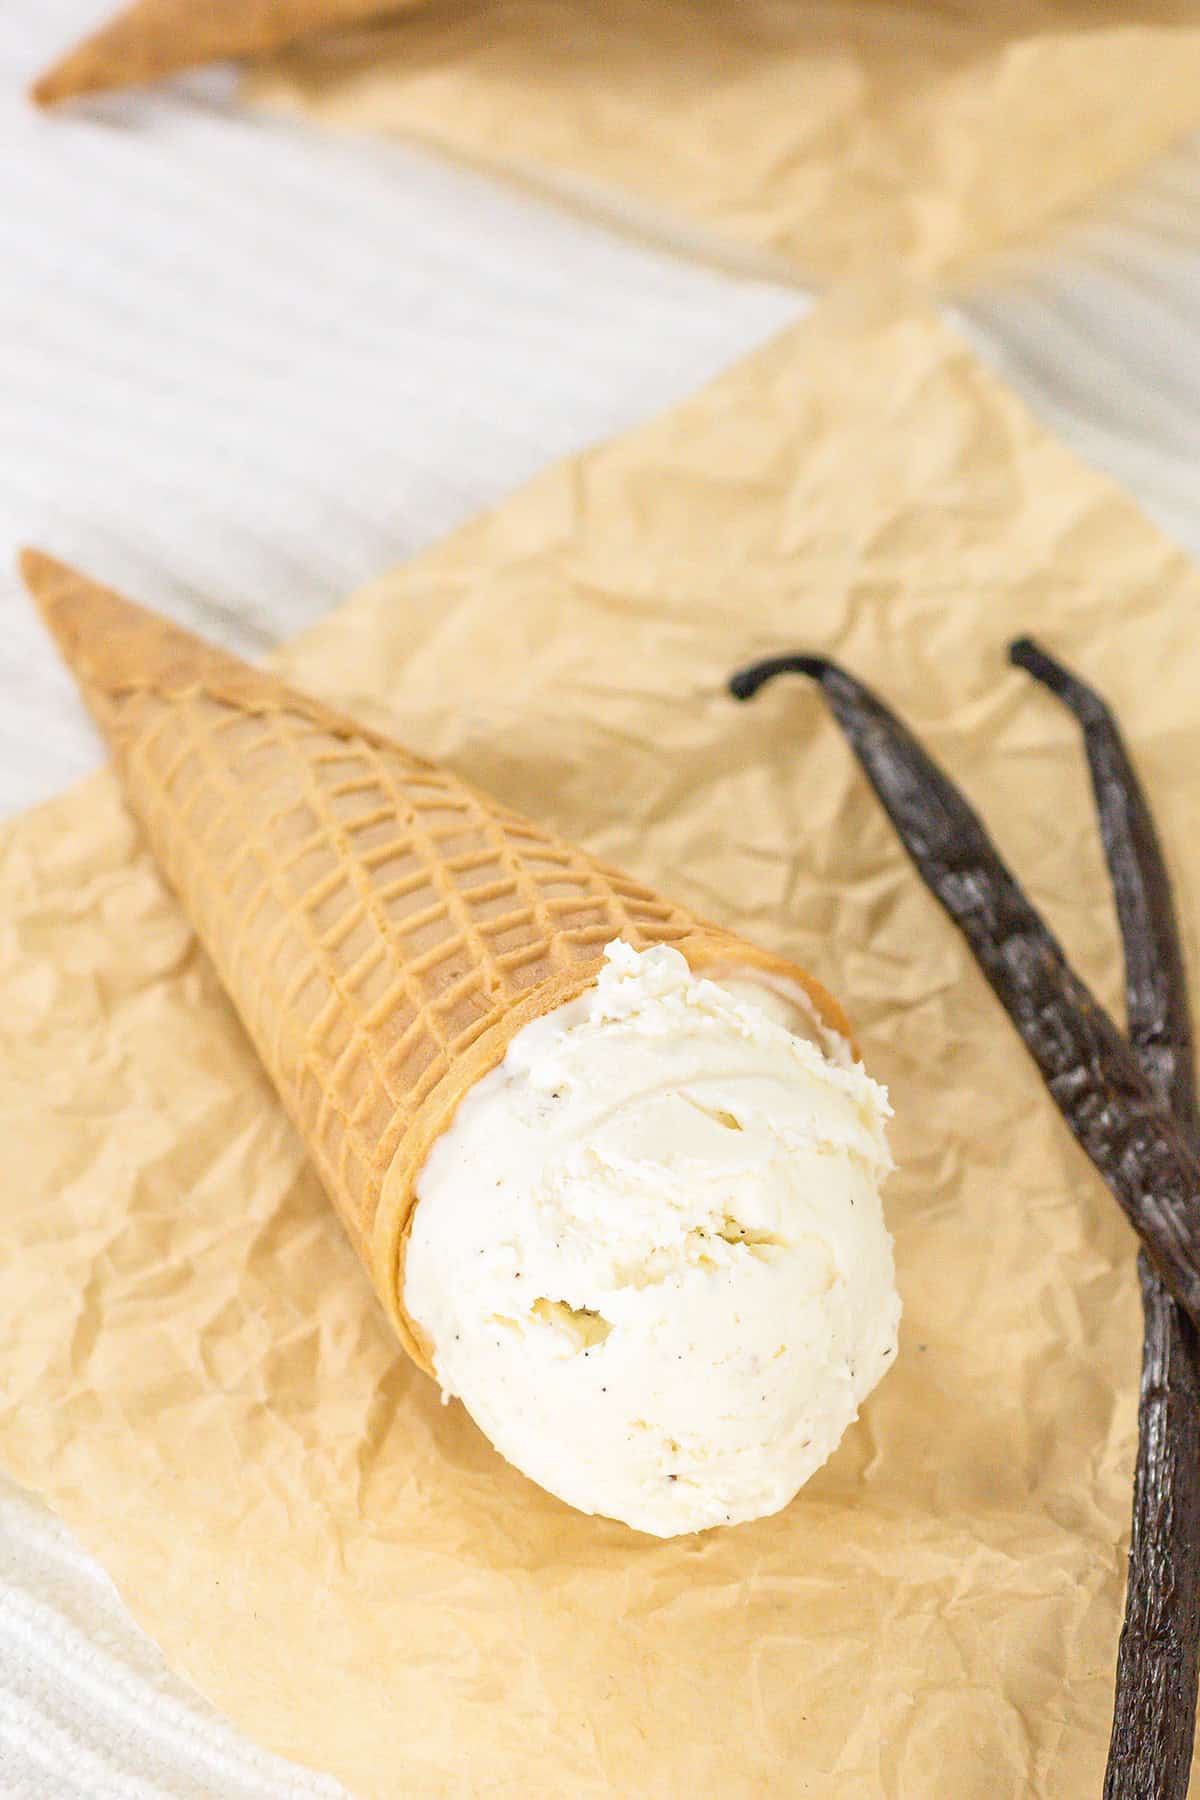
This No Churn Vanilla Ice Cream is rich, creamy, and packed with vanilla flavor without needing a fancy ice cream machine. With just three simple ingredients, you can make homemade vanilla ice cream that’s smooth, scoopable, and perfect for enjoying on its own or piled high with your favorite toppings.
The combination of whipped cream and wweetened condensed milk creates an incredibly creamy texture that freezes beautifully.
Why You’ll Love This Recipe
- Only 3 ingredients
- No ice cream maker required
- Easy to customize with mix-ins
- Perfect make-ahead dessert
- Great beginner recipe
What Makes This Recipe Special
Traditional ice cream requires cooking a custard base and churning it in an ice cream maker. This recipe skips both steps while still creating a creamy texture.
The whipped cream provides air and structure while the sweetened condensed milk adds sweetness and helps keep the ice cream from freezing into a solid block of ice.
It’s the easier homemade ice cream recipe you’ll ever make!
Ingredients

See the recipe card at the bottom of the post for all ingredients and quantities.
Heavy whipping cream – This is whipped until it’s light and airy whipped cream which is why it’s scoopable.
Sweetened condensed milk – I love the flavor of sweetened condensed milk. It gives the sweet flavor to the vanilla ice cream and helps prevents large ice crystals from forming by lowering the freezing point of the ice cream.
Vanilla bean paste – Using vanilla bean paste in vanilla ice cream is a must! It feels so authentic. Not only does it give the rich vanilla flavor, but also those beautiful little flecks or vanilla throughout the ice cream.
Optional Mix-ins – This ice cream makes the perfect base for all kinds of flavors:
- Sprinkles
- Crushed Oreos
- Mini chocolate chips
- Cookie dough pieces using edible cookie dough
- Chopped candy bars
- Fresh strawberries
- Fresh blueberries
- Caramel swirls using caramel sauce
- Hot fudge ripple
Flavor Variations
- Cookies and Cream – fold in crushed Oreos with the filling before freezing the ice cream.
- Birthday Cake – fold in rainbow sprinkles and a splash of almond extract before freezing.
- Strawberry Cheesecake – Fold in diced strawberries or strawberry jam and graham cracker crumbs before freezing.
- Peanut Butter Swirl – Swirl softened peanut butter into the ice cream before freezing.
NOTE: This recipe has not been tested with other substitutions or variations
How to Make No Churn Vanilla Ice Cream
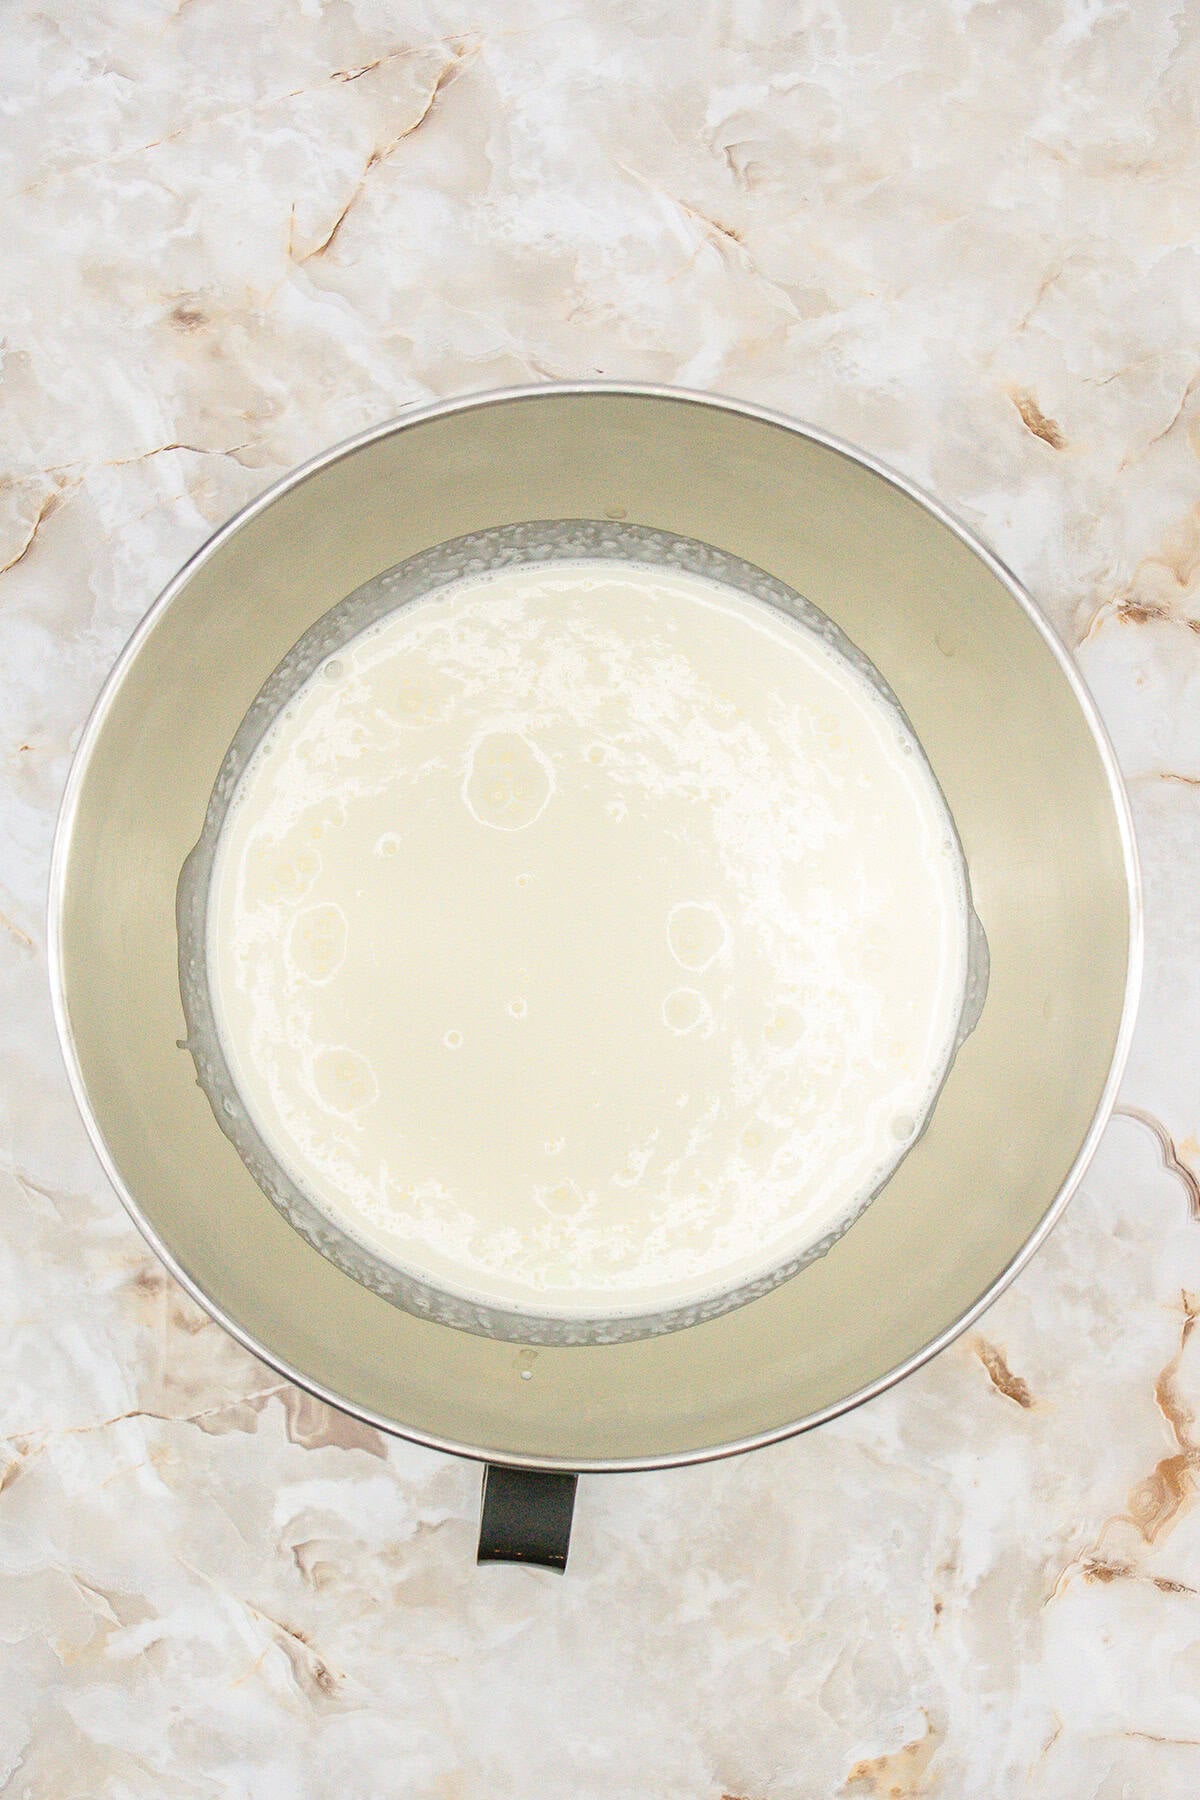
Step 1: In a large mixing bowl, beat the heavy whipping cream until stiff peaks form.
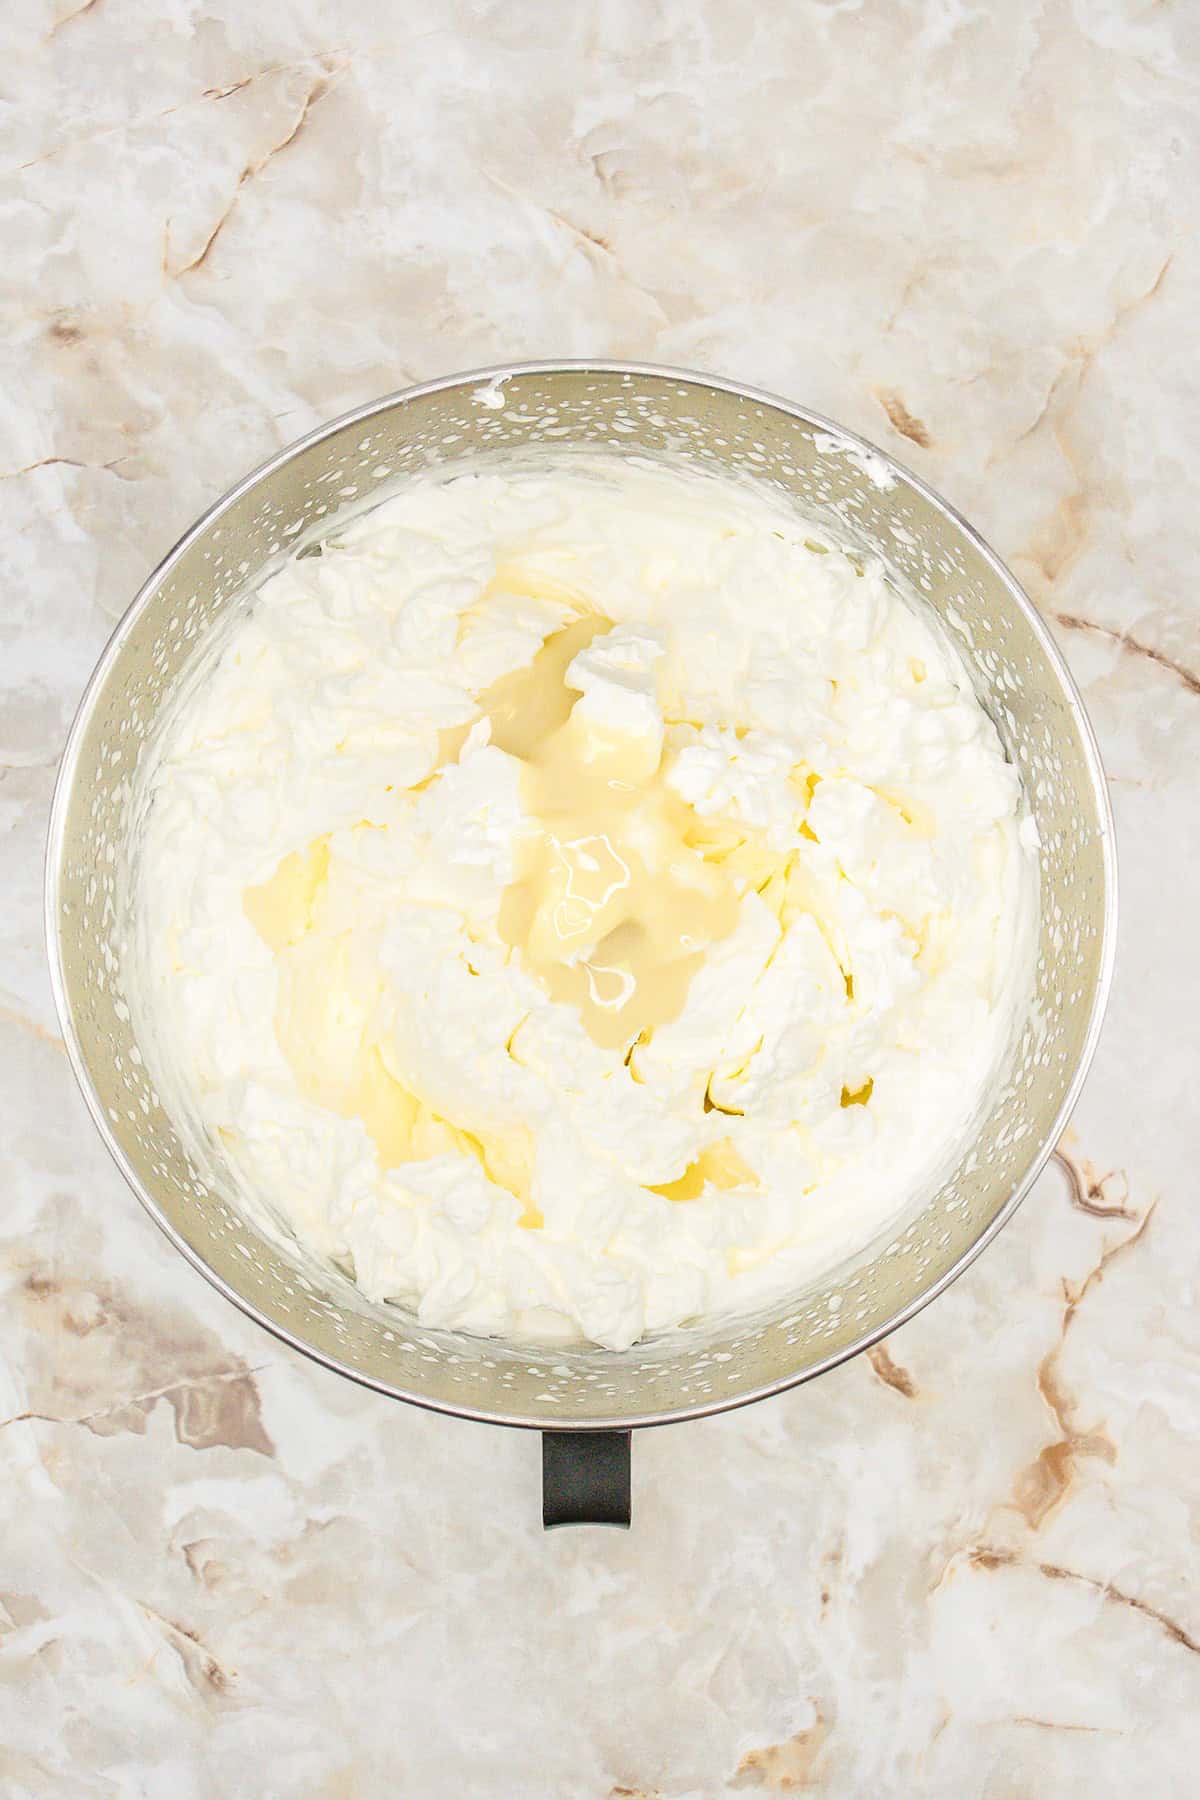
Step 2: Add in the sweetened condensed milk and beat on low until combined.
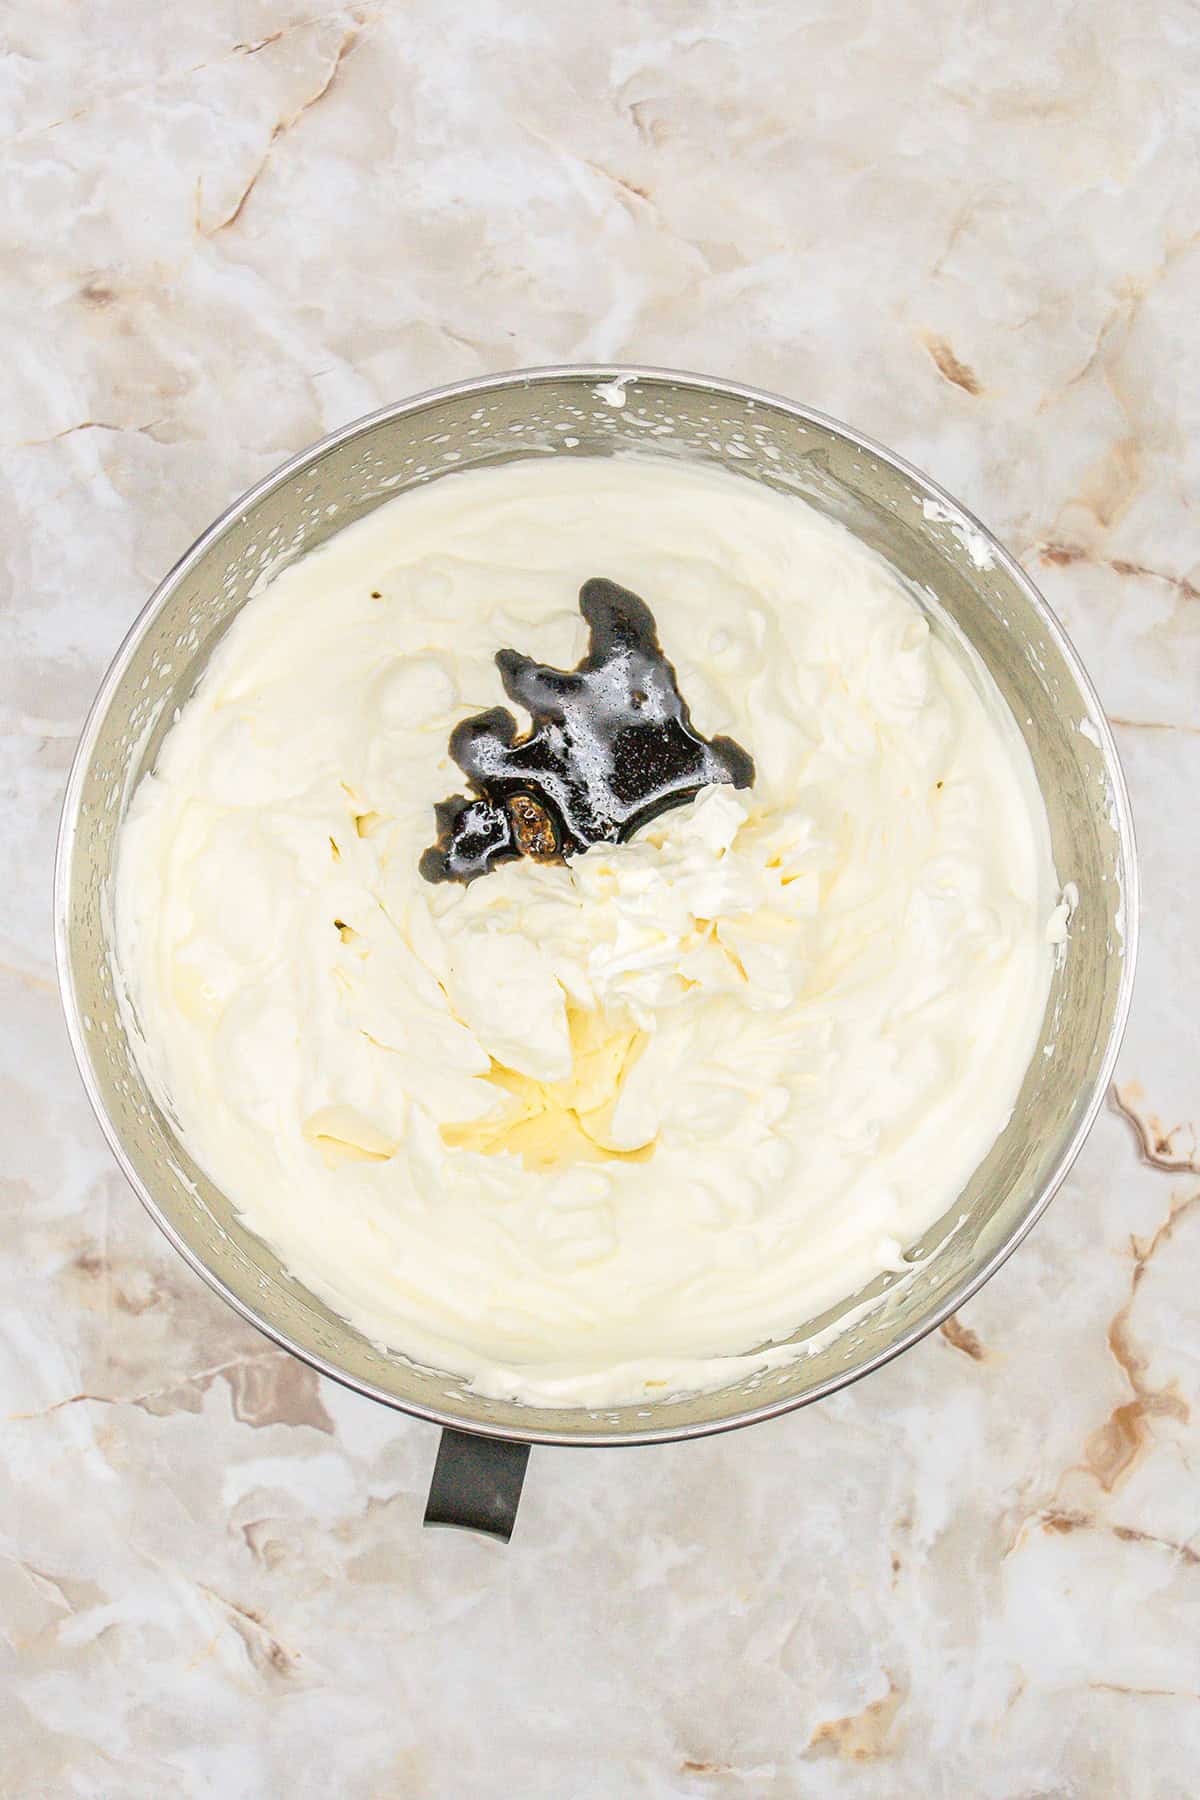
Step 3: Mix in the vanilla bean paste until incorporated.

Step 4: If you’re using mix-ins, fold them in now with a spatula. Otherwise, transfer the ice cream to a freezer-safe container or loaf pan and cover with plastic wrap. Chill for at least 3 hours or until set.
Tips for Best Results
Don’t underwhip the cream. The cream hold hold stiff peaks before adding the sweetened condensed milk. If you pull your beater out of the mixture, the cream should stay standing up or in place without any drooping.
Don’t overwhip the cream. Once you reach stiff peaks, stop mixing. Continuing to mix the whipped cream will will break it and then eventually turn it into butter/buttermilk.
Mix on low speed once you add the sweetened condensed milk. This is gently mix in the condensed milk and vanilla bean paste without deflating the whipped cream.
Use a spatula to fold in any mix-ins. Vigorously stirring in the mix-ins will also deflate the whipped cream.
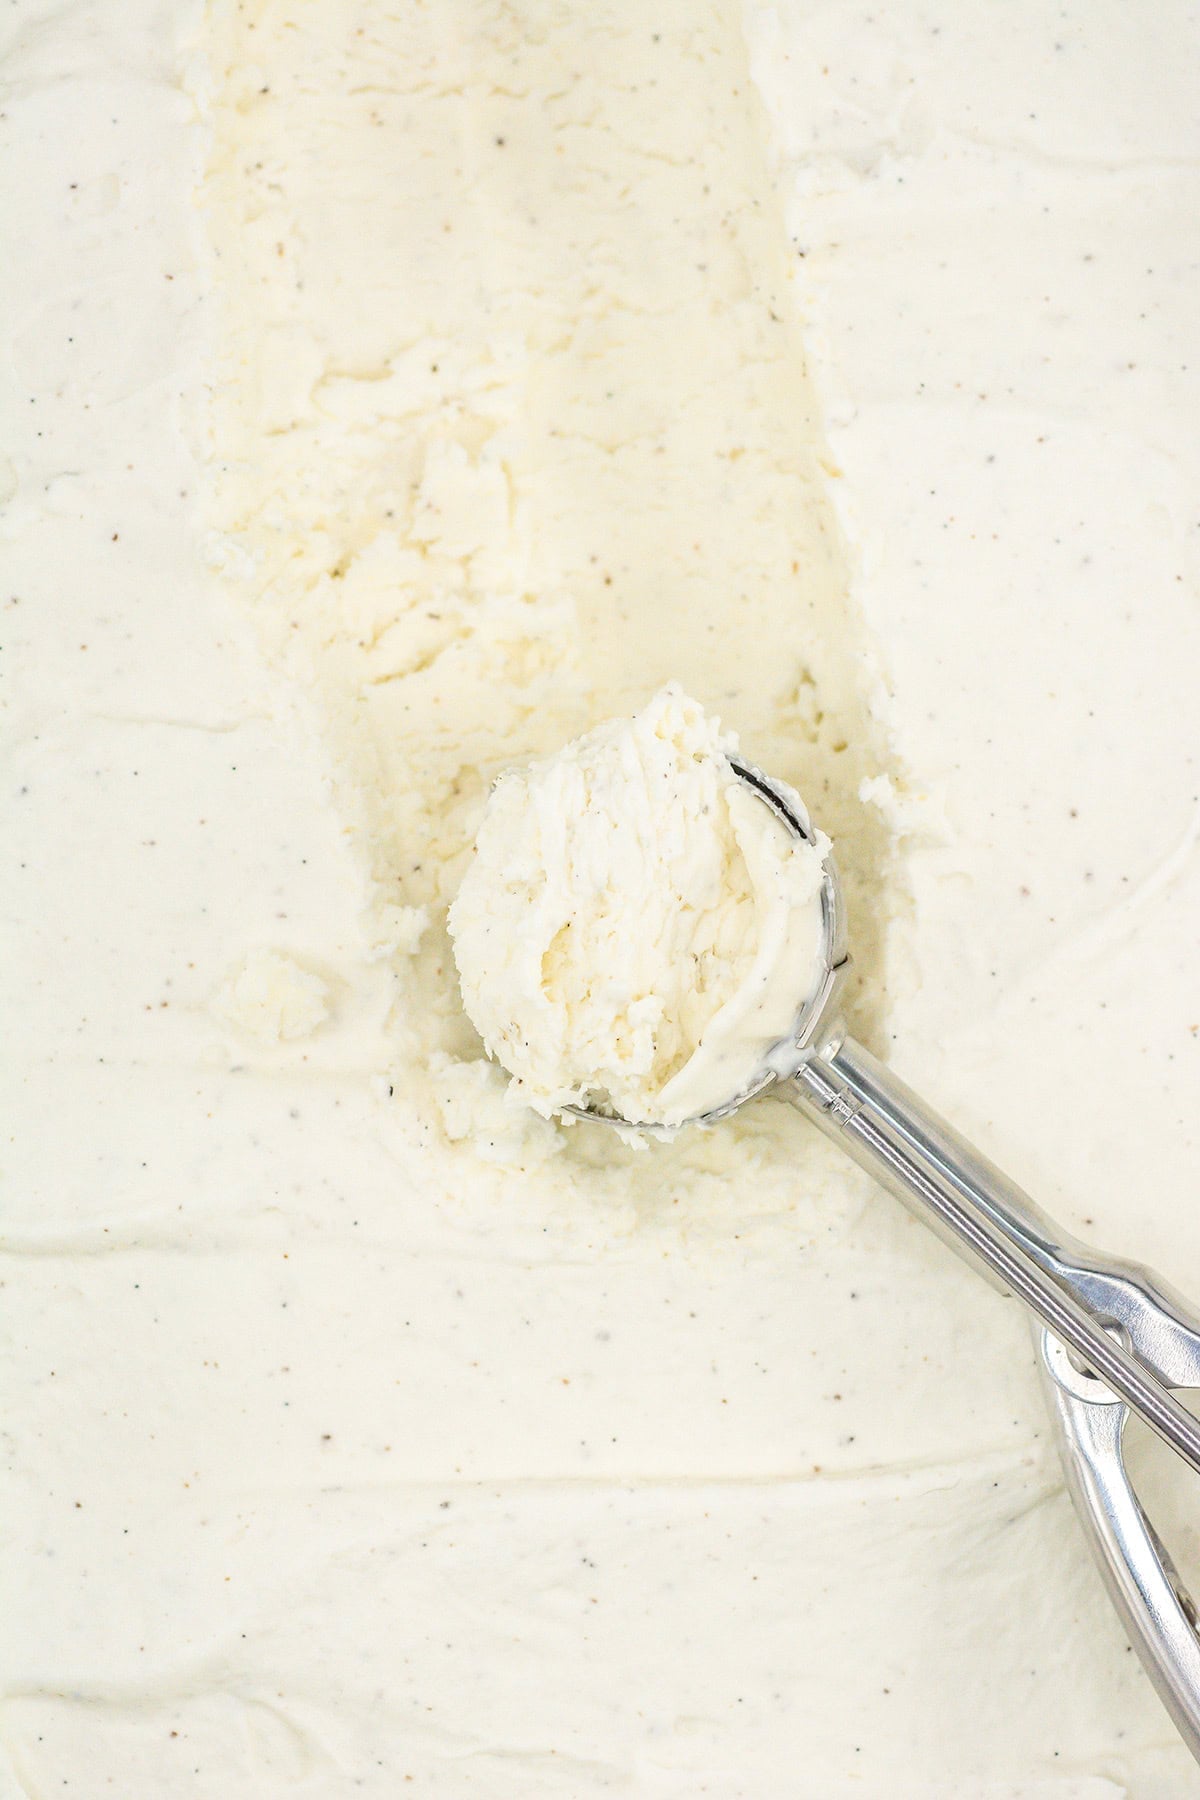
Let the ice cream soften before scooping. A few minutes on the counter will make scooping ice cream so much easier. I also really enjoy using an ice cream spade instead of a scoop.
How to Store
Store the ice cream in an airtight freezer-safe container for up to 3 months.
For the creamiest texture, place a piece of plastic wrap directly on the surface of the ice cream before sealing the container.
Recipe Troubleshooting
The whipped cream may not have been whipped enough before adding the condensed milk or the container may not have been sealed tightly during freezing.
Yes! I love the specks of vanilla in the ice cream but vanilla extract will work great too.
Most batches are ready in about 3 hours, though deeper containers may need longer.
If you try this recipe, be sure to leave a rating below and also share it on Instagram, and tag me! You can also find me on Facebook and stay up to date on recipe releases by joining the Newsletter!
No Churn Vanilla Ice Cream
SAVE THIS RECIPE
Ingredients
- 4 cups heavy whipping cream
- 14 ounces sweetened condensed milk
- 2 teaspoons vanilla bean paste, or vanilla extract
Instructions
- In a large bowl or a bowl of a stand mixer, beat the heavy whipping cream on medium speed with a hand mixer or with a stand mixer with the whisk attachment until stiff peaks form, about 3-5 minutes.
- Add the sweetened condensed milk and beat on low speed until combined.
- Add in the vanilla bean paste or vanilla extract and beat until incorporated.
- If adding additional flavors, fold those in using a spatula until combined.
- Scoop into a loaf pan or serving dish. Cover with plastic wrap or a lid.
- Freeze for about 3 hours or until the mixture is set up.
- Before serving, allow the ice cream to set at room temperature for about 10 minutes for easier scooping.
Notes
Nutrition
(Nutrition facts are an estimate and not guaranteed to be accurate. Please see a registered dietitian for special diet advice.)