How To Make Cake Pops
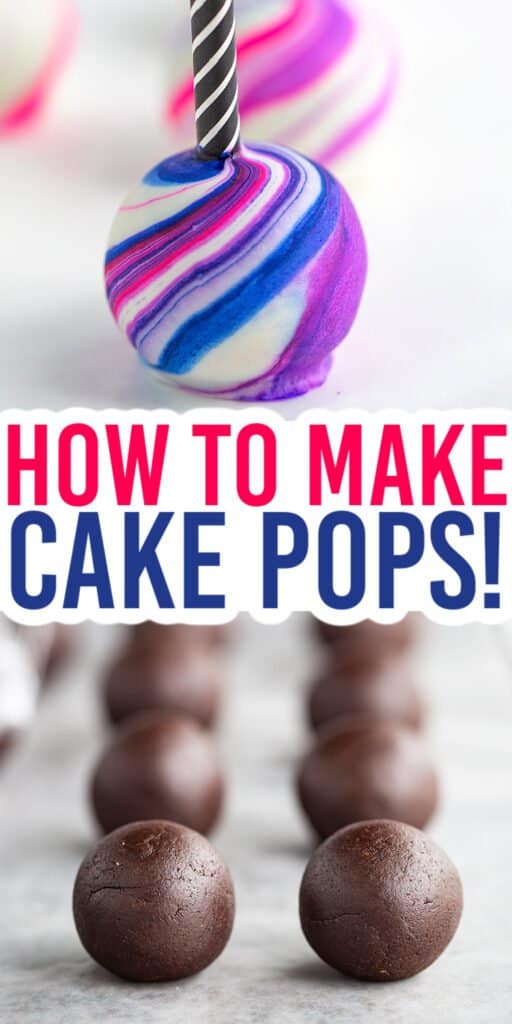
Have you been wanting to learn how to make cake pops? This is the perfect tutorial to do so with just a cake mix, water, eggs, frosting (that doesn't have butter), and almond bark. The best part is that this cake pop recipe turns out perfect every single time and is so easy to make!

Have you ever struggled with making the perfect cake pops? Me too! Thanks to a facebook live from Sweet Grace Cake Pops, I quickly learned how to make cake pops so they turn out perfectly every time. Now I get to share it with all of you.
If you have extra cake mix on hand, here are a bunch more recipes to whip up!
What You'll Need
Get the full recipe at the bottom of the post.
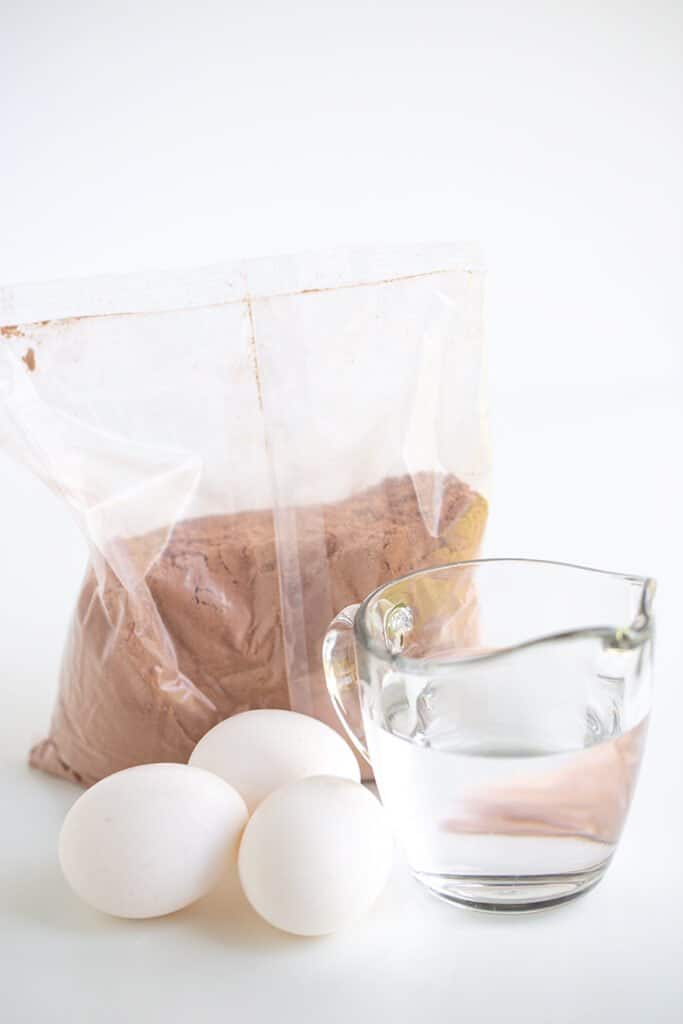
- Cake Mix - You can use any flavor and brand of cake mix that you would like. I've had the best luck with Duncan Hines.
- Large Eggs
- Water
- Canned Frosting - You can use any flavor of canned frosting.
How to make Cake Pops

1. Line a 9x13 cake pan with foil and lightly spray with a nonstick baking spray. Add the cake mix, eggs, and water to a large mixing bowl and beat until all of the ingredients are incorporated. Pour the cake batter into the prepared pan.
2. Place in a 350-degree F oven and bake for 25 to 31 minutes or until a toothpick inserted into the center of the cake comes out clean or with moist crumbs. Remove from the oven and wrap the edges of the foil over the top of the cake while it's still hot to lock the moisture into the cake. It doesn't need to be covered completely. Let cool overnight.
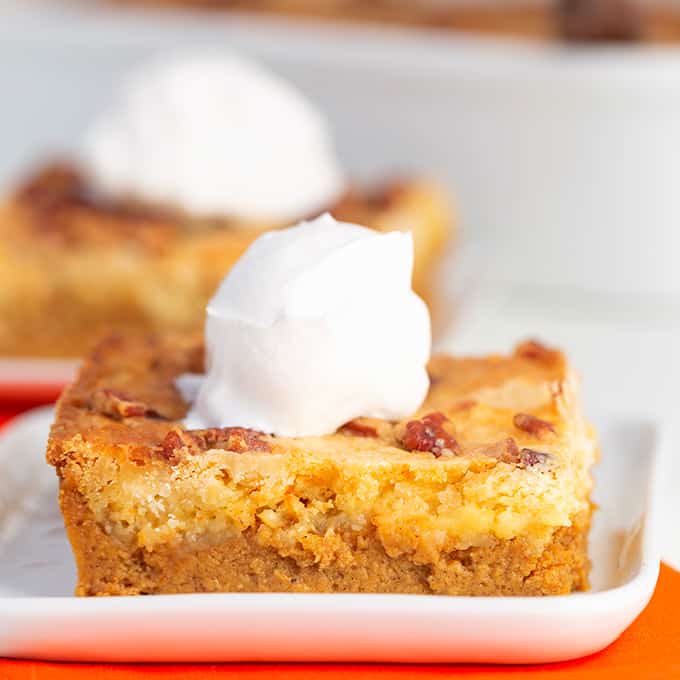
Discover what favorite pumpkin desserts should be at your Thanksgiving table this year
3. Remove the cake from the foil and break it up into a large mixing bowl. Start beating it with a hand mixer until the cake is broken down.
4. Add canned frosting ½ tablespoon at a time and beat it in fully before adding any additional frosting. Add another ½ tablespoon if it's still dry. Continue adding the frosting ½ tablespoon at a time and beating thoroughly until it resembles play-doh. It's the perfect consistency when it's rolled and gently pushed, it doesn't create large cracks. Small hairline crackers are fine.
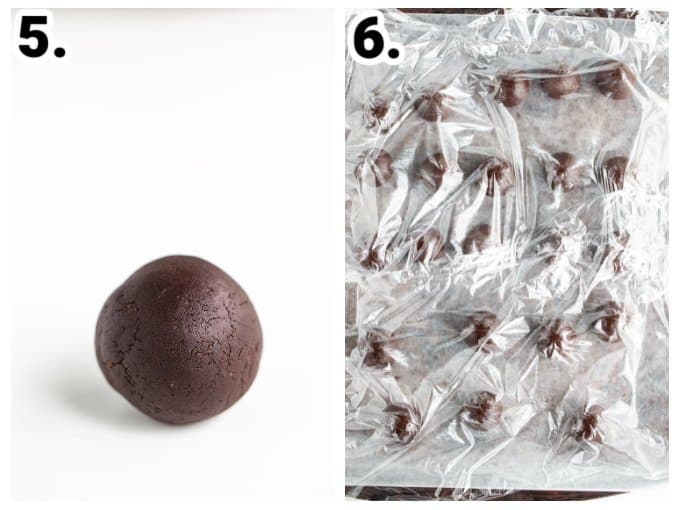
5. Measure out the cake pop balls using a cake pop mold or a cookie scoop and roll between your palms until smooth.
6. If you're okay with a flat bottom on the cake pops, place the cake pop balls on a parchment-lined cookie sheet. Cover with plastic wrap so they don't dry out. If you want the cake pops to be perfectly round, work with 1 to 2 cake pops at a time without sitting them down until the stick is set up in your cake pop. Then you can place them in a cake pop stand.
7. Melt the almond bark (Candiquik or Merckens melting wafers work great too) in a microwave-safe bowl in 30-second intervals. Stir after each interval. It needs to be a thin consistency to create a smooth surface on the cake pop.
8. Stick just the very tip of a cake pop stick, straw, or mini fork in the melted chocolate. While cupping the cake pop bottom with your palm, push the stick half way into the cake pop. Let it harden for 30 seconds to 1 minute until the chocolate is set up. You'll know it's set up because the stick should be firmly stuck in the cake pop.

How to Dip Cake Pops
Once the stick is set up in the cake pop, it's time to dip the whole cake ball! Push the cake ball into the melted chocolate until it's fully submerged. The chocolate should just touch the stick and then pull it back out.
Don't mess around pulling it out of the chocolate and putting it back in because the cake pop will loosen up and fall off the stick.
Next, move your hand down the stick close to the cake pop ball and gently tap the hand that's holding the stick until the excess chocolate drips off. If there's a point where the chocolate was dripping off, give the pop a shake and it should smooth out.
Working quickly, use a toothpick to pop any air bubbles that have formed in the chocolate coating. The best way to do this is by making a small swirl in the center of the air bubble with the toothpick and then give the cake pop a shake to smooth the chocolate back out.
Place the cake pops in either a cake pop stand if you want the perfectly round cake pop or on a piece of parchment paper to dry. Don't use a silicone mat for these cake pops. The bottoms will stick.
PRO TIP: Set your bowl of melted chocolate in a container of hot water so it stays a dipping consistency longer.
How to Decorate Cake Pops
There are so many ways to decorate your cake pops, here are a few ways that I think will be useful and popular.
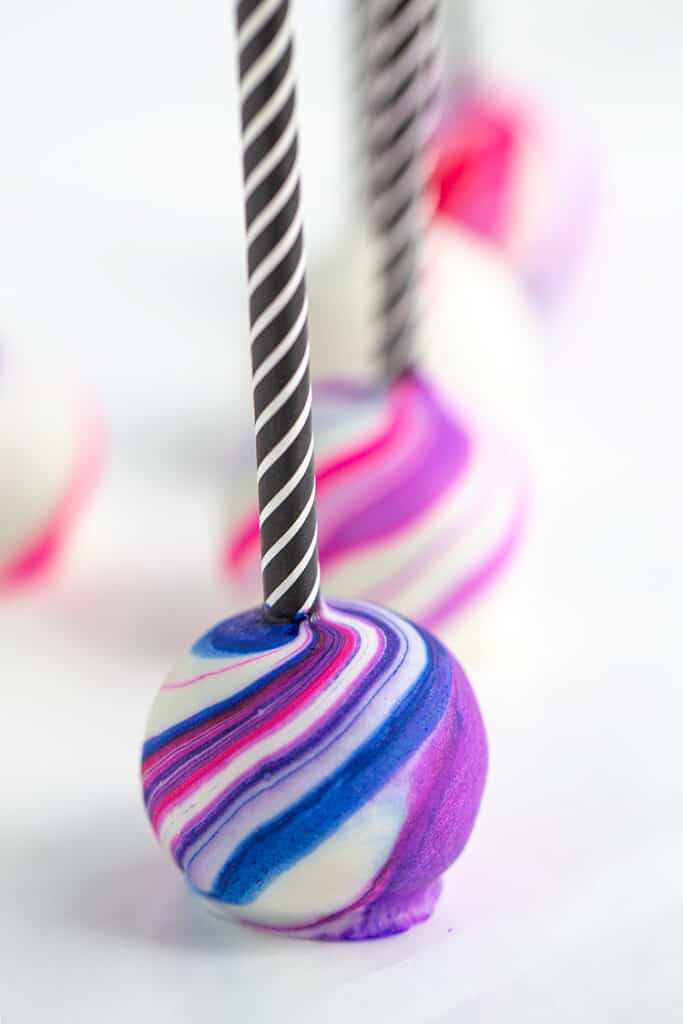
Marble Chocolate Coating
To make beautiful swirls of color on your cake pops like in the image above, you will need to marble your chocolate coating.
Don't use colored chocolate! Instead, add 1 to 2 drops of candy gel food coloring to melted white almond bark. You can add several different colors to the almond bark and then use a toothpick to swirl the colors together. Don't overmix the colors.
Dip the cake pop in the marbled chocolate coating and give it a wiggle back and forth. When you're pulling it back out of the chocolate, slowly turn it so the colors wrap around the cake pop instead of shooting straight down off the pops.
Tap the excess chocolate off on a piece of wax paper so it doesn't muddy up your marbled coating chocolate.
Once the food coloring is nearly gone, add 1 to 2 drops more of the desired colors. Repeat until all of your cake pops are coated.
To give the marbled cake pops an even fancier look, line a few of the swirls with edible gold paint. Follow the directions in the Paint the Cake Pop section.
Coat with Sprinkles
If you're using sanding sugar, allow the cake pops to set for about 5 seconds before holding the cake pop by the stick and sprinkling sanding sugar on top.
If you're using heavier sprinkles, allow the cake pops to set about 15 to 20 seconds before sprinkling them on. This will give the chocolate more time to set up so it doesn't get pulled down the cake pop from the weight of the sprinkles.
I wouldn't recommend sitting the cake pops in the sprinkles and rolling it because it's going to mess up the chocolate coating and also sink the sprinkles into the chocolate.
Paint the Cake Pops
That's right! Paint the cake pops. You'll do this by grabbing a small container of nontoxic gold luster dust. Add a very small amount, less than ¼ teaspoon to a small dish with a small amount of vodka or everclear alcohol. You can also use lemon juice but it will take longer for the paint to dry.
Mix the luster dust and vodka until there are no clumps. It should be very liquidy.
Grab a small fan brush that hasn't been used for anything other than food and coat it with gold paint. Swipe the brush down the cake pop being careful to not overlap any other spots you've already painted because it will take that paint off and leave you with a splotchy cake pop. Repeat all the way around the cake pop and allow to dry.

How long do Cake Pops last
Once the cake pops are dipped in the chocolate and have set up, they will last in an airtight container at room temperature 3 to 4 days or in the fridge 5 to 7 days. Remember, if you put the cake pops in the fridge, they will probably crack when they come back up to room temperature.
TIPS for Success
- To avoid cracks, NEVER refrigerate cake pops at any point. They will crack when they're coming back up to room temperature and may seep liquid. I will say that I thoroughly enjoy them when they're cold and the chocolate is crunchy.
- MUST use candy gel food coloring. Regular gel food color will seize the chocolate because it's a water base food color. Candy colors are an oil base food color.
Supplies you’ll need
- 6 inch cake pop sticks
- 1 tablespoon cookie scoop
- almond bark, Candiquik candy coating, or Merckens chocolate melts
- cake pop stand
- cake pop bags
- bag sealer
Frequently Asked Questions
No, I wouldn't recommend freezing your cake pops. It will crack the chocolate on your cake pops because of the temperature change and the cake expanding.
If you don't mind the possibility of the chocolate cracking, they will last in the freezer for about 6 weeks if stored in a freezer bag or a freezer container.
You can make cake pops up to 4 days in advance and store them at room temperature in an airtight container.
I've had people ask if you can make the dough in advance and I can't say for certain since I haven't tried it. I do think it will probably dry out and become crumbly even if it's wrapped well.
It's not needed and the oil will make your cake pop stick turn yellow. Wrapping the cake while it's still hot helps provide enough moisture to the cake that you'll never know it doesn't have oil in it.
It's not recommended for this recipe. It can turn your cake pop stick yellow because of the butter and it will make the cake pop itself softer and harder to work with.
Yes, but the amount of frosting you'll use may vary. You'll need to add enough frosting to make the consistency of your cake similar to play-doh.
Yes! It will take more work but it can be done. You can also use a stand mixer to make easier work of it.
Yes, you can and they will work, but I wouldn't recommend it. They will make making cake pops a much longer process.
From my experience, chocolate chips take a long time to set up at room temperature. Since cake pops shouldn't be refrigerated, it's going to take a long time for the chocolate to harden to bind the cake pop to the stick to get the second dip.
Then you run into the risk of your cake pop drying out and breaking when you do dip it fully because it's been sitting uncovered waiting for the stick to bind with the cake pop.
You can add about ½ cup of mini chocolate chips to the cake. If you're adding a stick, the chips may get in the way as your pushing the stick down and crack your cake pop.
No, the cake pop won't stick to the stick if the inside has filling.
More Recipes You Might Like
You must use the category slug, not a URL, in the category field.
Cake Pops
Ingredients
- 15.25 ounce box Duncan Hines cake mix chocolate or vanilla
- 1 cup water
- 3 large eggs
- ½ - 4 tablespoons canned frosting
- almond bark, Candiquik candy coating, or Merckens chocolate coating
- 1 - 2 teaspoons coconut oil or shortening melted
Instructions
- Preheat oven to 350 degrees F. Line a 9x13-inch baking pan with tin foil. Lightly spray the foil with nonstick baking spray.
- Add the cake mix, water, and eggs into a large bowl. Beat with a hand mixer on low until the eggs are incorporated.
- Turn the mixer on medium and continue to beat for another 2 minutes.
- Pour the batter into the prepared pan. Spread the batter out evenly.
- Place in the preheated oven and bake for 26 - 31 minutes or until done. Insert a skewer in the center of the cake and if it comes out clean or with moist crumbs, it's done.
- Remove from the oven and take the foil from the sides of the pan and cover the cake to help trap moisture in the cake. Let cool overnight. It doesn't need to be completely covered.
- Crumble the cake up in a large bowl or stand mixer bowl. Beat with a hand mixer or with a paddle attachment until the cake is completely crumbled and starts to combine.
- Add ½ tablespoon of canned frosting to the cake crumbs. Beat until the frosting is evenly distributed.
- Roll some cake between your hands and gently press it down to flatten it. If it cracks and falls apart, add an additional ½ tablespoon of canned frosting. Repeat until the consistency of the cake is very similar to play-doh.
- Using a 1 tablespoon cookie scoop or a cake pop press mold to measure out the cake pops. Remove any excess cake. keep the the remaining cake covered with plastic wrap so it doesn't dry out.
- Roll the cake pops between your hands until smooth. Place on a wax paper/parchment paper lined sheet pan and cover with plastic wrap to prevent them from drying out.
- Melt the almond bark in a medium microwave-safe bowl in 30-second intervals. Stir after each interval until smooth. The chocolate should pour off a spoon in one continuous stream, if it's thick, it will need to be thinned. If the chocolate isn't runny, stir in 1 to 2 teaspoons of melted coconut oil to thin it out.
- Dip the very end of the cake pop stick in the melted chocolate. Cup your hand around the cake pop and gently push the stick in the center of the cake pop until it's half way through. Let it set for about 30 seconds to 1 minute. It may take longer if your kitchen is hot.
- Once the stick is firmly in the cake pop, dip the cake pop fully in the melted chocolate. Move your hand down the stick close to the cake pop and gently tap the wrist that's holding the cake pop to remove any excess chocolate. Flip it so the cake pop is right side up and give it a shake to smooth out any peaks.
- Place in a cake pop stand to set up. You can also flip the cake pop upside down and place it on a piece of parchment paper/wax paper if you want a flat base.
- Once the chocolate shell is set up, place in an airtight container and store at room temperature.
Notes
Nutrition
(Nutrition facts are an estimate and not guaranteed to be accurate. Please see a registered dietitian for special diet advice.)


How many does this recipe make or did I miss that information?
Thanks!
This recipe will make about 20 cake pops!